Getting Started with Projects
This guide walks you through opening the Projects area in the Fynd Boltic console, understanding the listing page, and creating your first project.
You need a Fynd Boltic account with access to the organization where you want to create projects.
Open the Projects listing
- Sign in to the Fynd Boltic console.
- Select your organization from the account switcher if prompted.
- In the left navigation, click Projects.
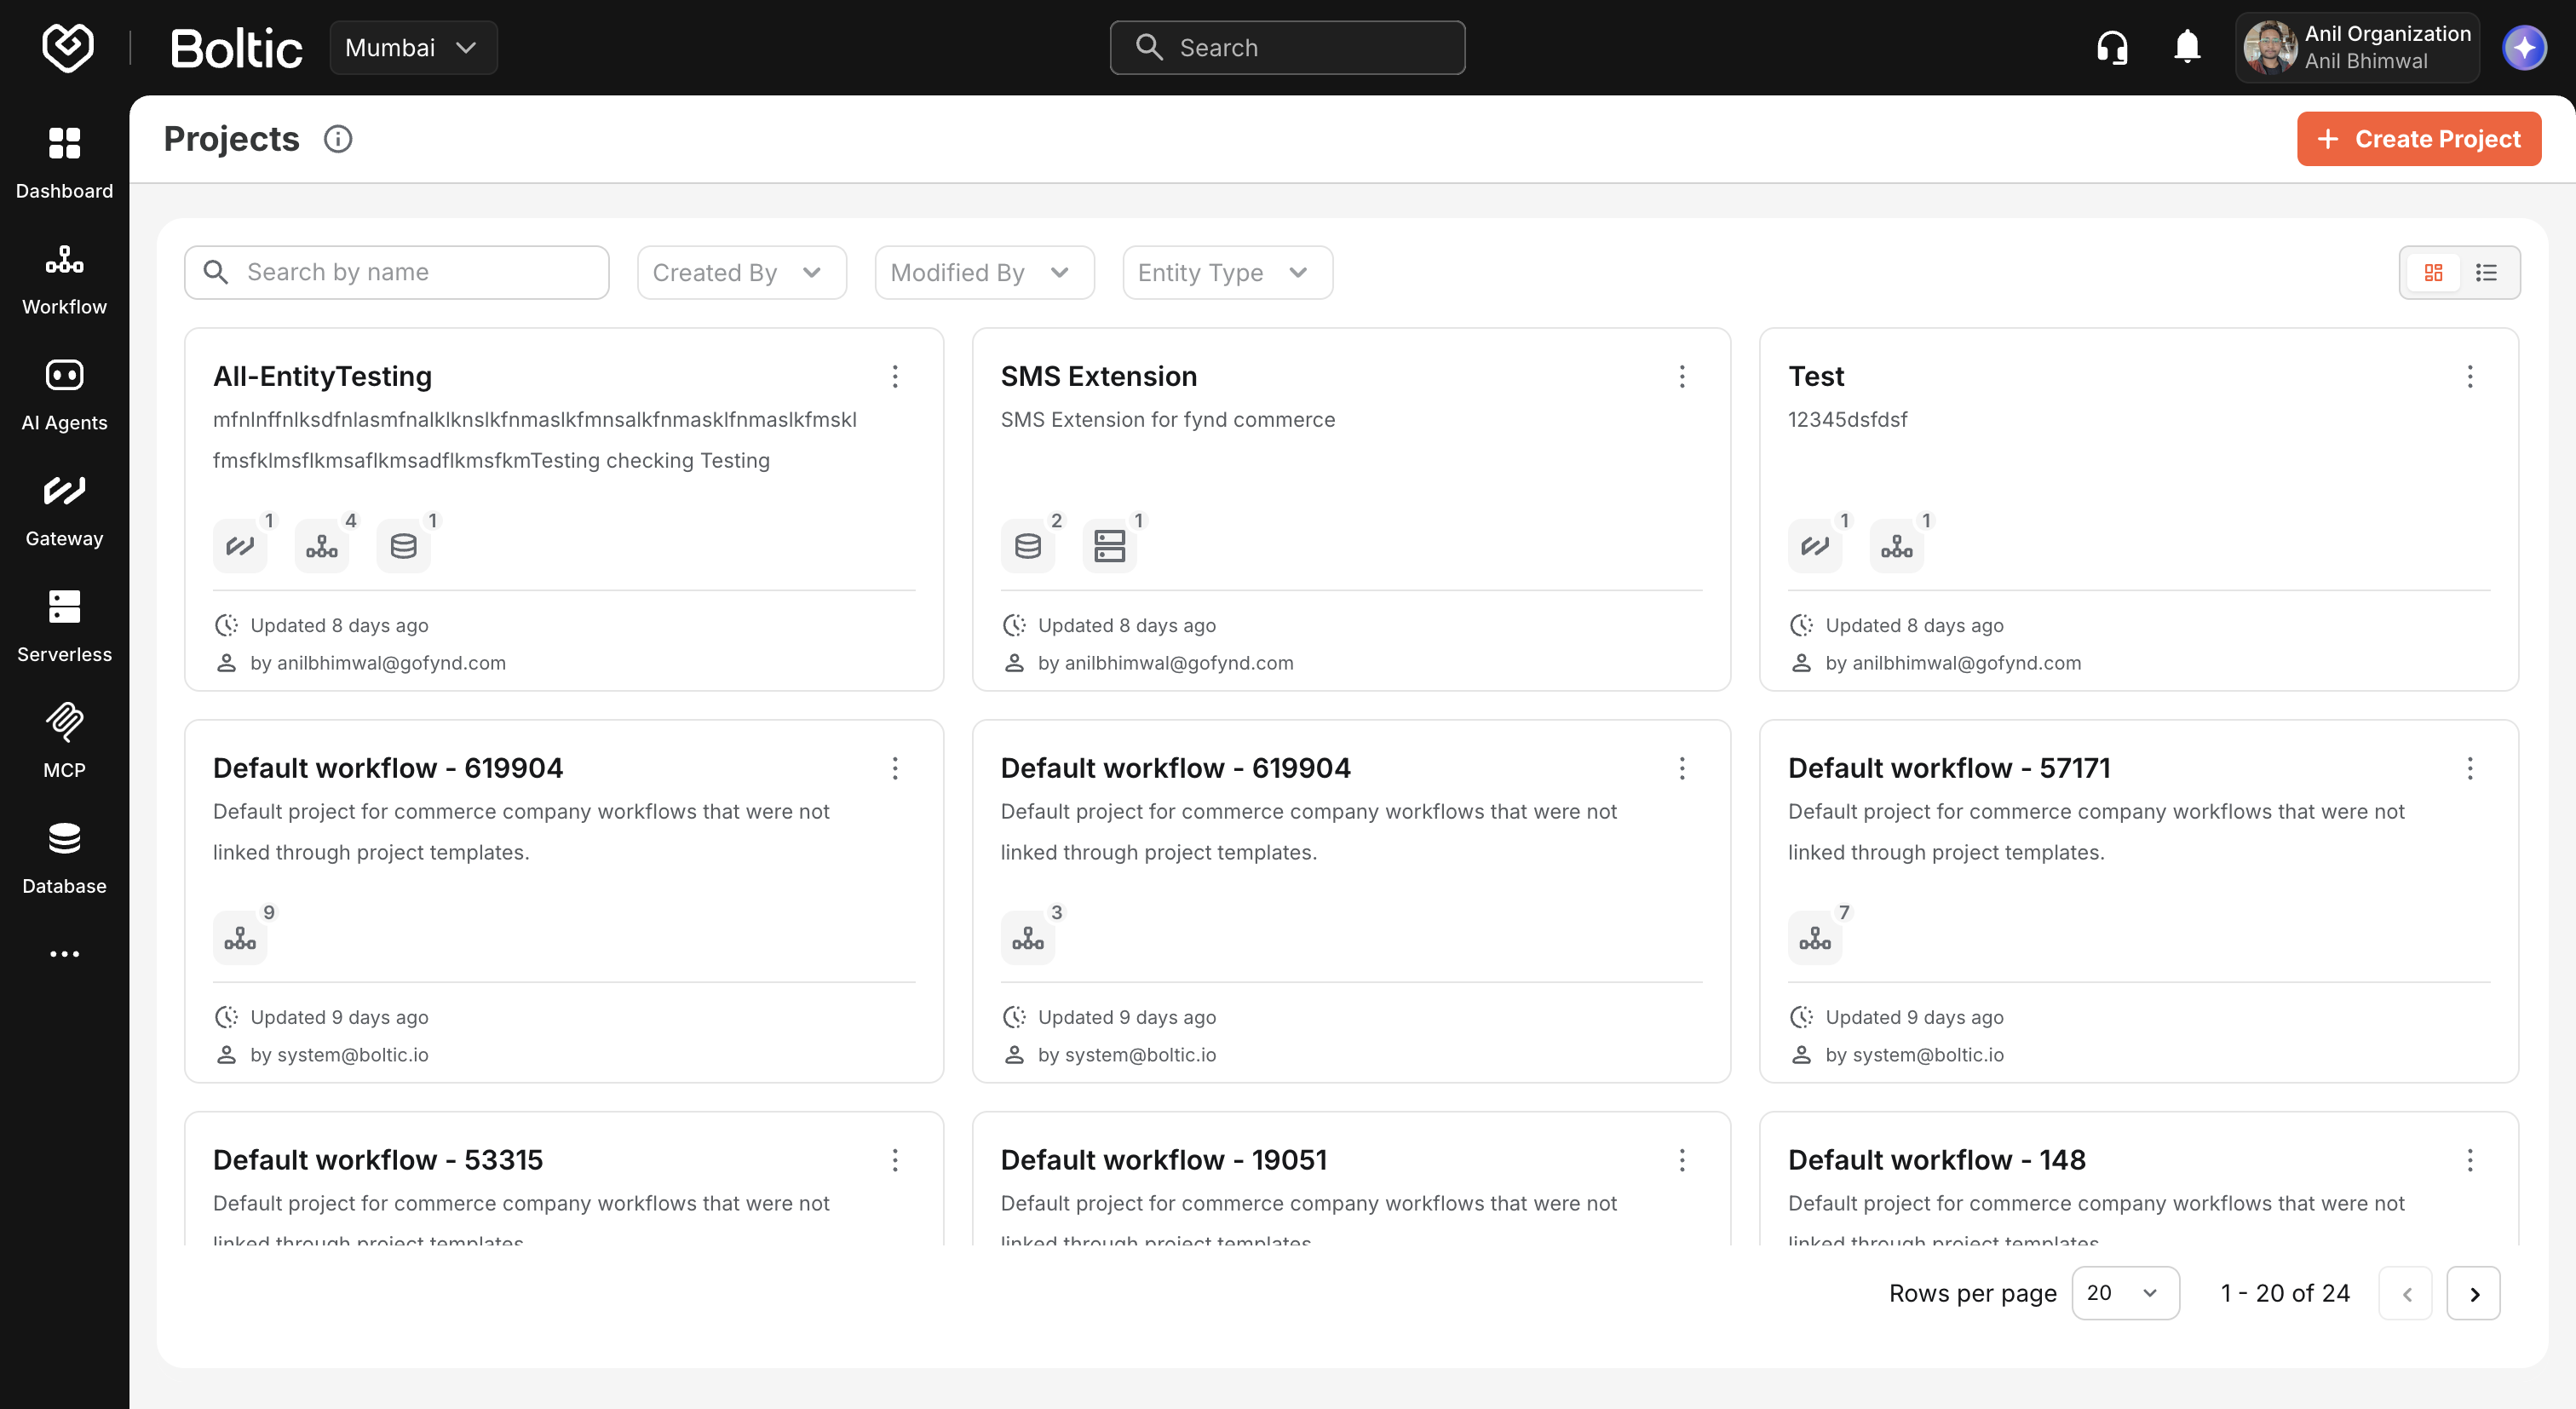
You land on the Projects listing page. If you have not created any projects yet, you see an empty state with a prompt to create your first project.
 |
|---|
Projects listing overview
The listing page is your home base for all projects in the current organization.
Create project
Click Create project in the page header (or the create card in grid view) to start the project creation flow. See Creating a project for the full walkthrough.
Project creation may require an active subscription. If your plan does not include Projects, the console prompts you to upgrade when you try to create a project.
Search
Use the search field to filter projects by name. Search is debounced and runs against the project name on the server, so results update shortly after you stop typing.
Filters
The listing supports API-driven filters when available, including:
| Filter | Description |
|---|---|
| Entity type | Show projects that contain a specific entity type (for example, only projects with workflows). |
| Created by | Filter by the email of the user who created the project. |
| Modified by | Filter by the user who last updated the project. |
Clear filters to return to the full project list.
View modes
Toggle between two layouts using the view control in the toolbar:
- Grid (card) view — Visual cards showing project name, description snippet, entity counts, and last-updated time.
- Table (list) view — Compact rows with sortable columns for scanning many projects at once.
Pagination
Projects are paginated. Use the pagination control at the bottom to change pages or adjust page size (20, 40, 60, or 80 items per page).
Open a project
Click a project card or row to open its project details page.
Delete from the listing
From card or table view, use the delete action on a project to open the delete confirmation dialog. You must confirm by typing the project name before deletion proceeds.
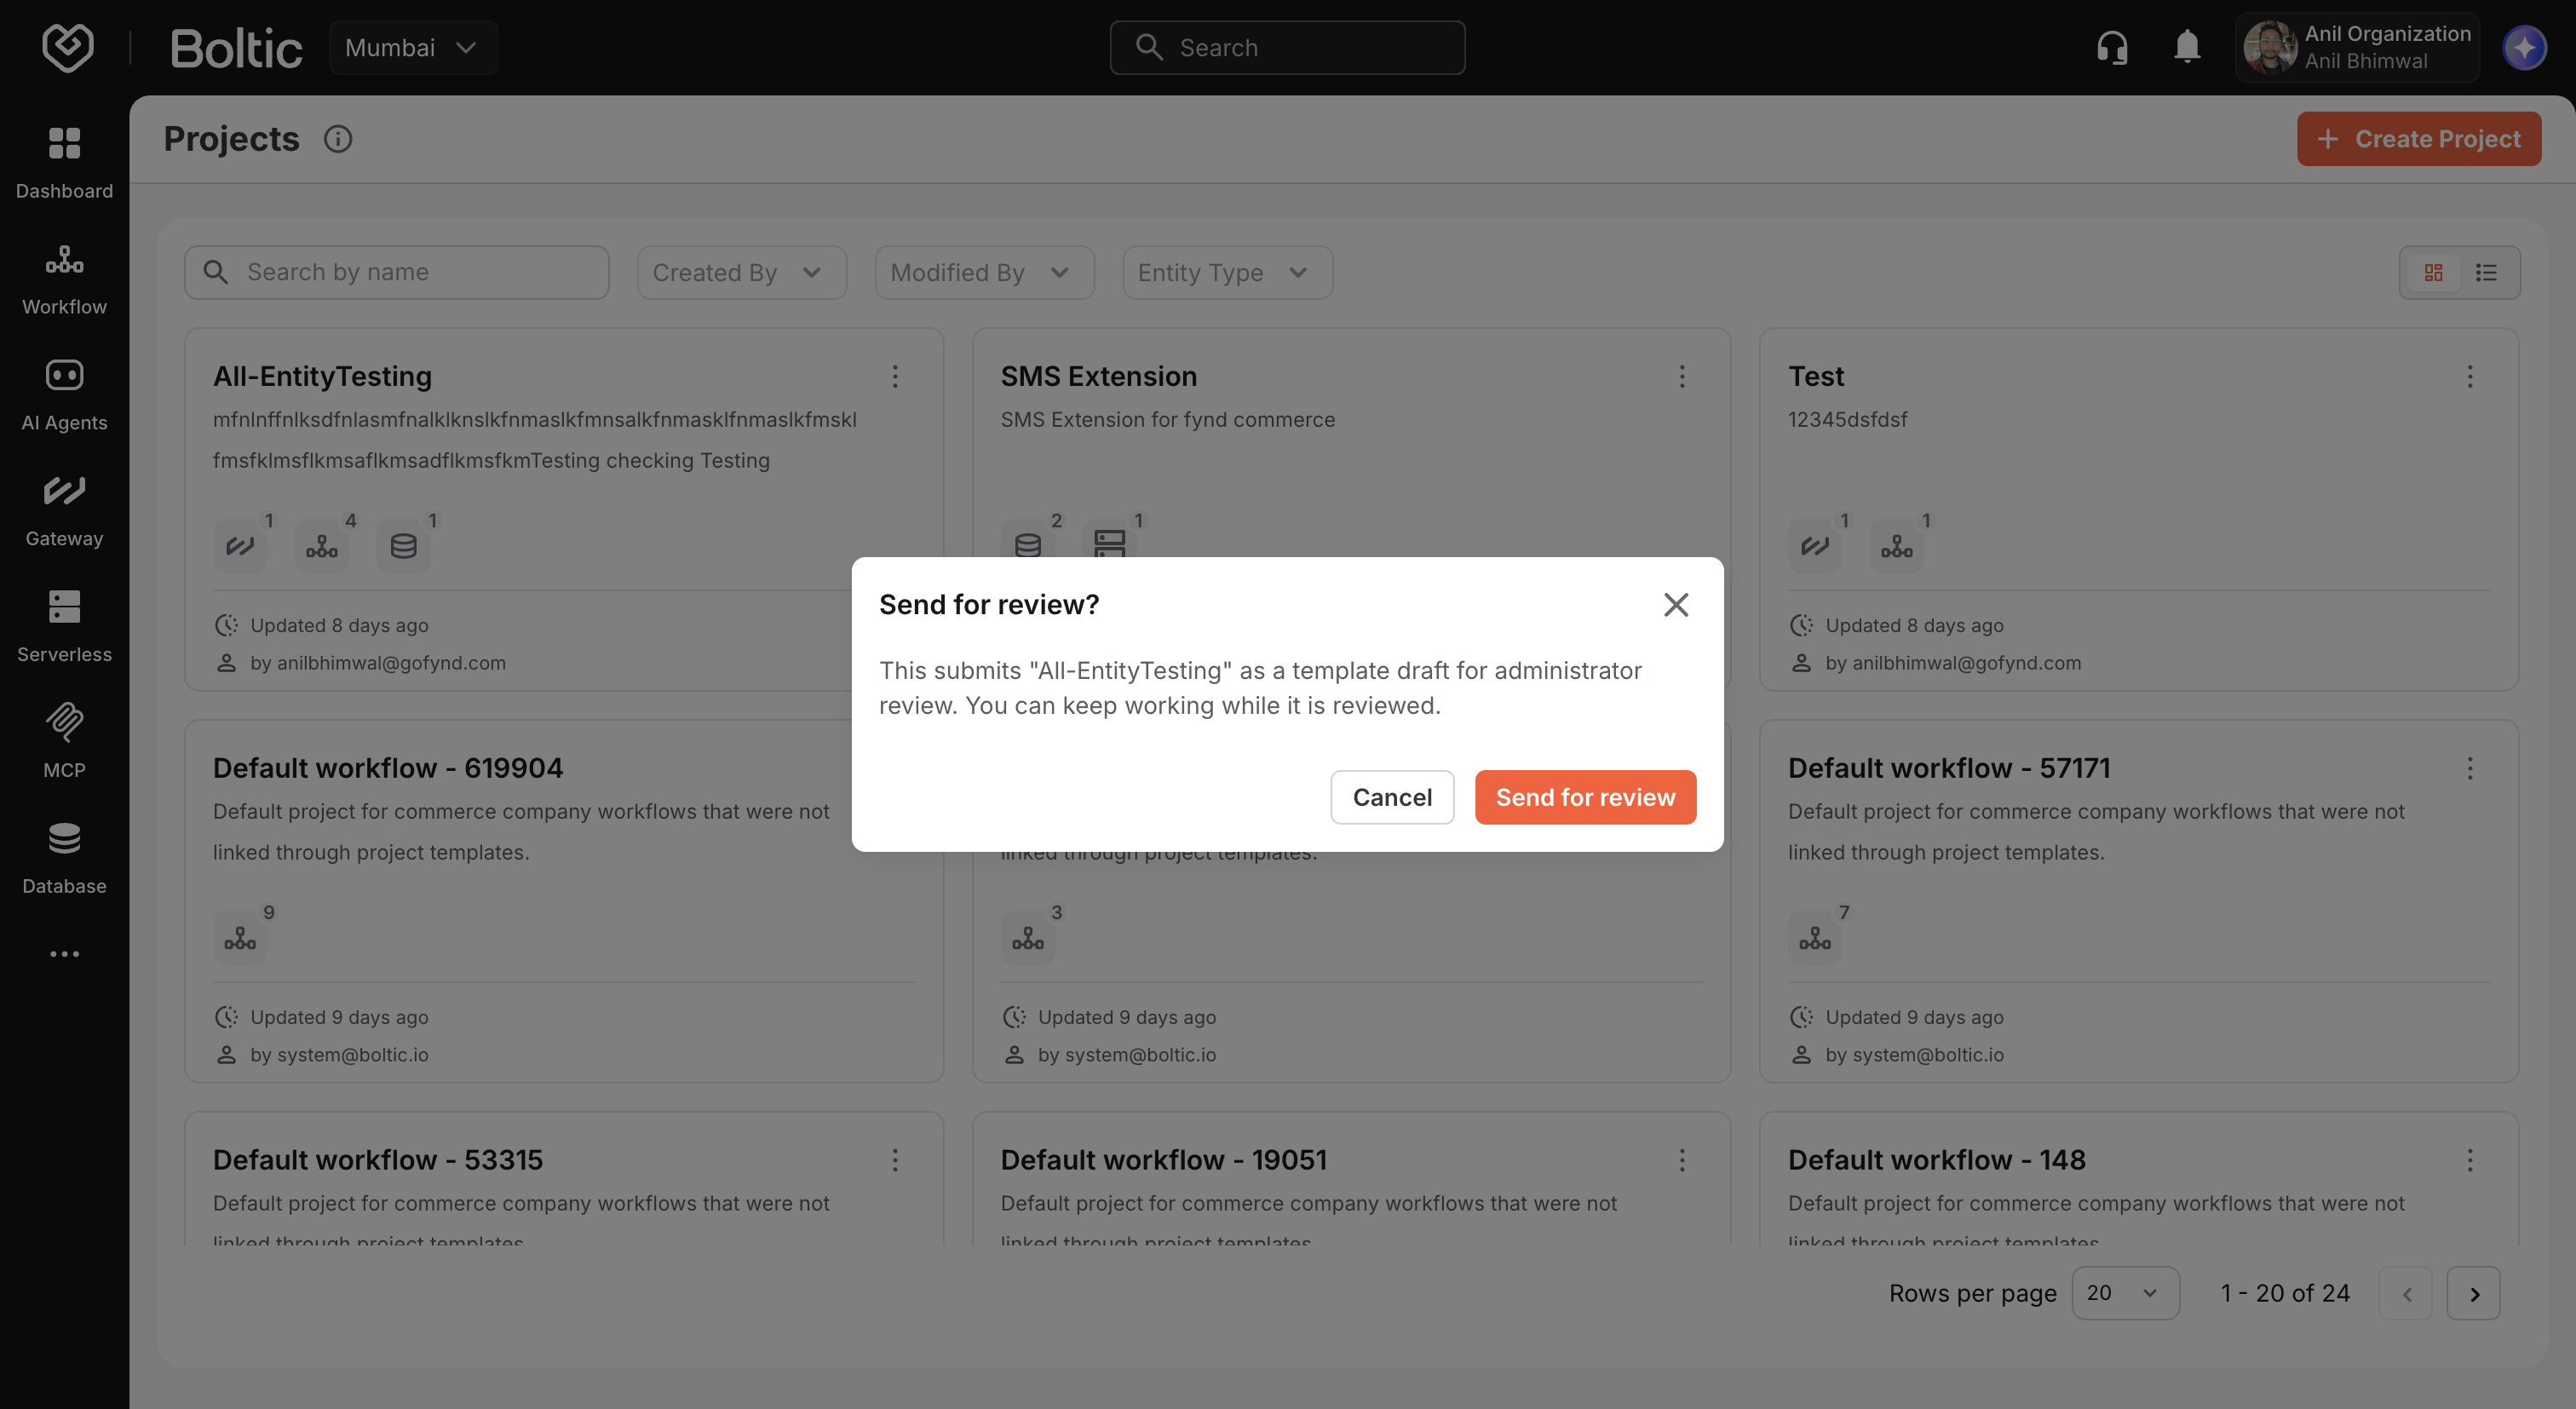
Publish as a template
From the project card or row context menu, choose Publish as a template to submit a project for administrator review as a reusable blueprint. The project must contain at least one entity and only supported types (workflows, gateways, serverless, database tables). See Project templates.
 |
|---|
Create your first project
- Click Create project.
- On the creation method screen, choose Manual Setup, Use Template, or wait for AI-Assisted (coming soon).
- For Manual Setup, complete the three-step wizard:
- Details — Enter project name and description.
- Select Entities — Optionally link existing workflows, gateways, tables, and other resources.
- Review — Confirm everything before submitting.
- After success, you are redirected to the new project's details page.
For Use Template, pick a blueprint from the gallery; modules attach in the background while you track progress on the project details page.
Continue with Creating a project for field requirements and entity selection tips, or Project templates for template-based creation.
Next steps
- Creating a project — Step-by-step wizard instructions.
- Project templates — Create from or publish templates.
- Project details and tabs — Navigate Home, Overview, and entity tabs.
- Managing entities — Add or remove resources after creation.