Create Workflow
A workflow is an automated sequence of tasks that executes in response to specific triggers. Each workflow consists of interconnected nodes that process data, interact with external systems, and perform business logic.
Prerequisites
- Before getting started, ensure you have a Fynd Boltic account.
1. Create Your First Workflow
If you are accessing the Workflow page for the first time, you’ll see a onboarding screen designed to help new users get started quickly.
Follow these steps to create your very first workflow:
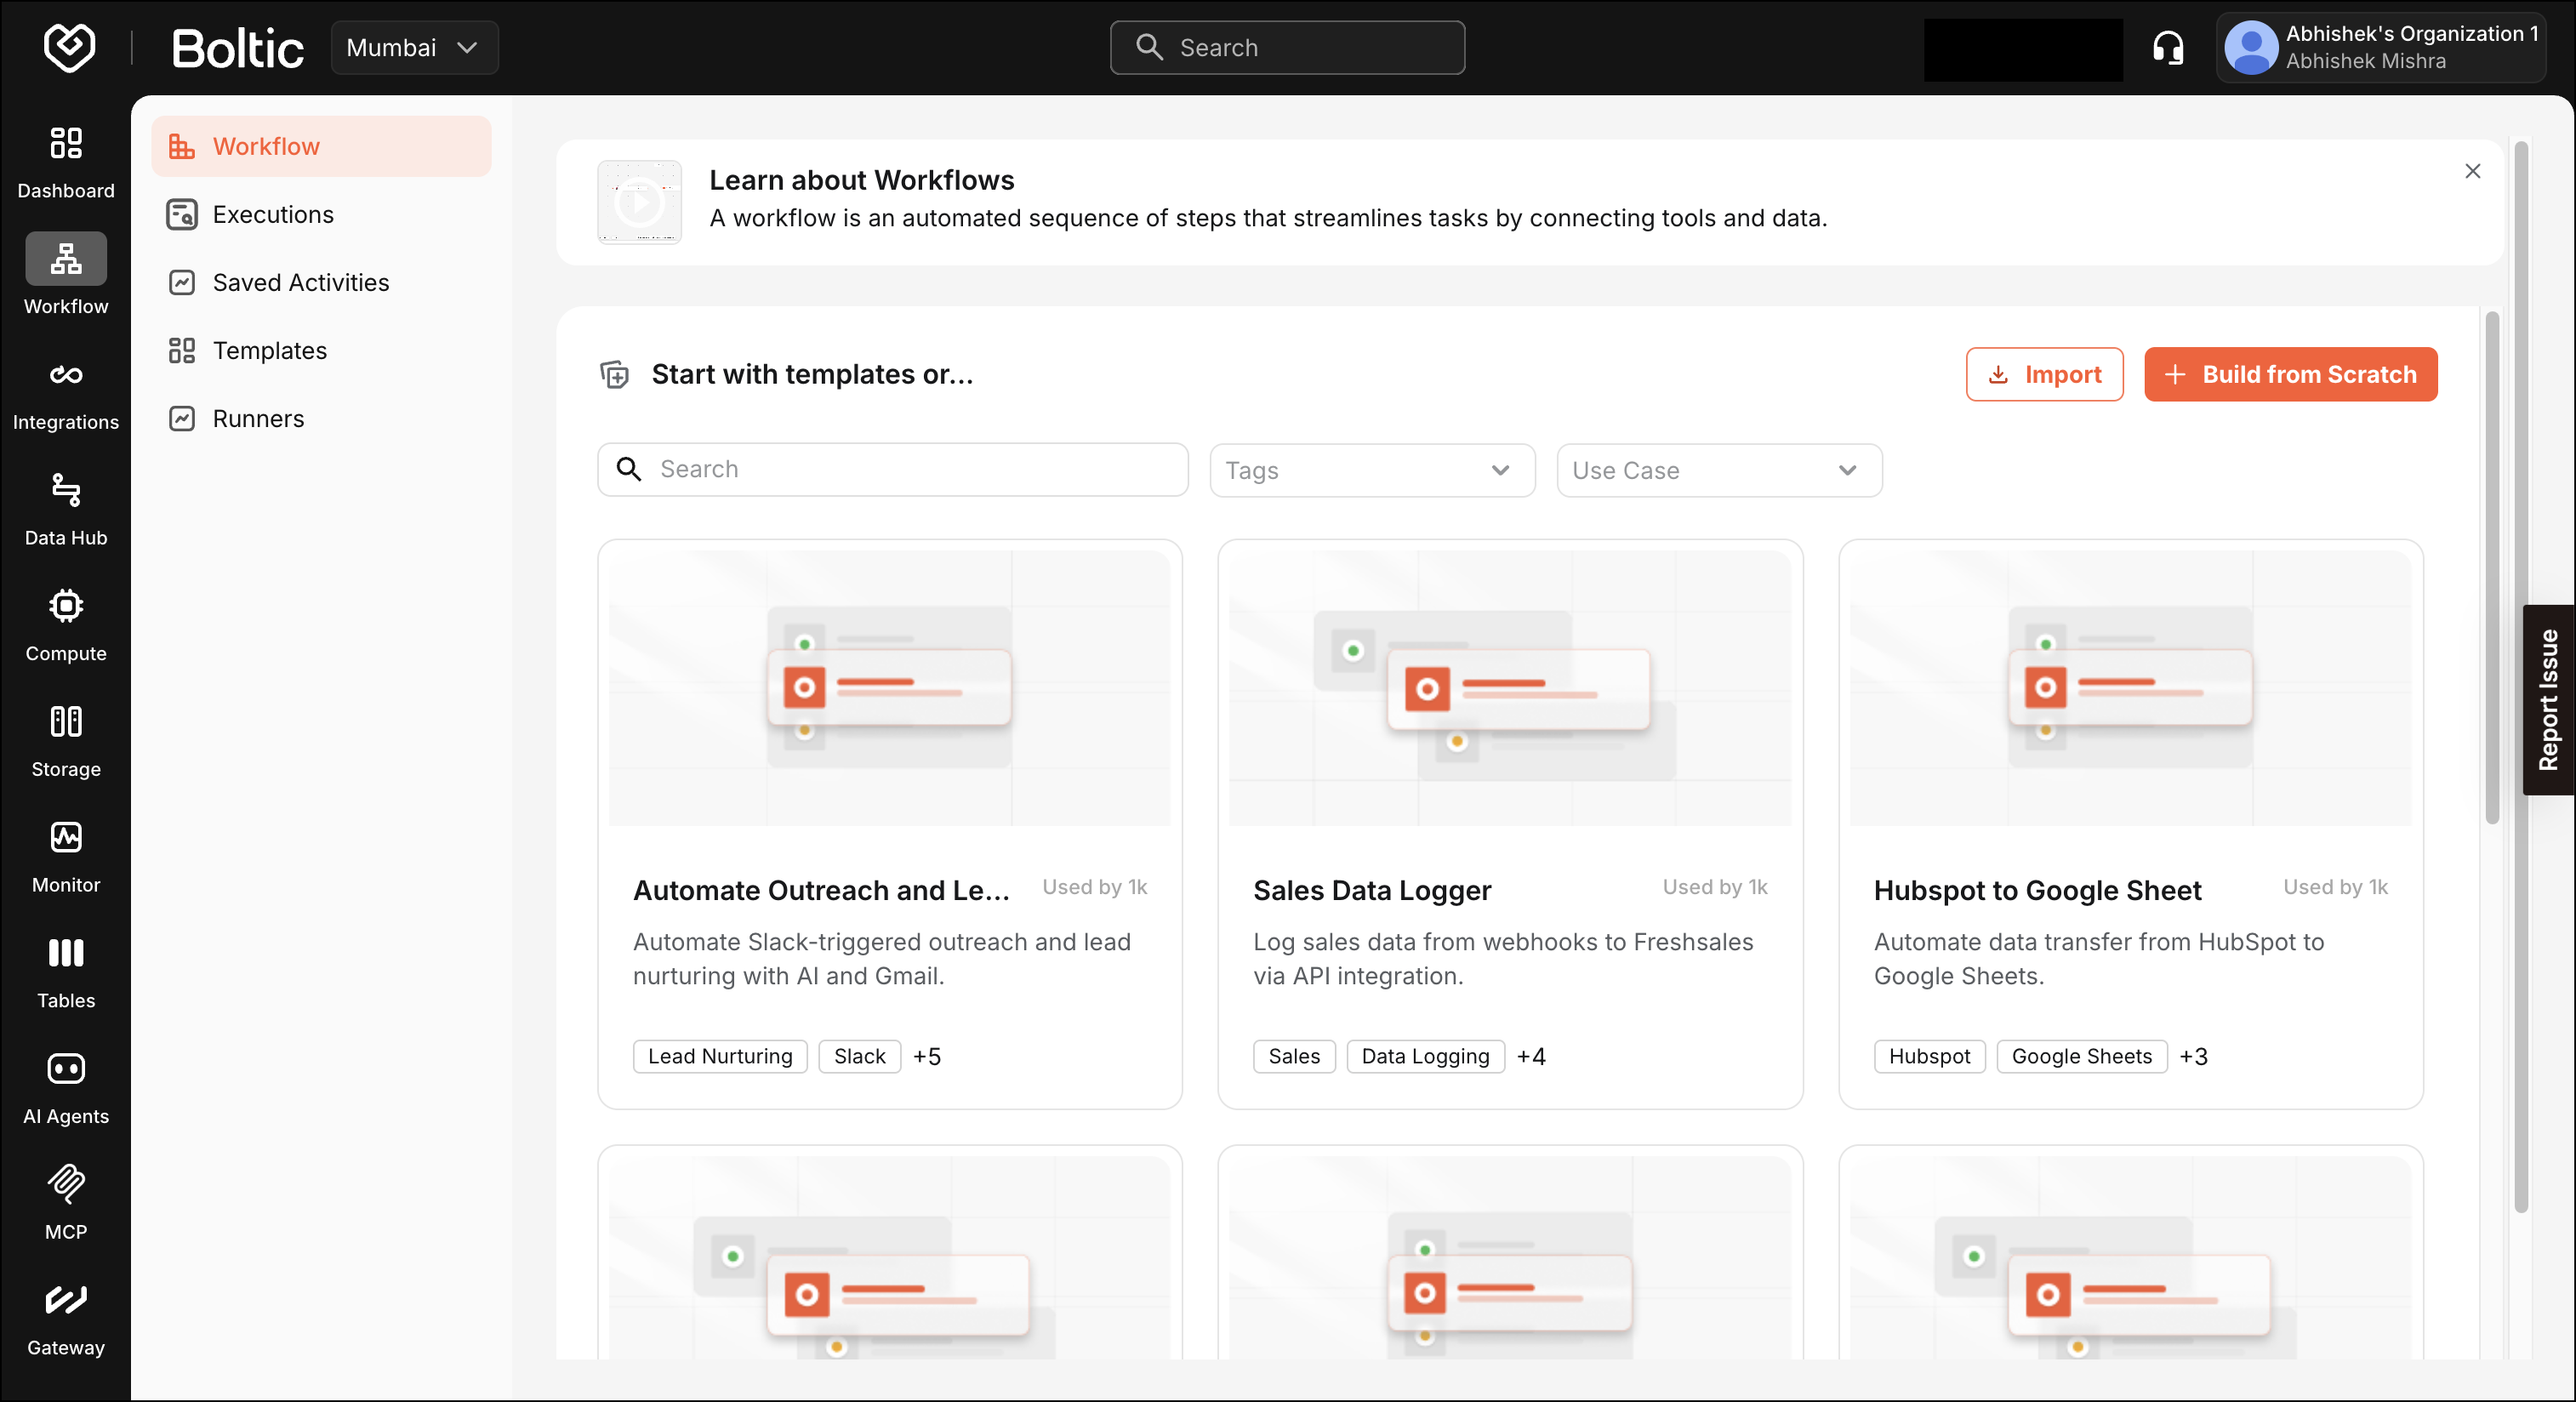
- Go to Fynd Boltic and log in to your account.
- In the left sidebar, click Workflow to access the workflow interface.
- On this page, you can either choose a pre-built template to help you get started, or select Build from Scratch to design your own workflow:
- If you select a template, you will proceed directly to the workflow builder page with the template pre-loaded.
- If you choose Build from Scratch, you may be prompted to name your workflow before proceeding.
- Click Create. You’ll be redirected to the workflow builder page, where you can design and configure your new workflow.
2. Create New Workflow
Do the following steps to create a workflow:
- Navigate to Fynd Boltic and log in to your account.
- In the left sidebar, click Workflow to access the workflow interface.
- Click Create Workflow to begin the workflow creation process.
- Select from an existing template or click Build from Scratch:
- If you selected an existing template, you will be redirected to workflow builder.
- If you selected Build from Scratch, enter a unique, descriptive name that identifies the workflow's purpose (e.g., Customer Onboarding Email Sequence or Daily Sales Report Generator) and click Create.
You will be redirected to the workflow builder page, where you can design and configure workflows. Refer to the Workflow Builder to get a detailed understanding of it.