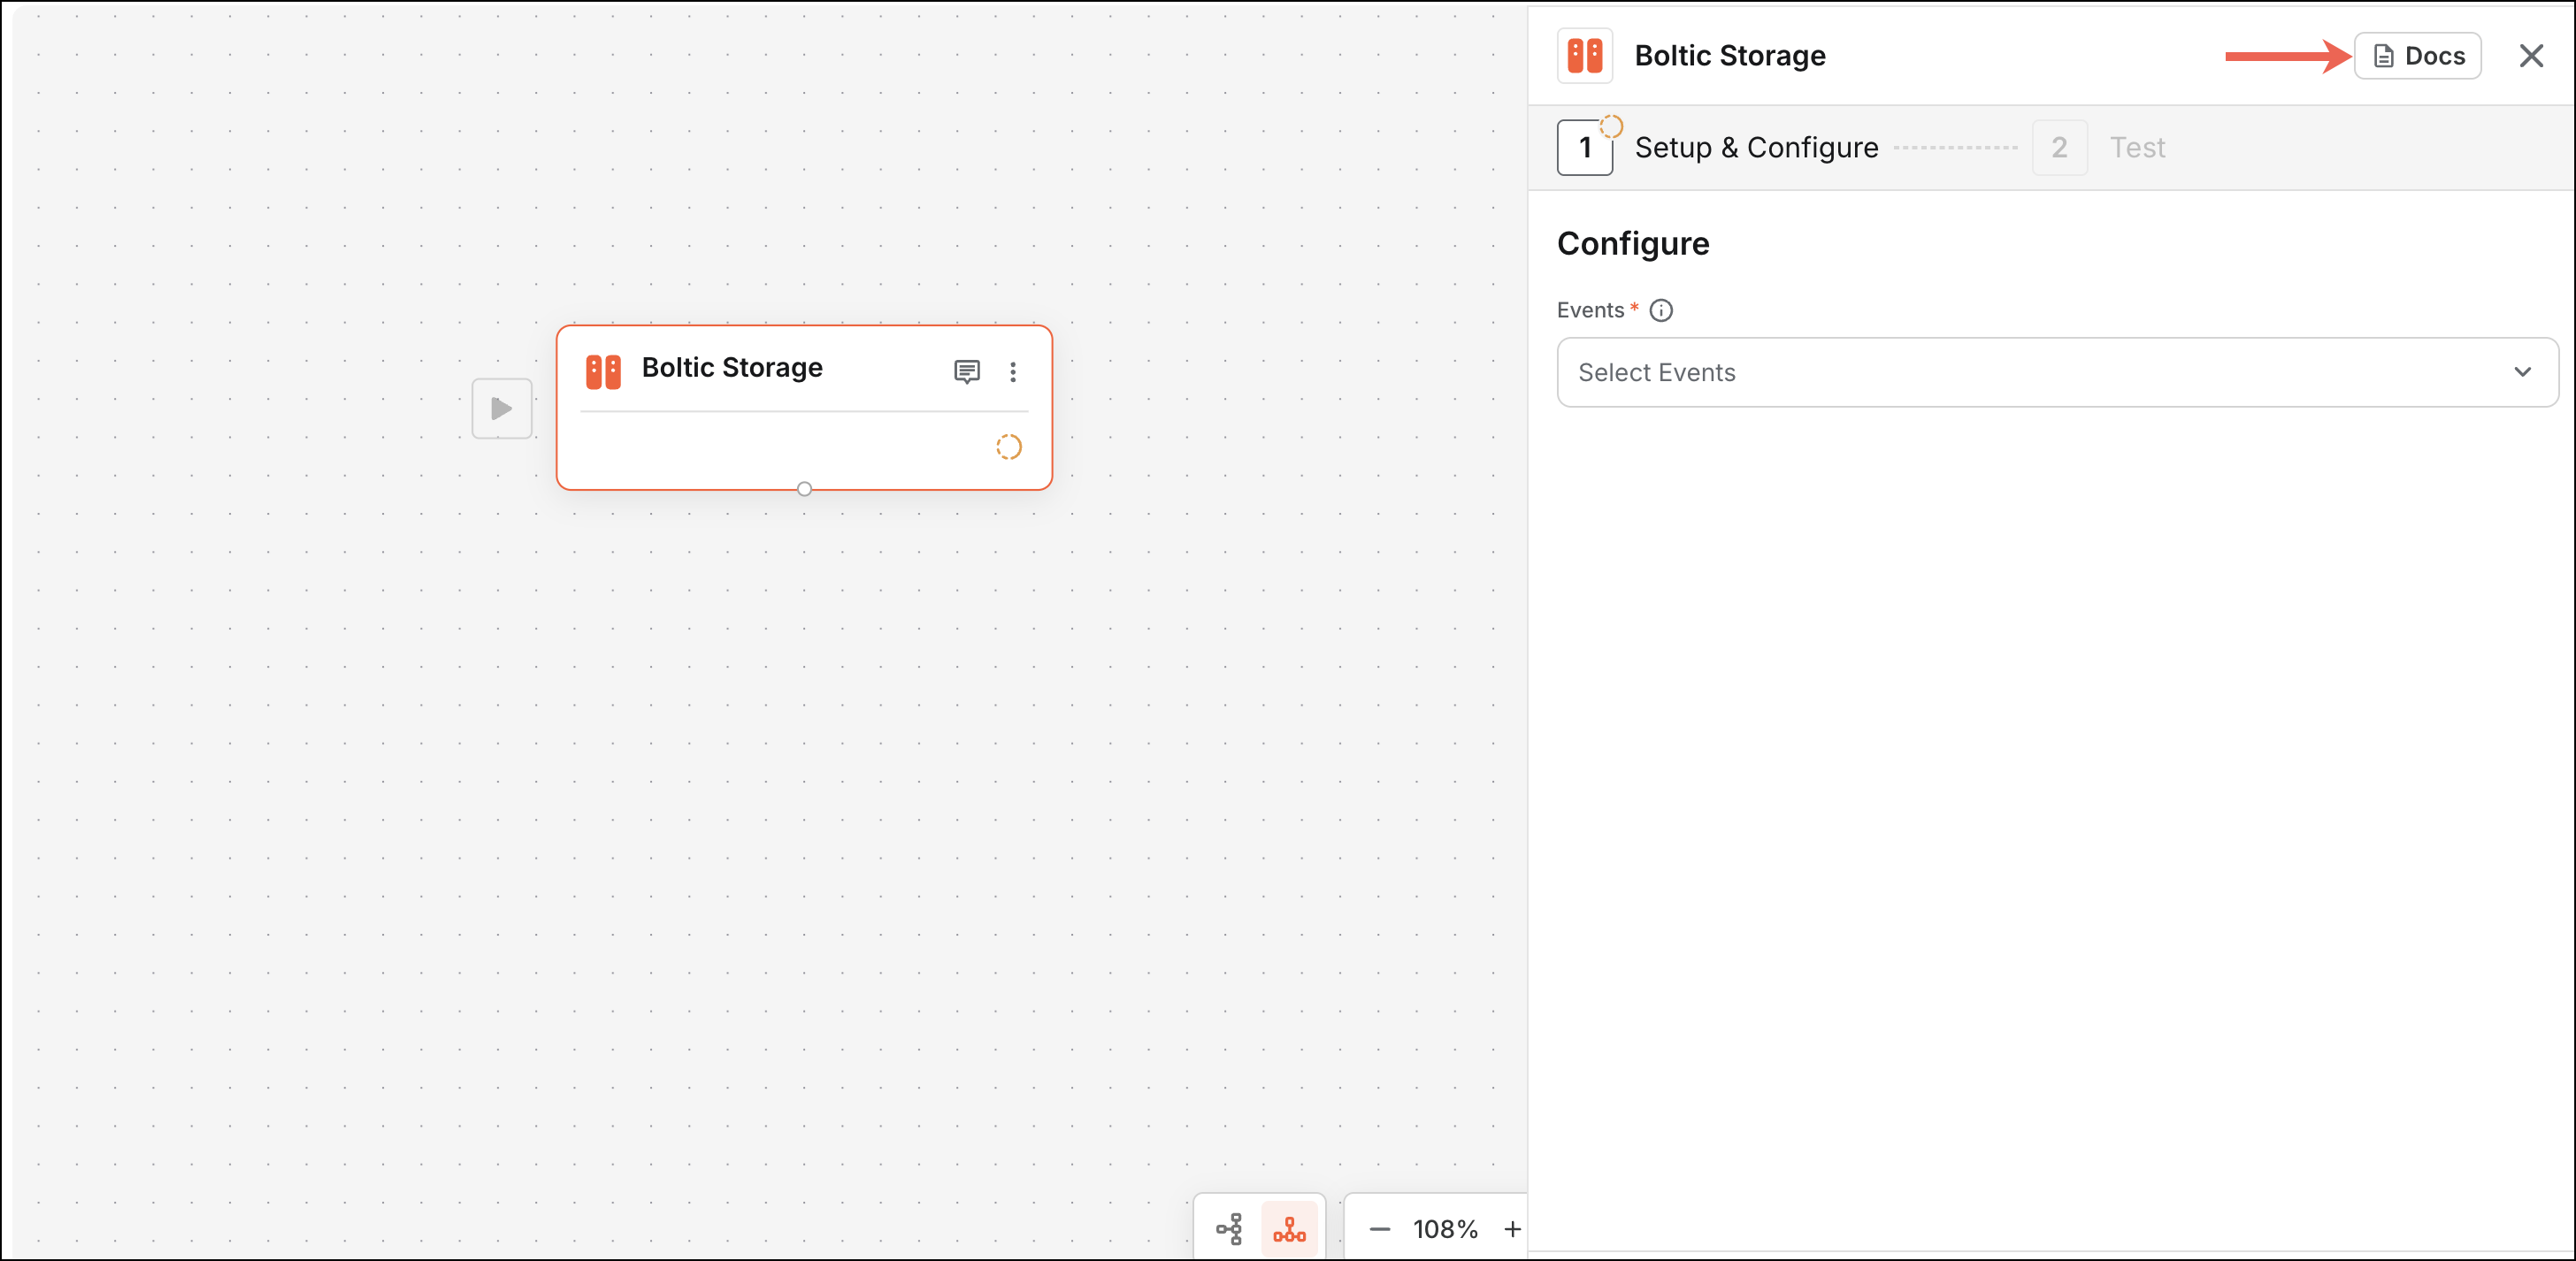
Integration Document
The Documentation.mdx file offers a detailed description of the activity's flow and possible operations, providing comprehensive insights into its functionality. The uploaded Documentation.mdx file is a structured, human-readable guide intended for use inside a Boltic integration boilerplate. It documents how to configure and use the integrations, detailing the authentication methods, available operations, and required setup steps for developers building workflows with Asana through Boltic.

Style and Writing Guidelines
- Write in .mdx format (Markdown + JSX).
- Keep sentences short and direct.
- Use clear, professional English.
- Use standard Markdown syntax for headings, lists, bold text, and code blocks.
- Use standard Markdown syntax for headings, lists, bold text, and code blocks.
- Use HTML tags like
<a>when you need custom-styled or external links, and always includetarget="_blank" and rel="noopener". - Avoid technical terms unless it’s part of the API.
Content Structure
The Documentation.mdx file must follow this structure:
# Integration Name
* Top-level heading with the name of the integration or node (e.g., **`# Google Programmable Search Engine`**).
* It should not contain special characters and underscores in the name of an integration.
* Overview
* Briefly describe what the integration does and its primary use case.
* Focus on purpose and benefits, not technical steps.
* Limit to 2–3 short sentences.

## Getting Started
- A short section that introduces the configuration process.

## Prerequisites
* List accounts, keys, or tokens required to use the node.
* Use bullet points (-) and include links where applicable.

## Supported Authentication Methods
* List all authentication types the node supports.
* Use bold text for each method.
* Keep descriptions short and simple.

## Basic Operations
* Briefly describe the functional capabilities of the node.
* Organize operations by logical groups (e.g., Audience Management, Campaigns).
* Structure for each functional section should be:

### Audience Management
- **Create an Audience**: Creates a new subscriber list.
- **Retrieve an Audience**: Returns details of a specific audience.

## Conclusion
* Summarize the node’s purpose and value.
* Encourage the user to explore more features.
* Include a link to the official developer documentation (if available).
Quality Checklist Before Submission
Before submitting your authentication documentation, ensure:
- The document starts with the integration name.
- It includes an overview section.
- Prerequisites include valid, working links.
- Operations are grouped by functionality and clearly explained.
- Common grammatical errors (e.g., “an Subscriber”) are avoided.
- All steps are numbered and clear.
- External links are clickable and open in a new tab.
- Formatting is clean, consistent, and follows MDX syntax.
- You avoid placeholder text like YOUR_API_KEY_HERE unless required.
Example
# Mailchimp

The Mailchimp node allows you to integrate with the Mailchimp API to automate email marketing workflows, manage subscribers, and control campaigns. This guide helps you configure and start using the node efficiently.

## Getting Started

Before using the Mailchimp node, complete the following setup.

### Prerequisites

- **Mailchimp Account**: [Sign up here](https://mailchimp.com/)
- **Mailchimp API Key**: [Get it from your Mailchimp dashboard](https://mailchimp.com/developer/marketing/docs/)

### Supported Authentication Methods

- **API Key Authentication**: Authenticate using your Mailchimp API key.

## Basic Operations

### Audience Management

- **Create an Audience**: Create a new list for organizing subscribers.
- **Retrieve an Audience**: View details of a specific audience.
- **Update an Audience**: Edit existing audience settings.
- **Delete an Audience**: Remove an audience permanently.

### Subscriber Management

- **Search for a Subscriber**: Find subscribers by name or email.
- **Retrieve a Subscriber**: View detailed information about a subscriber.
- **Add/Update a Subscriber**: Add or update a subscriber in a list.
- **Edit Subscriber Details**: Modify subscriber information.
- **Delete a Subscriber**: Remove a subscriber from a list.

### Campaign Management

- **Retrieve Campaign List**: View all campaigns.
- **Create a Campaign**: Set up a new email campaign.
- **Send a Campaign**: Send or schedule a campaign.
- **Update a Campaign**: Modify campaign settings.
- **Delete a Campaign**: Remove an existing campaign.

### List Member

- **Add/Update a Campaign**: Add or update member details for a campaign.

## Conclusion

The Mailchimp node streamlines your marketing processes by connecting your applications directly with Mailchimp. With just a few steps, you can automate audience and campaign management at scale.

For more information, visit the <a href="https://mailchimp.com/developer/marketing/docs/" target="_blank" rel="noopener">Mailchimp Developer Documentation</a>.