Base Setup
It controls how users authenticate, select resources, and interact with various features via UI-driven parameters. This section outlines the key fields used in base.json and their link to the corresponding modules in the resources/ directory.
Every activity or trigger should have an authentication mechanism. Therefore, this file is mandatory for every activity.
Components of Base Schema
The Base schema consists of the following components:
1. Account Selection
Enables developers to authenticate and select the relevant account or secret necessary for the integration.
- Field:
"name": "secret",
This field is typically the first one encountered when integrating with a CRM tool or service. It is used to authenticate the user.
Example Code
The following is a sample code snippet to show how Account Selection can be implemented.
This is just an example. Depending on your specific use case or configuration, some parts of the code may vary.
{
    "name": "secret",
    "meta": {
        "displayName": "Boltic Account",
        "displayType": "autocomplete",
        "placeholder": "Select Boltic Account",
        "description": "Freshsales is a secure partner with Boltic. Your credentials are encrypted & can be removed at any time.",
        "options": [],
        "config": {
            "urlType": "secret",
            "method": "get",
            "url": "/FRESHSALES?current_page=1&page_size=999",
            "labelKey": "name",
            "valueKey": "_id"
        },
        "htmlProps": {
            "showAddNew": true
        },
        "value": "",
        "validation": {
            "required": true
        }
    }
}
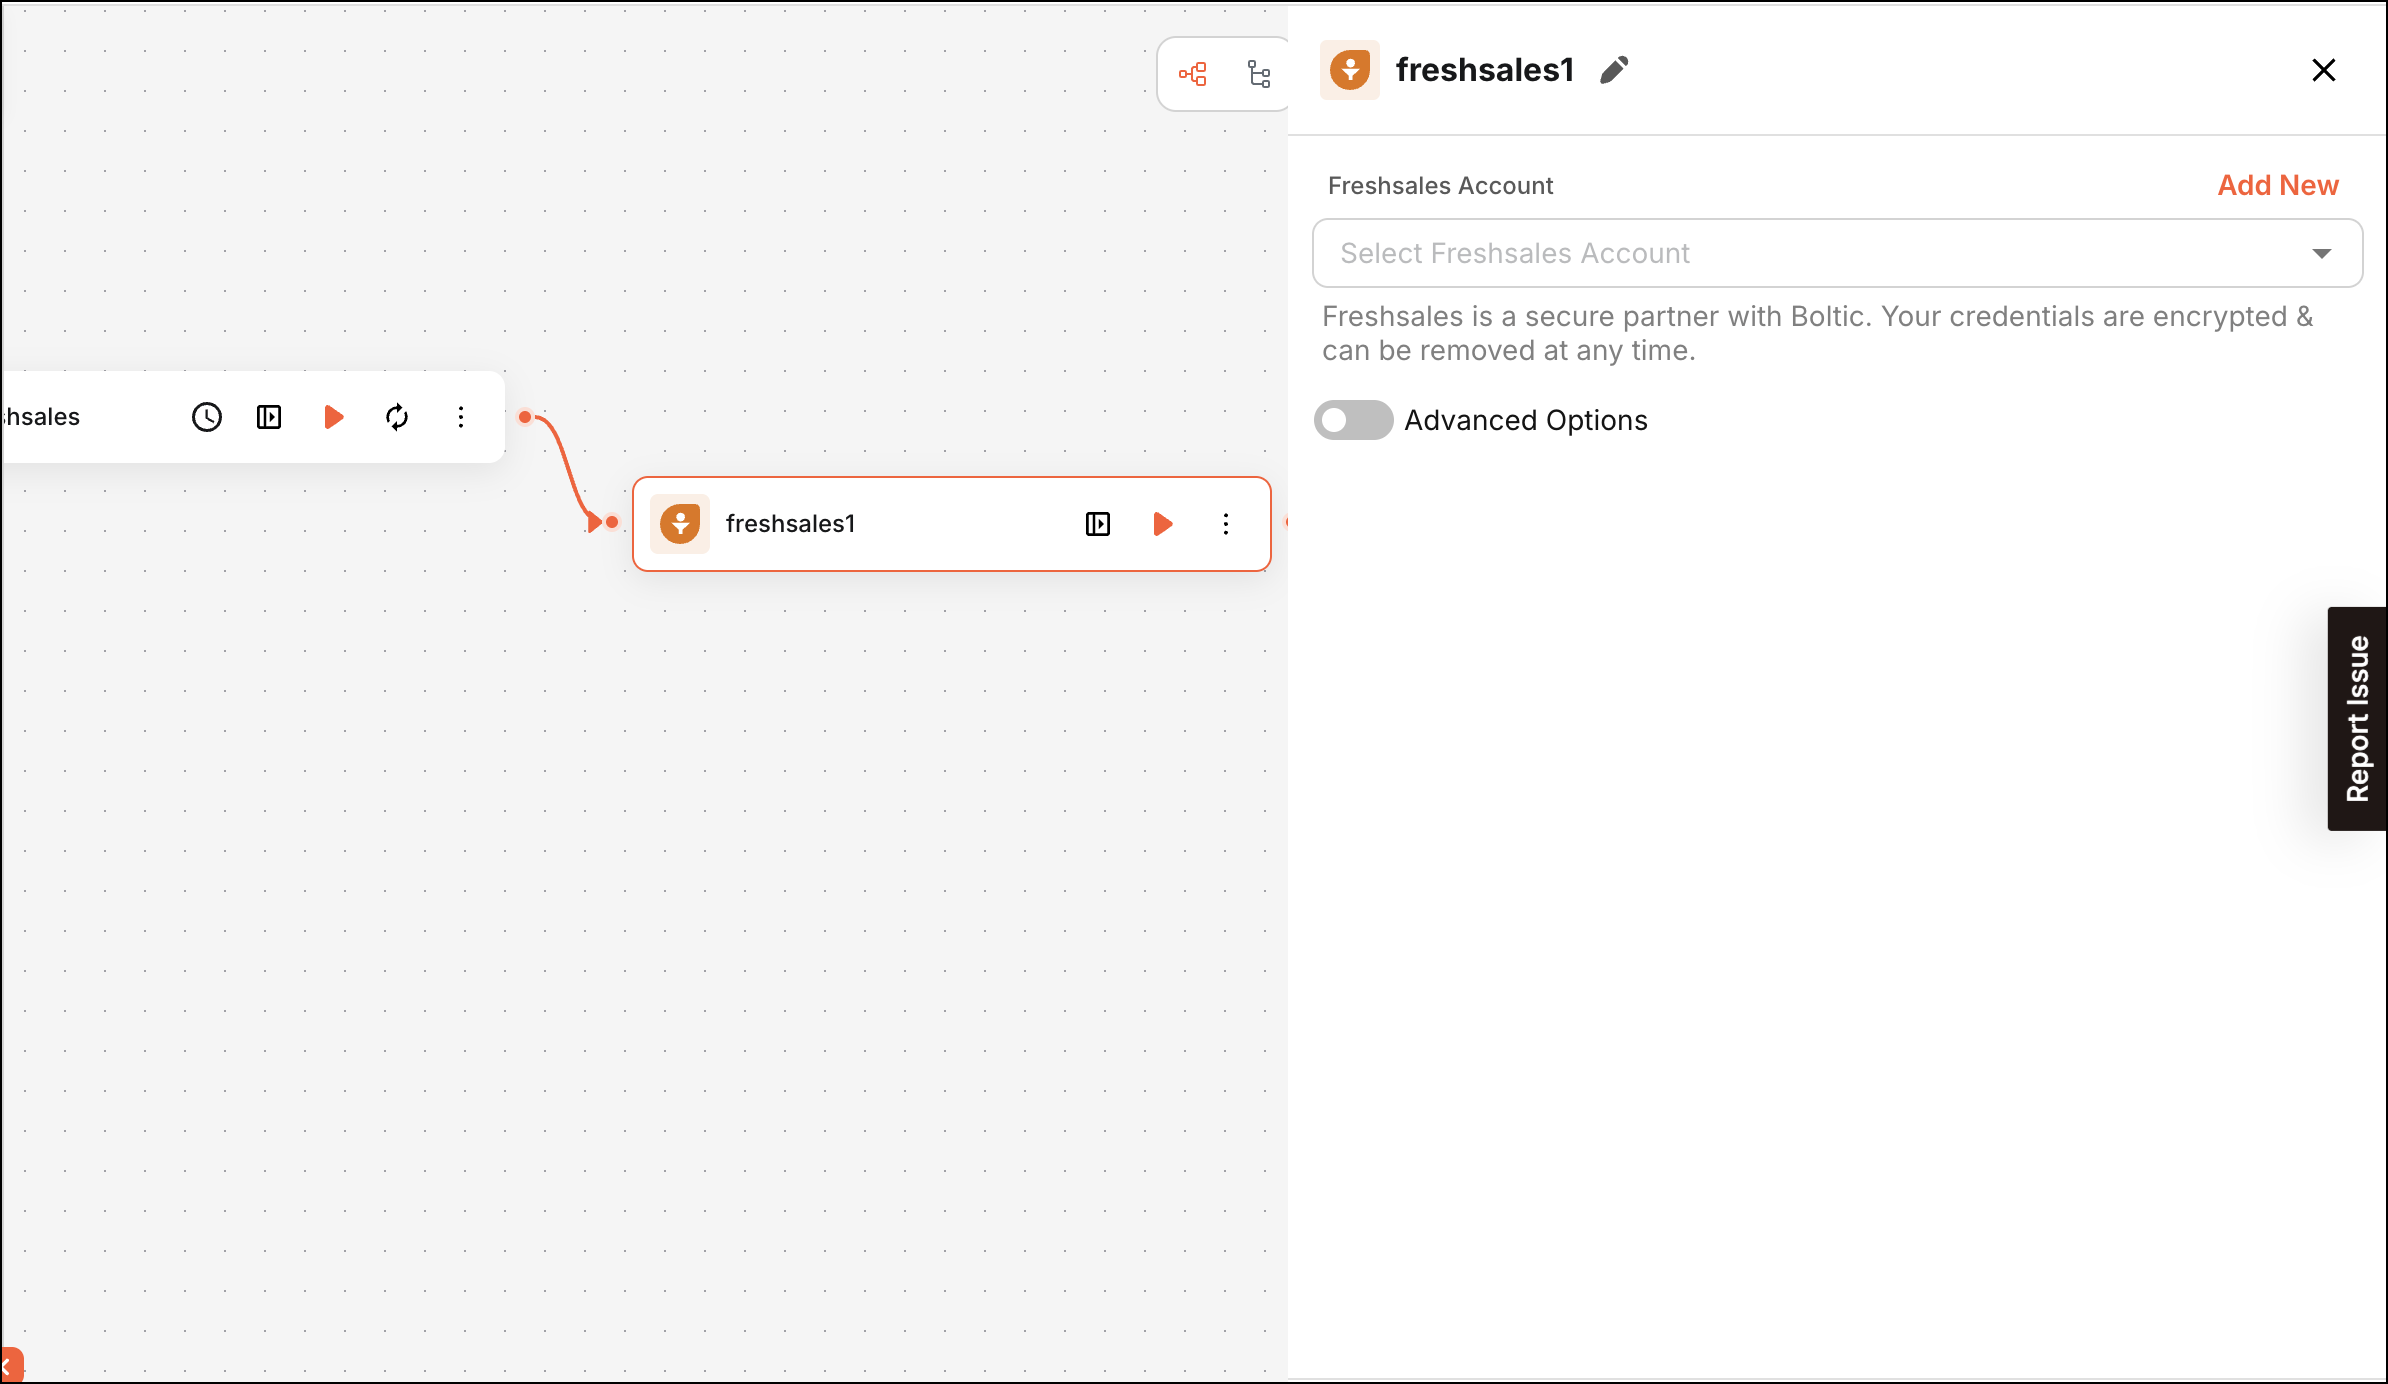
Example Output (Dashboard View)
Once the above integration is configured and triggered, here’s how the feature will appear on the dashboard:
2. Resource Selection
Developers can choose from various resources they wish to interact with, such as accounts, contacts, deals, etc. This parameter facilitates targeted operations within the integration.
- Field:
"name": "resource"
Example Code
The following is a sample code snippet to show how Resource Selection can be implemented.
This is just an example. Depending on your specific use case or configuration, some parts of the code may vary.
{
    "name": "resource",
    "meta": {
        "displayName": "Resource",
        "displayType": "select",
        "placeholder": "Select a resource",
        "description": "Select the resource you want to work with.",
        "options": [
            { "label": "Account", "value": "account" },
            { "label": "Contact", "value": "contact" },
            { "label": "Custom", "value": "custom" }
        ],
        "value": "",
        "validation": {
            "required": true
        },
        "dependencies": {
            // Add this if you want to hide Resource field until secret field is selected.
            "conditions": [
                {
                    "field": "secret",
                    "operator": "NOT_EMPTY"
                }
            ]
        }
    }
}
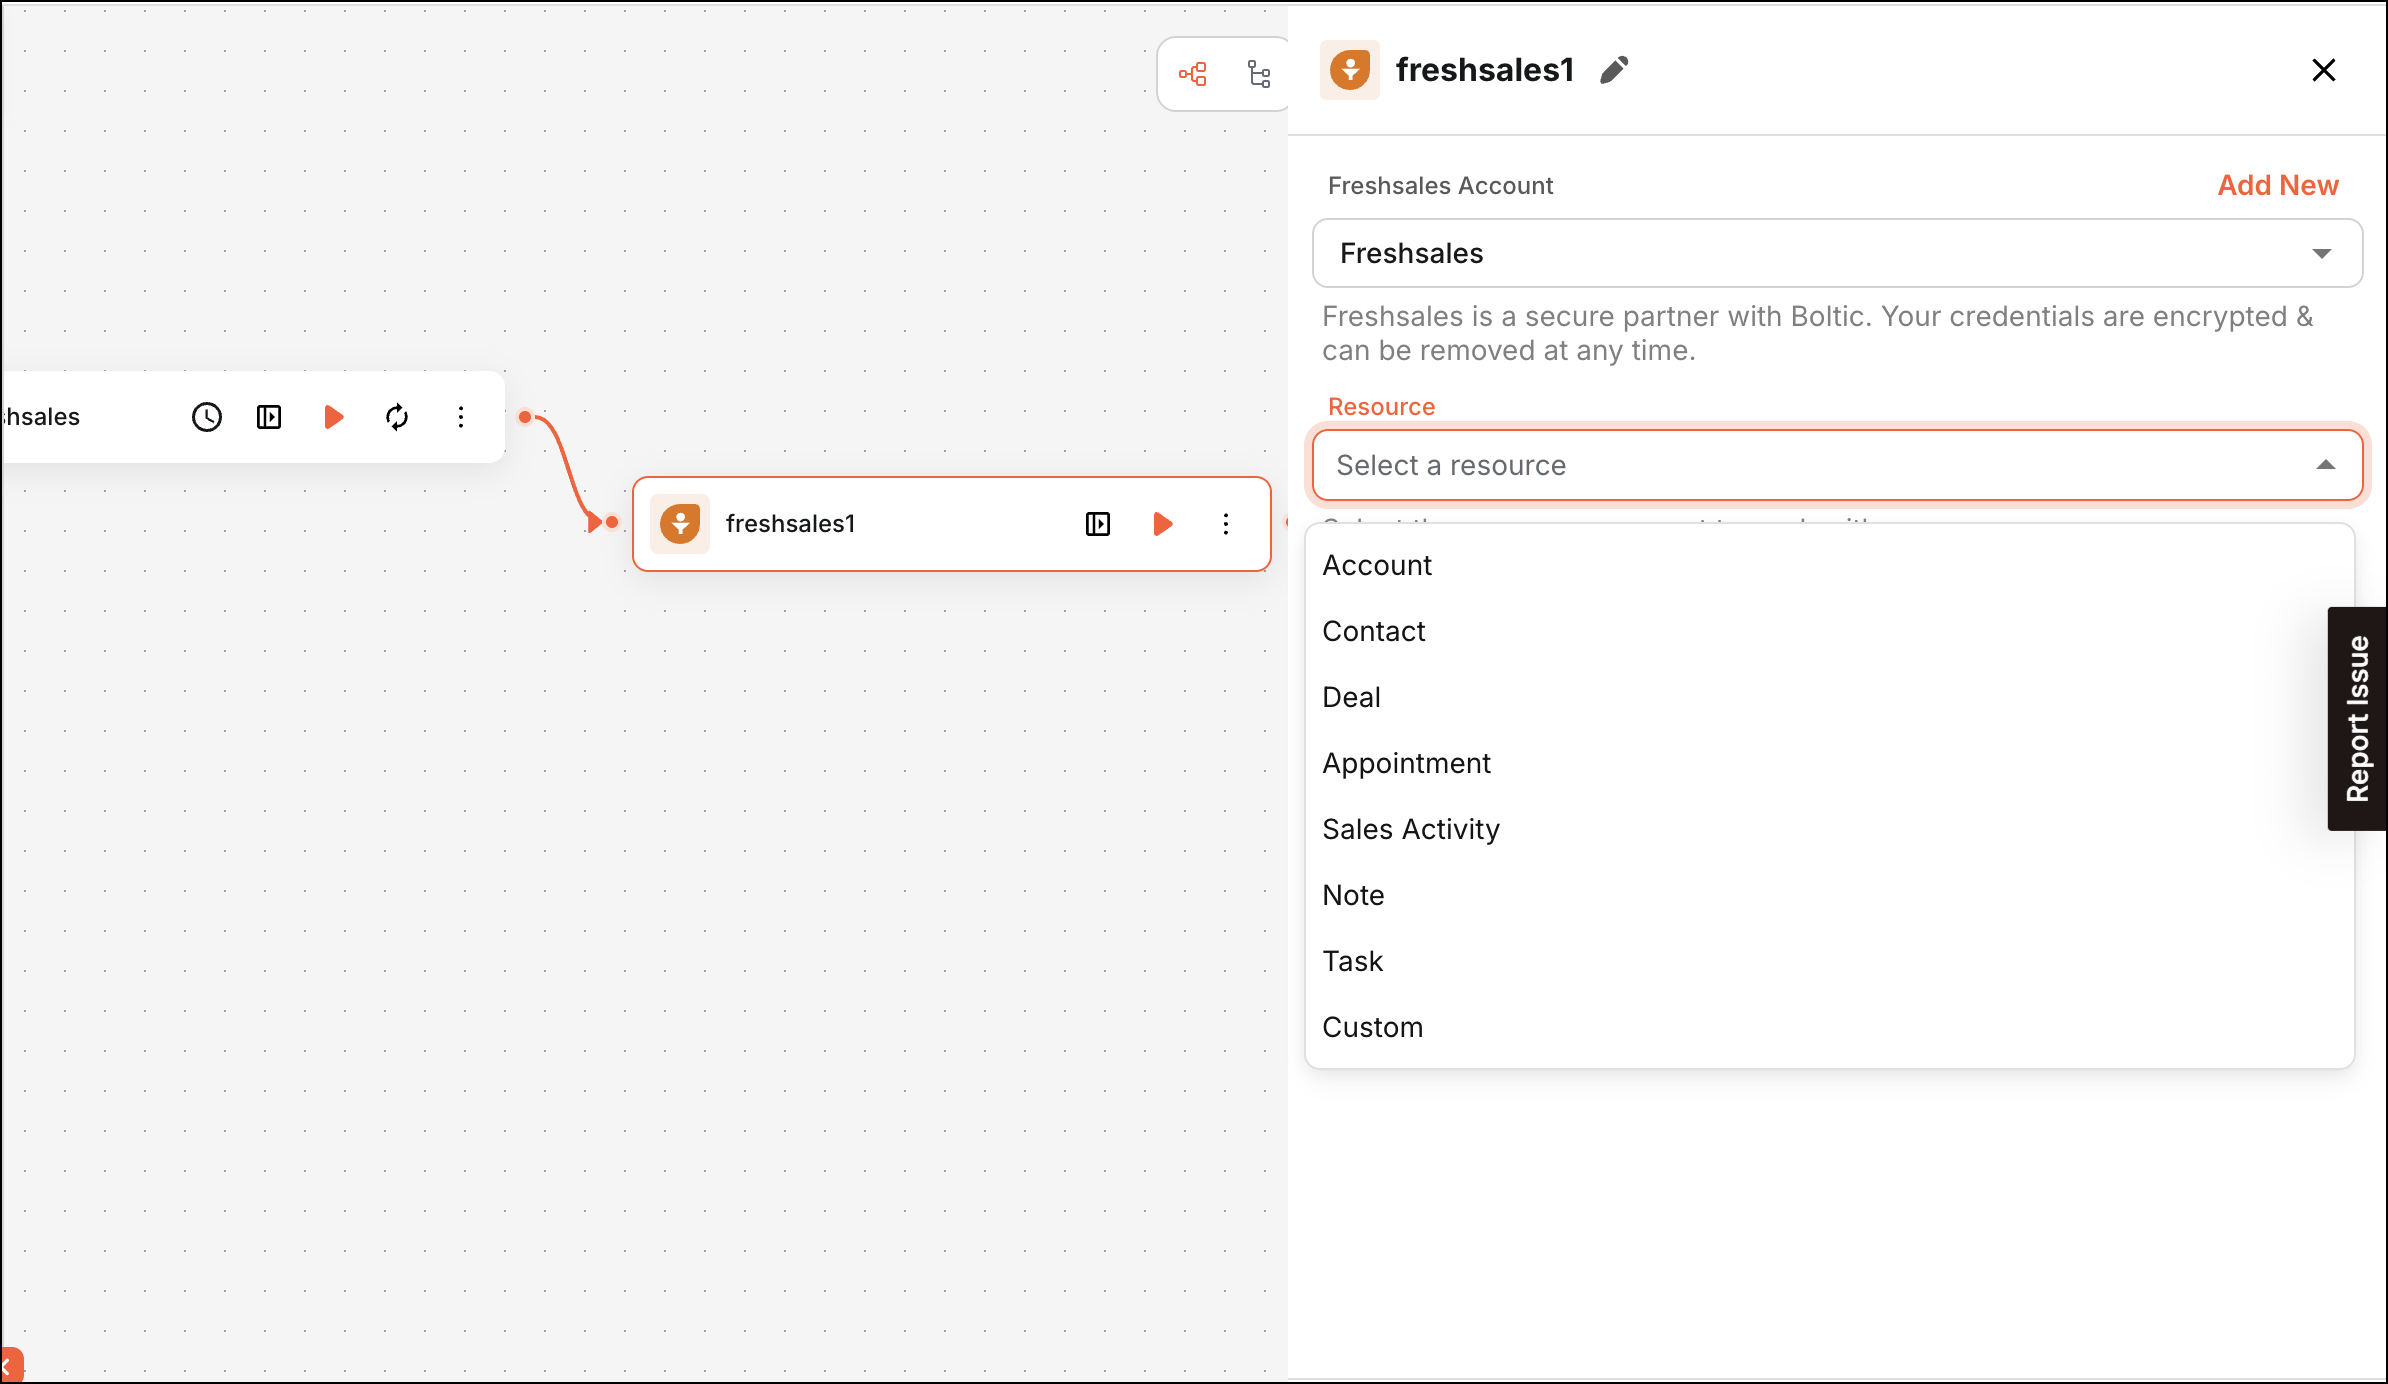
Example Output (Dashboard View)
Once the above integration is configured and triggered, here’s how the feature will appear on the dashboard:
Linking Base Schema to the Resources Directory
When building a Boltic Integration, you define the core structure of your integration using the Base schema (base.json) file. Based on the configuration options set in the Base schema file, you create additional resource modules under the Resources directory. These modules enable the integration to handle specific functionalities, such as text generation, chat, vision, or model management. Each feature in the base.json file must be implemented within the Resources directory. The schema and structure inside each resource file vary depending on the feature's requirements.
Example
Let us look how the interaction between base.json and the Resources directory done in the Gemini Integration.
Base Schema
"options": [
    {
        "label": "Account",
        "value": "account"
    },
    {
        "label": "Contact",
        "value": "contact"
    },
    {
        "label": "Custom API",
        "value": "custom"
    }
]
The Resources Directory
The Resources folder contains sub-modules corresponding to the features enabled in base.json. Each file in this directory represents a module used to power the integration. You will get more details in Resource Directory.
├── schemas
│   ├── resources
│   │       ├── account.json
│   │       ├── contact.json
│   │       ├── custom.json
│   ...
│
...