Creating Databases
This guide covers the step-by-step process for creating new databases in Boltic Tables.
Quick Creation Process
| Step | Action | Details |
|---|---|---|
| 1 | Choose Connector | • Boltic Cloud (Recommended - instant setup) • Cloud Connectors (Advanced - existing infrastructure) |
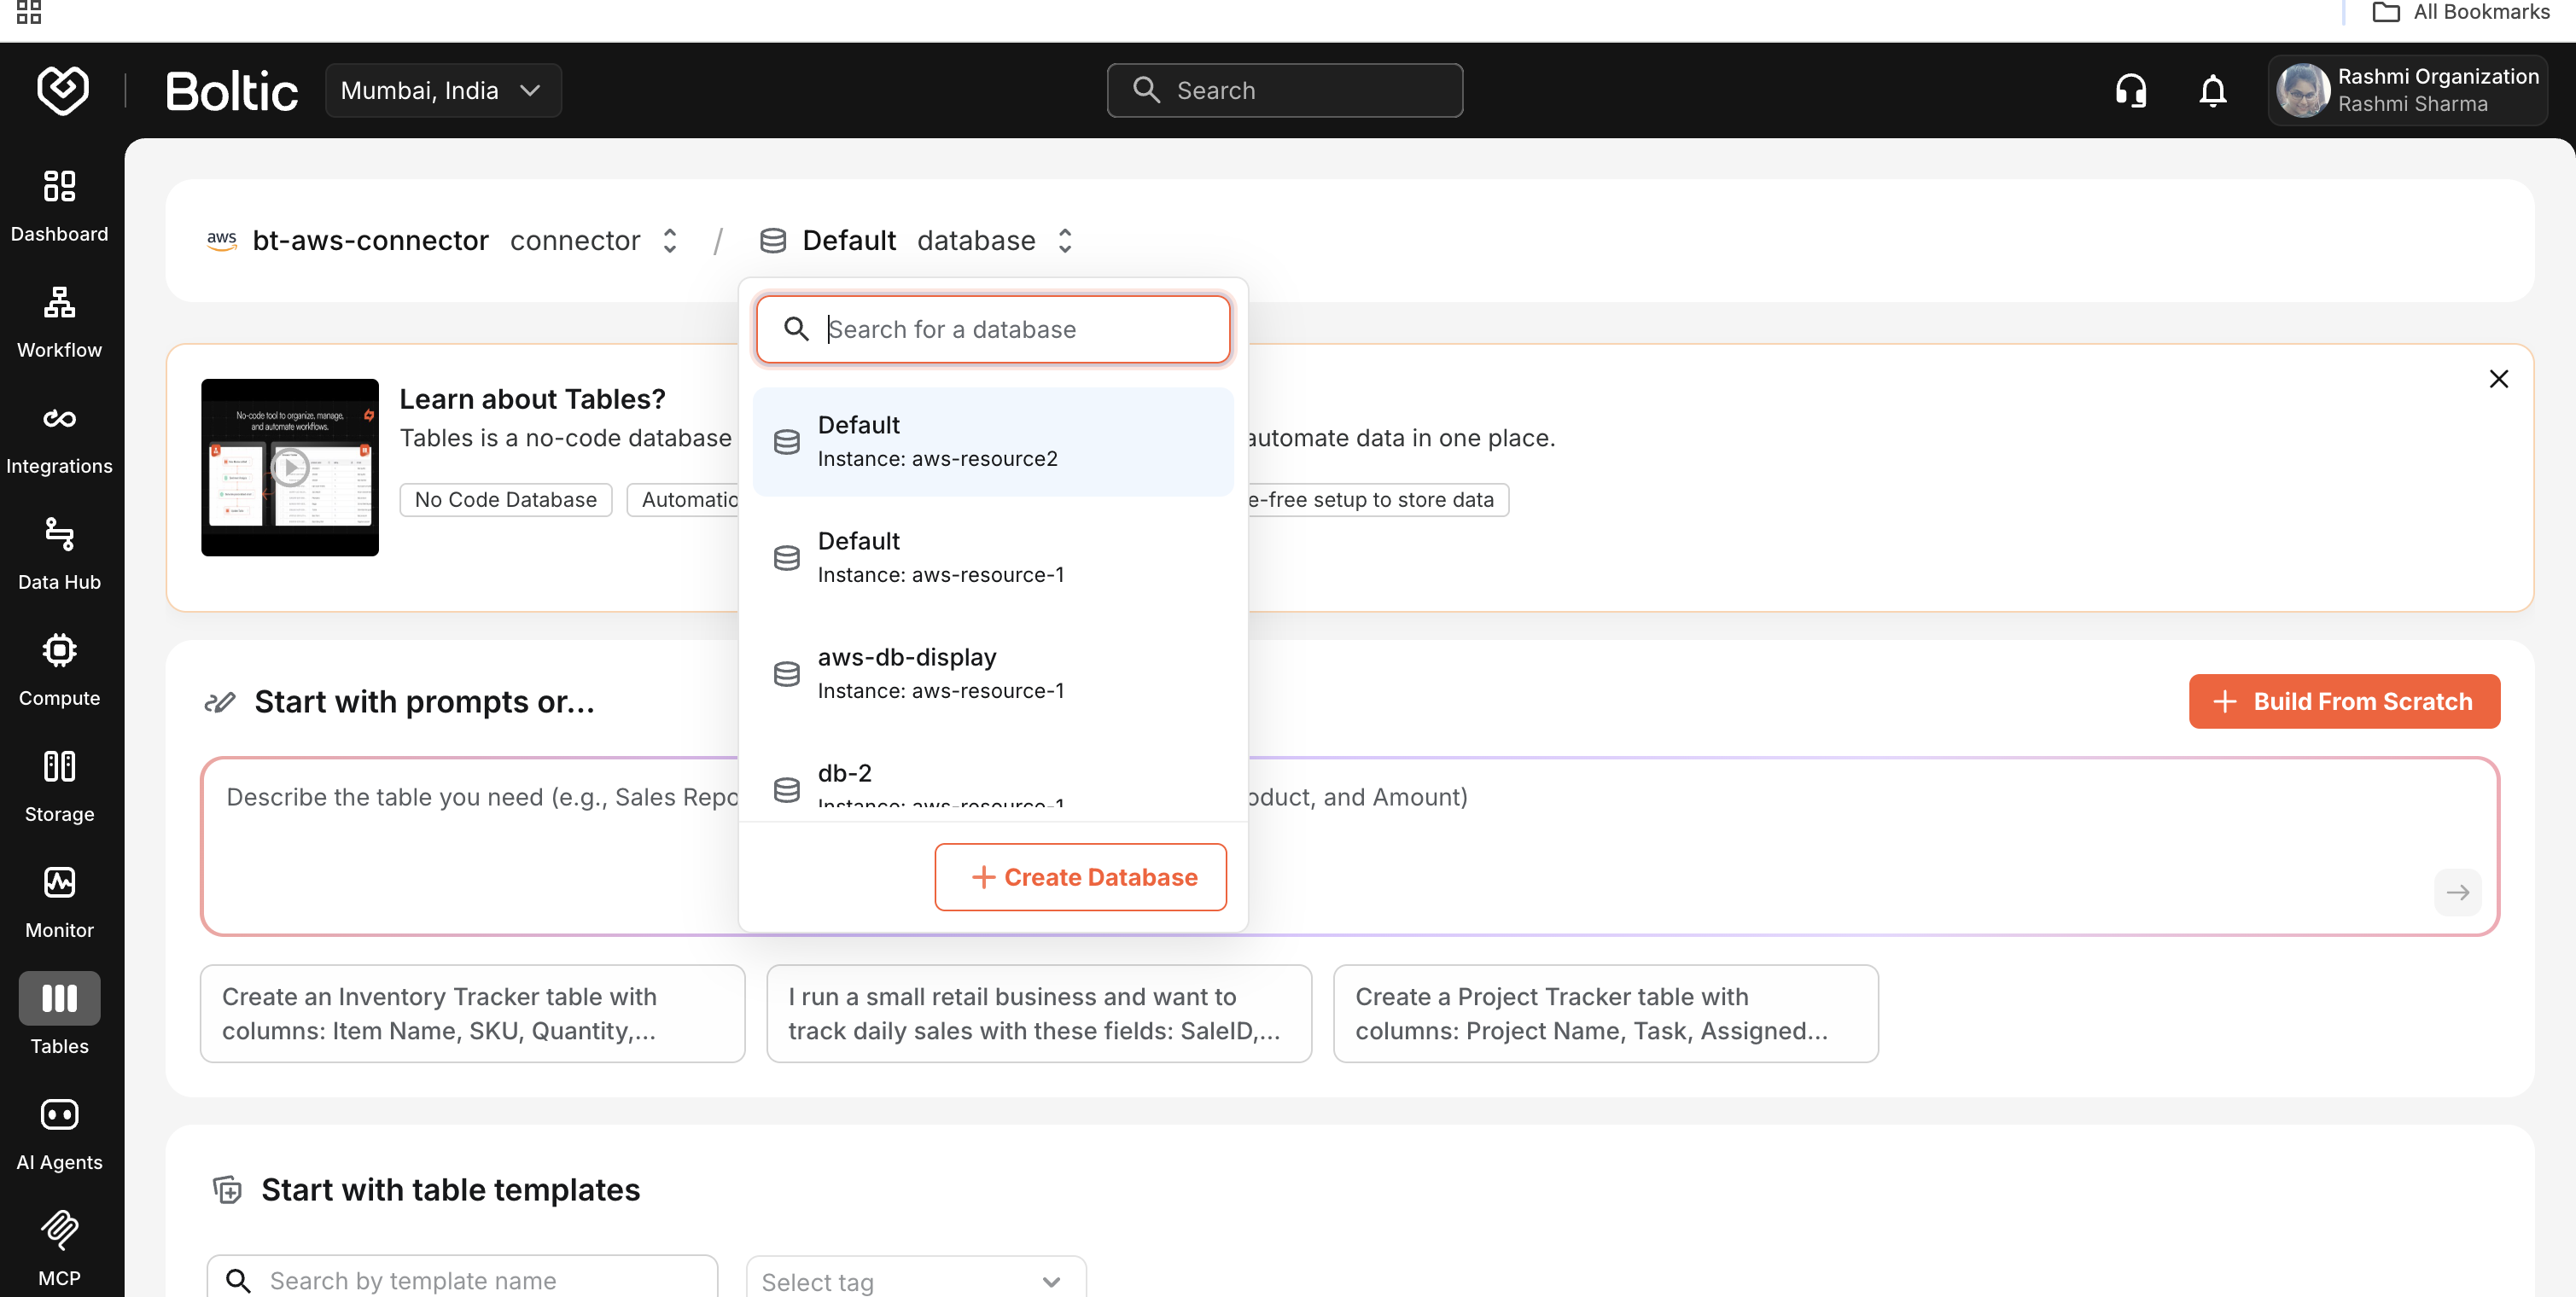
| 2 | Access Creation | Tables workspace → "Search for a database" → "Create Database" |
| 3 | Configure | • Display Name: User-friendly (e.g., "Customer Analytics DB") • Slug Name: Technical ID (e.g., customer-analytics-db) ⚠️ Cannot be changed |
| 4 | Create | Review settings → Click "Create" → Wait for confirmation |

Configure Database Settings
Required Information
| Field | Purpose | Example | Notes |
|---|---|---|---|
| Display Name | Human-readable identifier shown in UI | "Customer Analytics DB" | Can be changed later |
| Slug Name | Technical identifier used in URLs/APIs | customer-analytics-db | ⚠️ Cannot be changed |
Naming Guidelines
Display Names:
- Use descriptive, human-readable names
- Include purpose and environment if helpful
- Example: "Production Customer Data (US East)"
Slug Names:
- Use kebab-case:
production-customer-data - Keep them short but descriptive
- Avoid special characters except hyphens
- Plan carefully as they cannot be changed
- Example:
prod-customer-useast1
External Resource Selection
Note: External Resource Selection only appears with Cloud Connectors (AWS/GCP).
For Cloud Connectors:
- Select from your available linked resources
- Each resource represents a database instance in your cloud
- Resources must be linked before they appear in the dropdown
What Happens After Creation?
Once created, your database:
- Appears in Navigation: Shows in the database dropdown with instance label
- Ready for Tables: You can immediately start creating tables
- Maintains Context: System remembers your last selected database
Next Steps
- Create tables in your new database - Table Creation Guide
- Switch between multiple databases - Managing Databases
- Set up external cloud infrastructure - Cloud Connectors