Cloud Connectors
Boltic Tables supports connecting to external cloud databases through cloud connectors, allowing you to use your existing database infrastructure while maintaining the simplicity of Tables' no-code interface.
When Do You Need Cloud Connectors?
Start with Boltic Cloud if you're new - Boltic automatically provides managed databases for you.
Consider Cloud Connectors if you need:
- Data to remain in your specific cloud provider account for compliance
- Integration with existing cloud infrastructure
- Specific database configurations or sizes
Prerequisites
| Requirement | Details | Alternative |
|---|---|---|
| Cloud Account | Active AWS or GCP account with billing enabled | Start with Boltic Cloud - No setup required |
| Administrative Access | Permissions to create networking resources | Contact your cloud administrator |
| Cloud Account Details | Project ID, Account ID, VPC/CIDR information | Use CIDR finding guide below |
Not ready yet? → Start with Boltic Cloud and return here when your cloud infrastructure is ready.
Important: To use cloud connectors, you must first create an Integration, then a Connector within that integration, add a Resource, and finally link the resource to your Boltic account. Only after linking can you use the resource to create databases and tables in Boltic Tables.
Supported Cloud Providers
AWS (Amazon Web Services)
- RDS PostgreSQL: Managed PostgreSQL instances with automated backups and scaling
Google Cloud Platform (GCP)
- Cloud SQL PostgreSQL: Fully managed PostgreSQL service with built-in security
Setting Up Cloud Connectors
Overview of the Process
Setting up cloud connectors involves four main steps:
- Create Integration: Set up the cloud provider integration
- Create Connector: Configure the specific connector within the integration
- Add Resource: Provision a database resource in your cloud provider
- Link Resource: Connect the resource to your Boltic account for use in Tables
Understanding the Components
| Component | Purpose | Analogy |
|---|---|---|
| Integration | Sets up basic connection to AWS or GCP Handles network routing and security | Internet Service Provider (ISP) |
| Connector | Manages specific connection settings Routes data between Boltic and your cloud | Router/Modem |
| Resource | The actual database server in your cloud Where your data will be stored | Database Instance |
| Link | Makes the resource available in Boltic Tables | Service Activation |
Step 1: Create Integration
Access Integration Management
- Navigate to Integrations: Go to your workspace integrations section
- Create New Integration: Choose your cloud provider (AWS or GCP)
Configure Integration Details
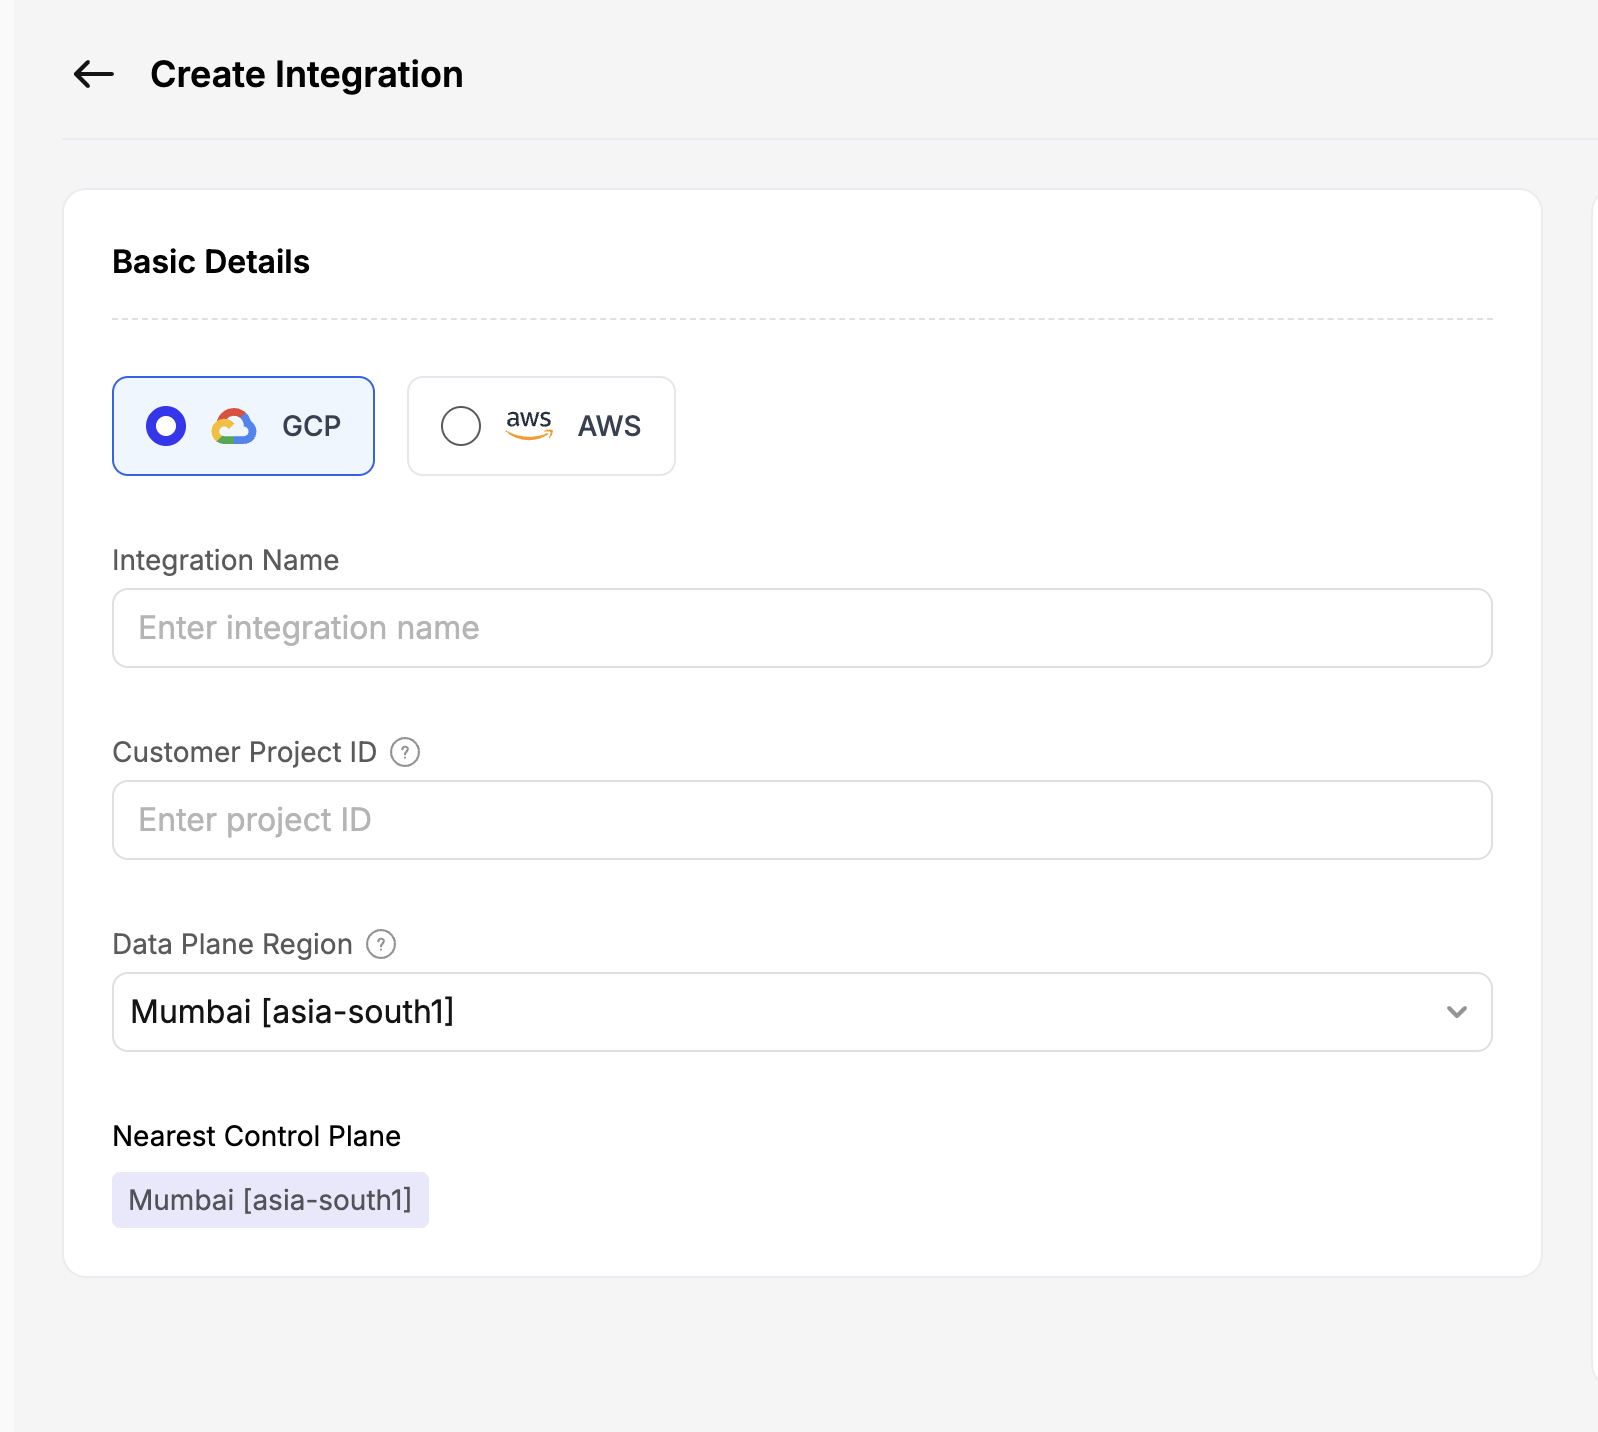
For GCP Integration:
- Integration Name: Descriptive name (e.g., "my-gcp-integration")
- Provider: Select GCP (click the GCP option)
- Customer Project ID: Enter your GCP Project ID (found in GCP Console)
- Data Plane Region: Choose your preferred region (e.g., Mumbai [asia-south1])
- Nearest Control Plane: Automatically selected based on data plane region
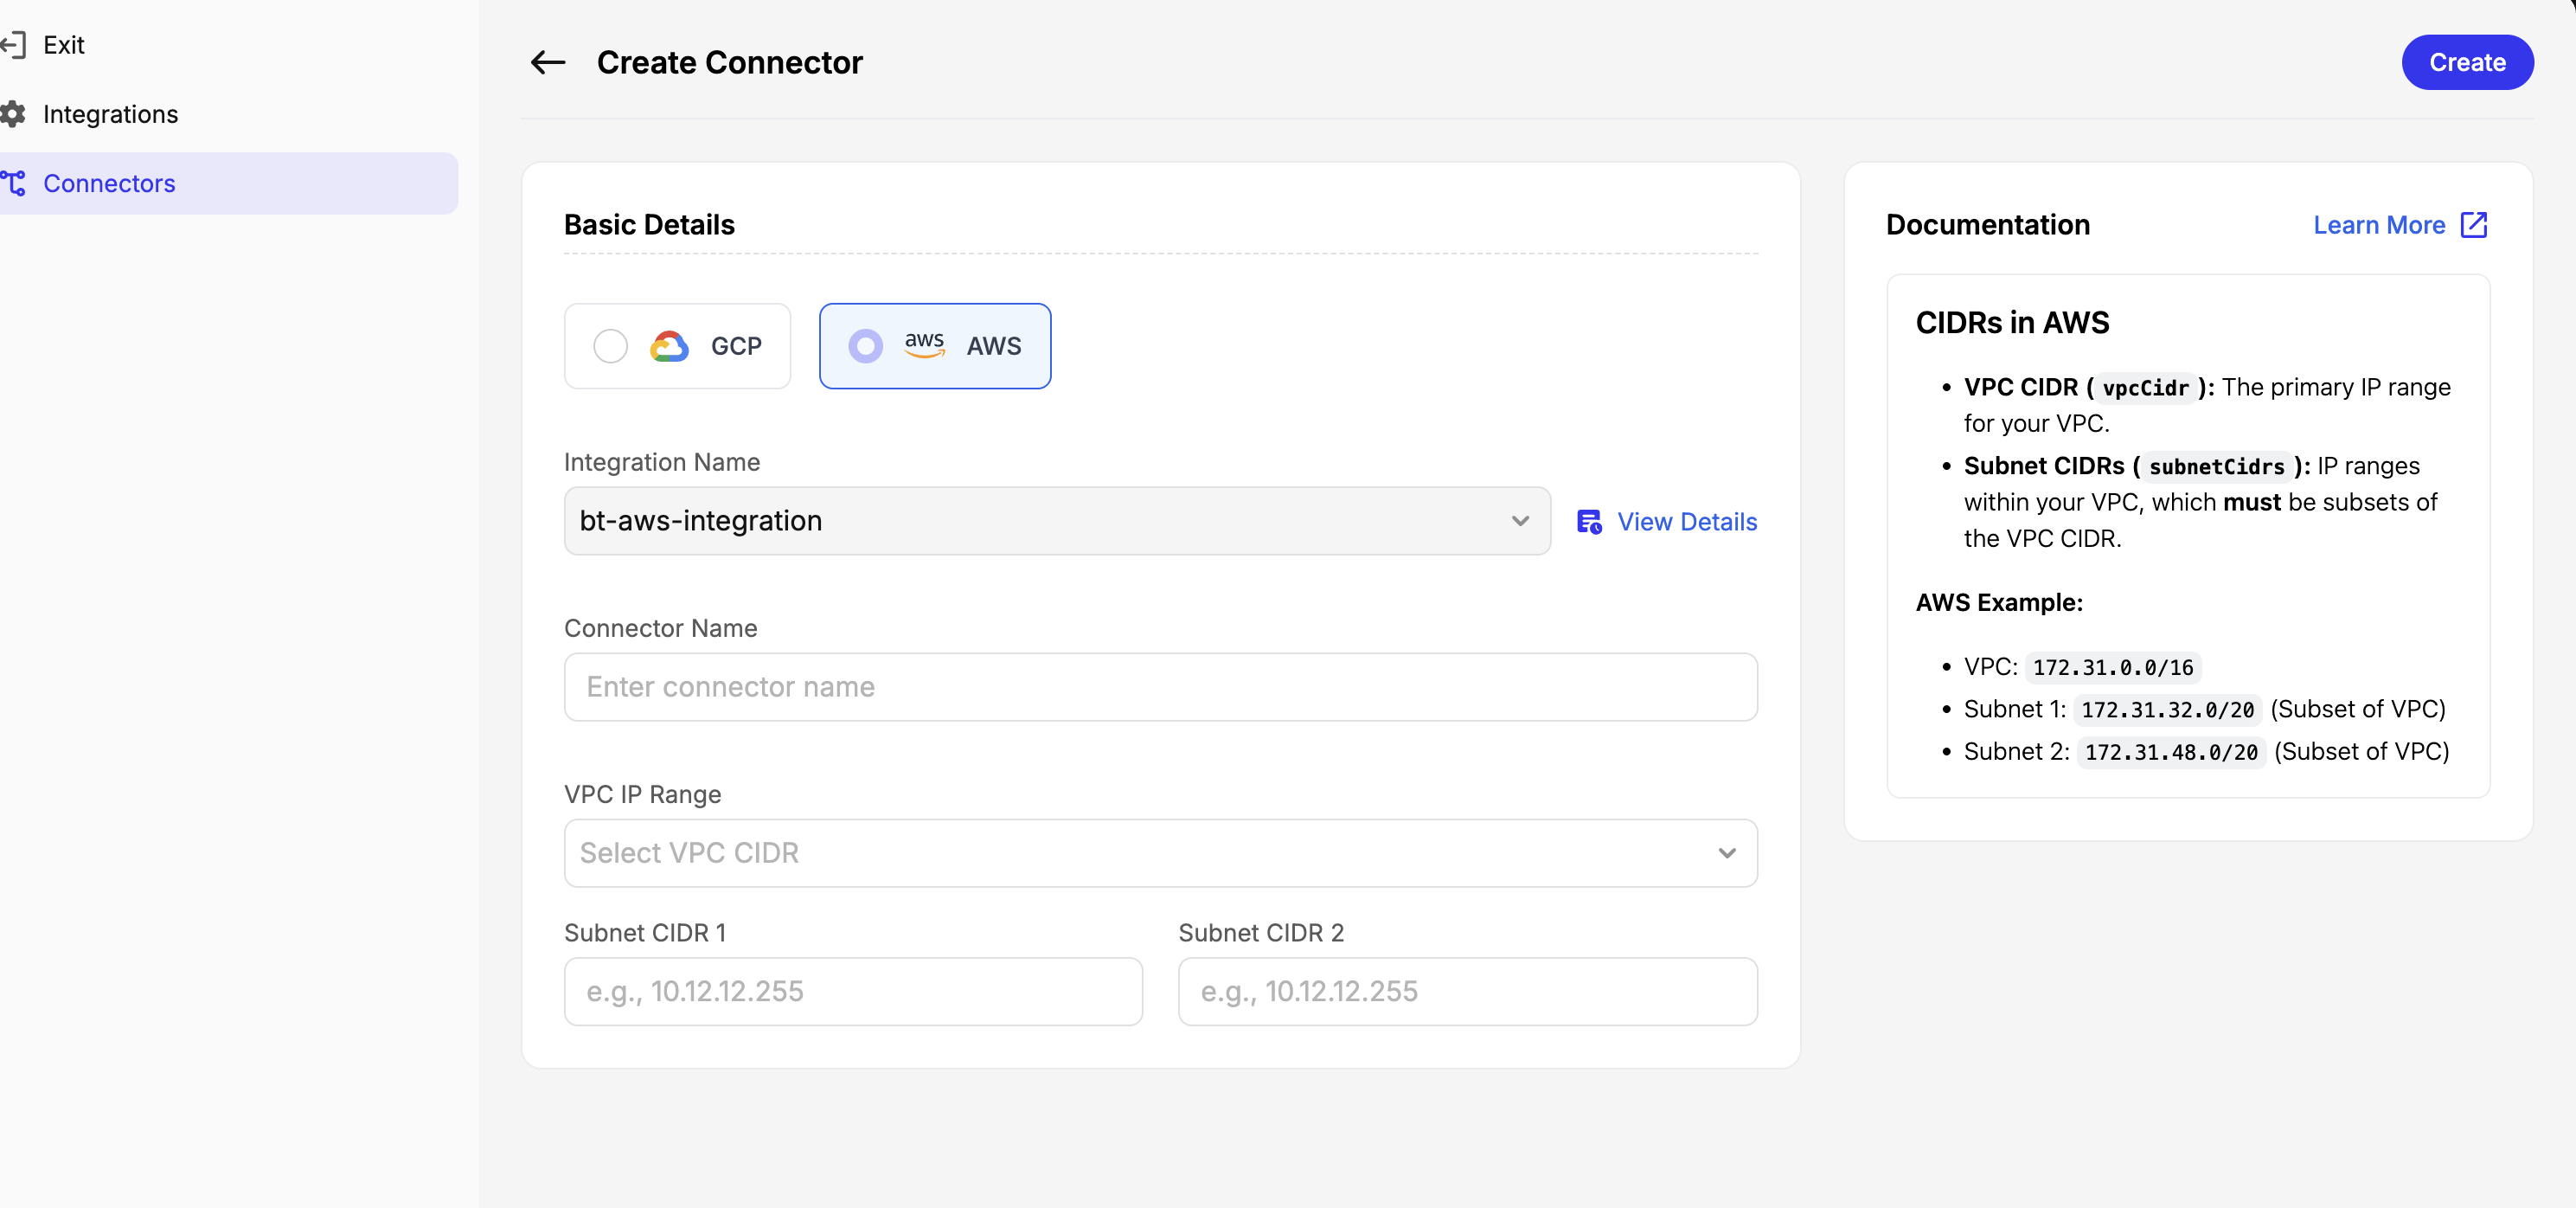
For AWS Integration:
- Integration Name: Descriptive name (e.g., "my-aws-integration")
- Provider: Select AWS (click the AWS option)
- Customer Project ID: Enter your AWS Account ID
- Data Plane Region: Choose your preferred AWS region
- Nearest Control Plane: Automatically selected based on data plane region
Finding CIDR Ranges
CIDR: IP address ranges in format IP_ADDRESS/PREFIX_LENGTH (e.g., 10.0.0.0/16)
| Provider | Location | Find CIDR | Example |
|---|---|---|---|
| AWS | Console → VPC → Your VPCs | "IPv4 CIDR" column | 172.31.0.0/16 |
| GCP | Console → VPC Network → VPC networks | "Internal IP ranges" | 10.128.0.0/9 |
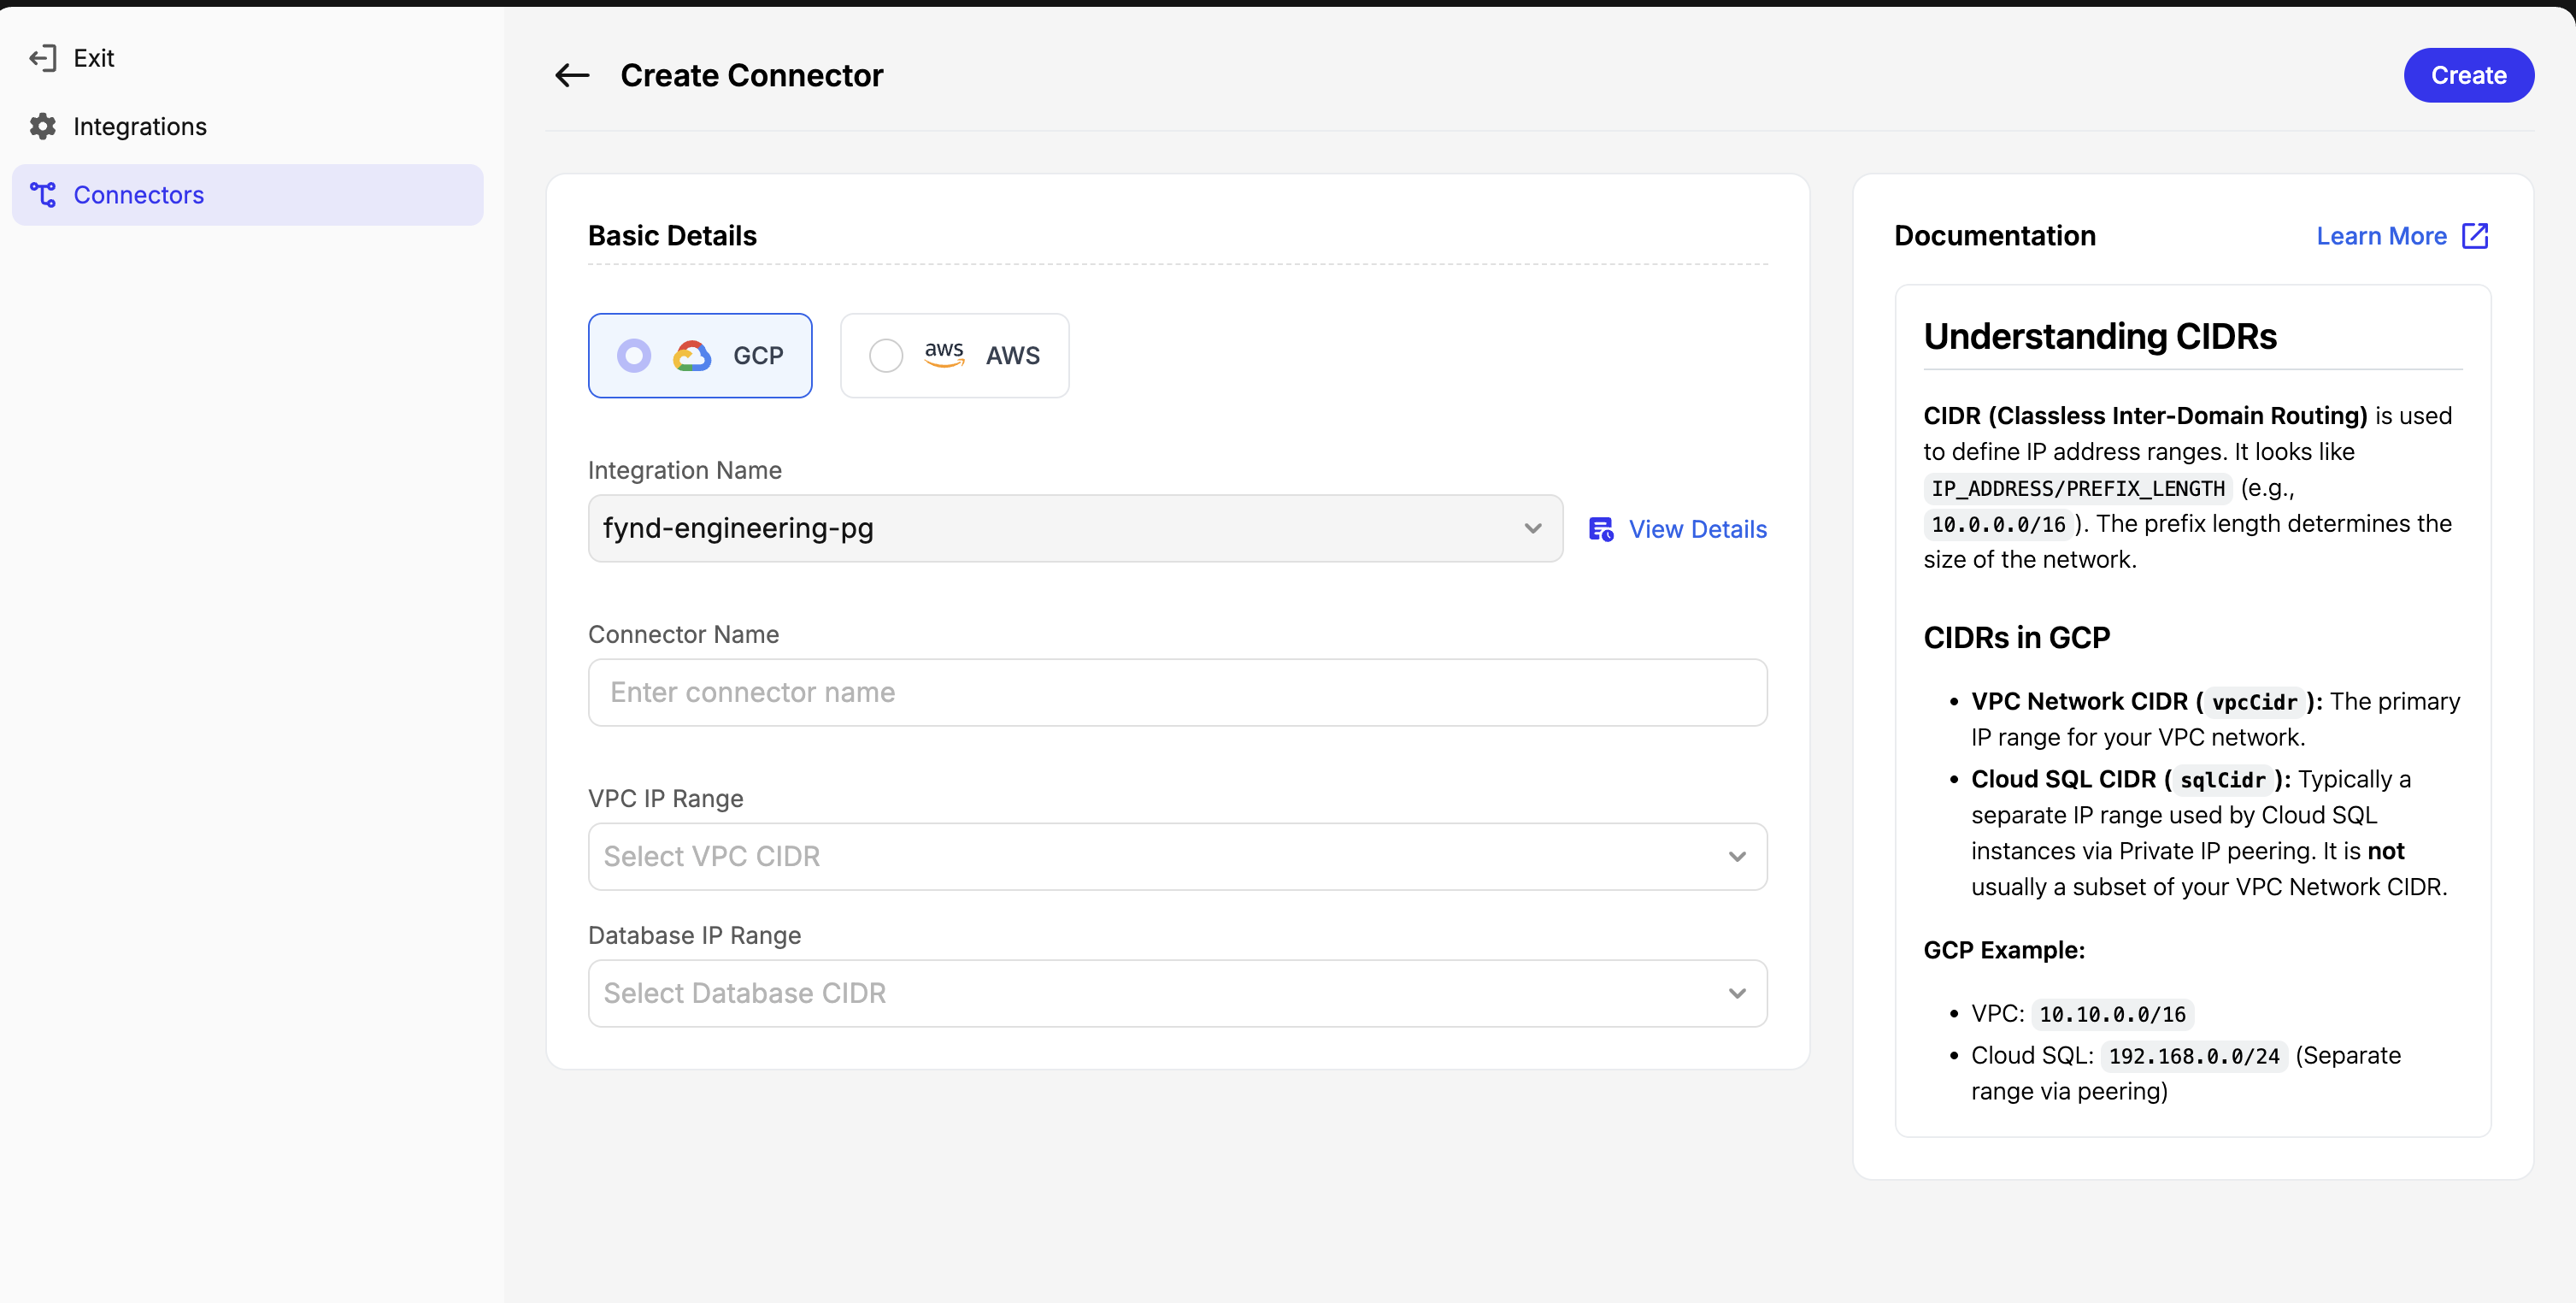
Step 2: Create Connector
Process: Connectors section → Create Connector → Select Provider → Configure
| Field | Purpose |
|---|---|
| Integration Name | Select your previously created integration |
| Connector Name | Descriptive name for identification |
| Network Configuration | Add VPC and subnet details from CIDR guide above |
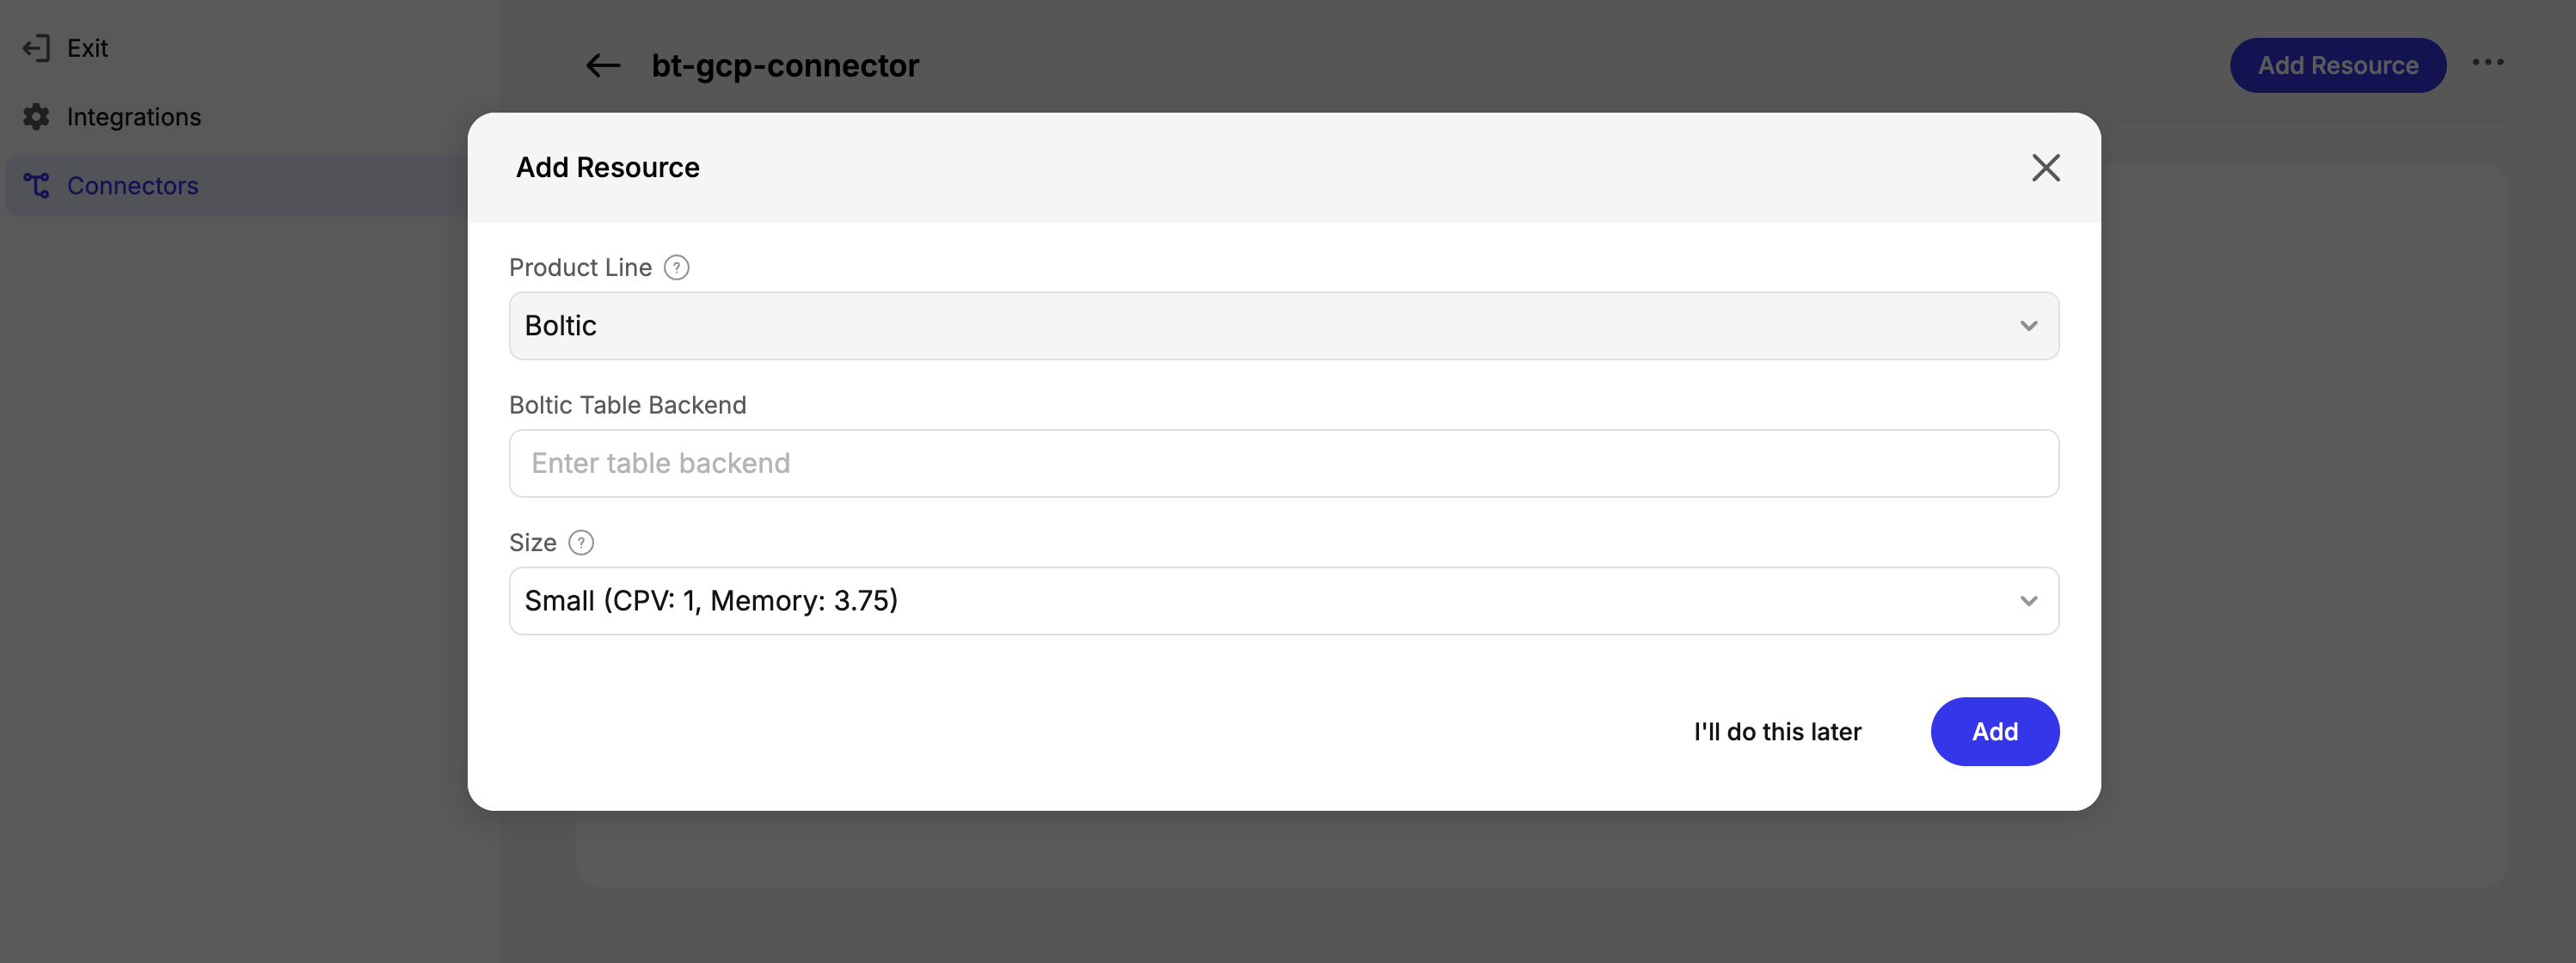
Step 3: Add Resource
Process: Open connector → Add Resource button → Configure → Add
| Configuration | Options | Best For |
|---|---|---|
| Product Line | Boltic | Required selection |
| Backend ID | Descriptive identifier (e.g., customer-analytics-backend) | Organization of multiple resources |
| Size | • Small: 1 CPU, 3.75GB • Medium: 2 CPU, 7.5GB | • Development/Testing • Small production workloads |
Completion: Click Add → Wait for "Ready" status → Note resource ID
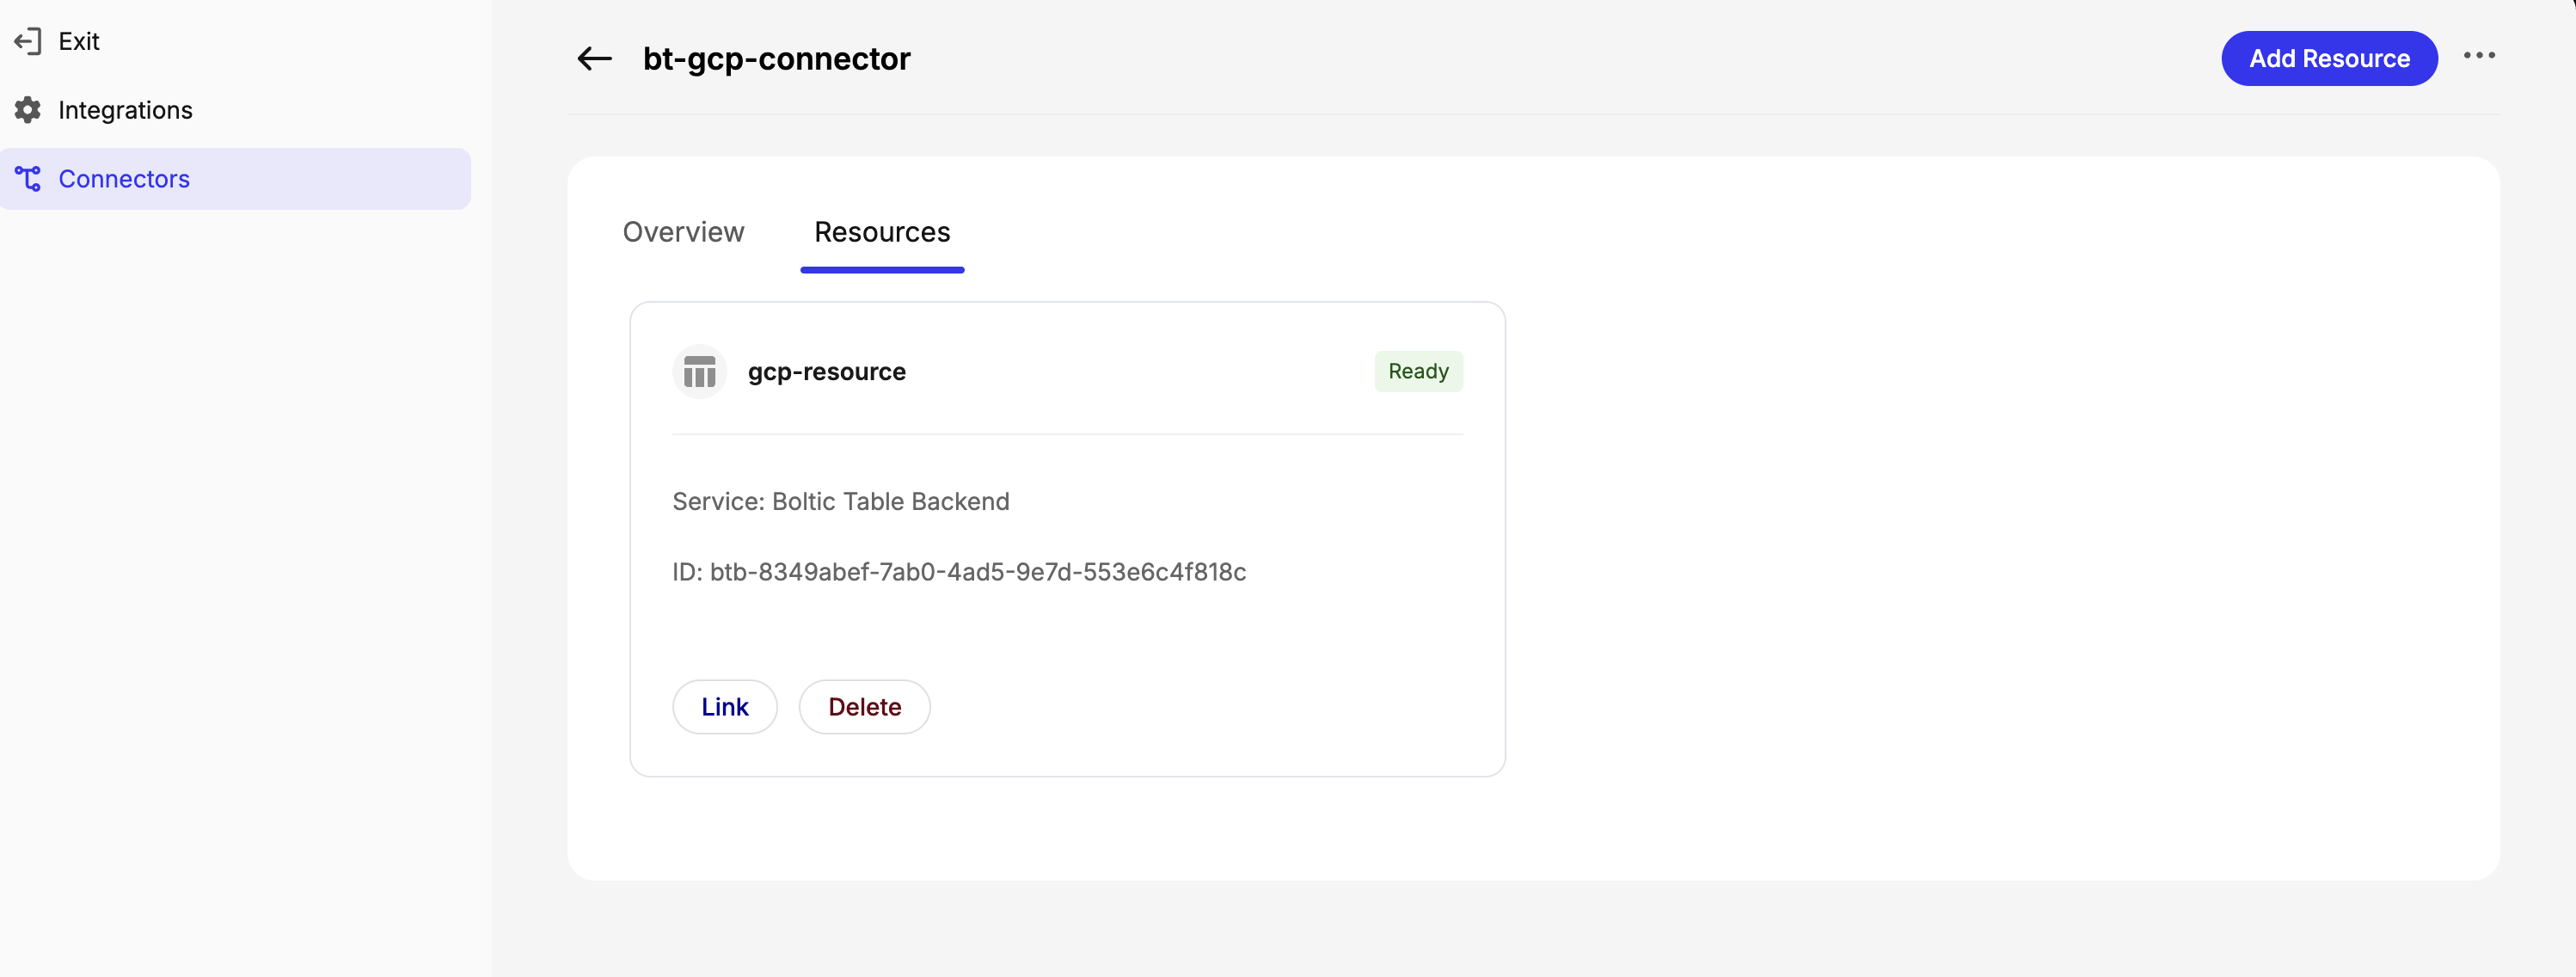
Step 4: Link Resource
Process: Click "Link" button → Verify "Ready" status
| Status Indicator | Meaning | Actions Available |
|---|---|---|
| Service | "Boltic Table Backend" | Resource type confirmation |
| Status | "Ready" = Available for use | Link/Unlink, Delete |
| ID | Unique resource identifier | For troubleshooting reference |
✅ Ready! Your resource is now available for creating databases and tables
Using Cloud Connectors in Boltic Tables
Once your resources are linked, you can create databases and tables using your cloud infrastructure.
Quick Access
Available Connectors: Tables workspace → Left panel shows:
- Boltic Cloud (Default managed)
- Your AWS/GCP connectors (External resources)
Database & Table Creation
| Task | Process | Reference |
|---|---|---|
| Create Database | Select connector → Create Database → Choose your linked resource → Configure | Database Creation Guide |
| Create Tables | Select database → Create Table → Verify correct resource instance | Table Creation Guide |
Resource Organization
Your databases will show instance labels to identify which cloud resource hosts them:
Customer DB (Instance: aws-resource)Production DB (Instance: gcp-resource)
Troubleshooting
Common Issues
| Issue | Cause | Solution | Alternative |
|---|---|---|---|
| Connection timeout | Network/firewall blocking | • Verify firewall rules allow Boltic IP ranges • Check security group/firewall configurations • Test connectivity from your network | Contact cloud administrator |
| Permission denied | Database access rights | • Verify schema access permissions • Check table-level permissions | Review cloud IAM settings |
| No cloud infrastructure | Missing AWS/GCP setup | Set up cloud accounts first | Start with Boltic Cloud |
| Unknown VPC/CIDR | Missing network info | • Contact cloud administrator • Use CIDR finding guide above • Contact Boltic support | Start with Boltic Cloud |
Best Practices
| Category | Recommendations |
|---|---|
| Performance | • Choose appropriate instance sizes based on workload • Monitor resource usage regularly |
| Cost Optimization | • Right-size instances (start small, scale up) • Use appropriate storage types • Monitor usage and scale as needed • Consider reserved instances for predictable workloads |
| Security | • Use proper VPC/CIDR configurations • Follow cloud provider security best practices |
Conclusion
Cloud Connectors let you use existing cloud infrastructure with Boltic Tables' no-code interface. For simpler setups, consider starting with Boltic Cloud and migrating to cloud connectors when needed.