SSH Authentication
Fynd Boltic supports connecting to various data sources hosted within private networks via SSH Authentication. Follow the steps below to securely connect your database to Fynd Boltic.
🛠️ Steps to Integrate SSH into Fynd Boltic
Step 1: Enable SSH Option
To get started, enable the SSH Option in your integration configuration settings.

Step 2: Configure SSH Connection
Once SSH is enabled, configure the following connection details:
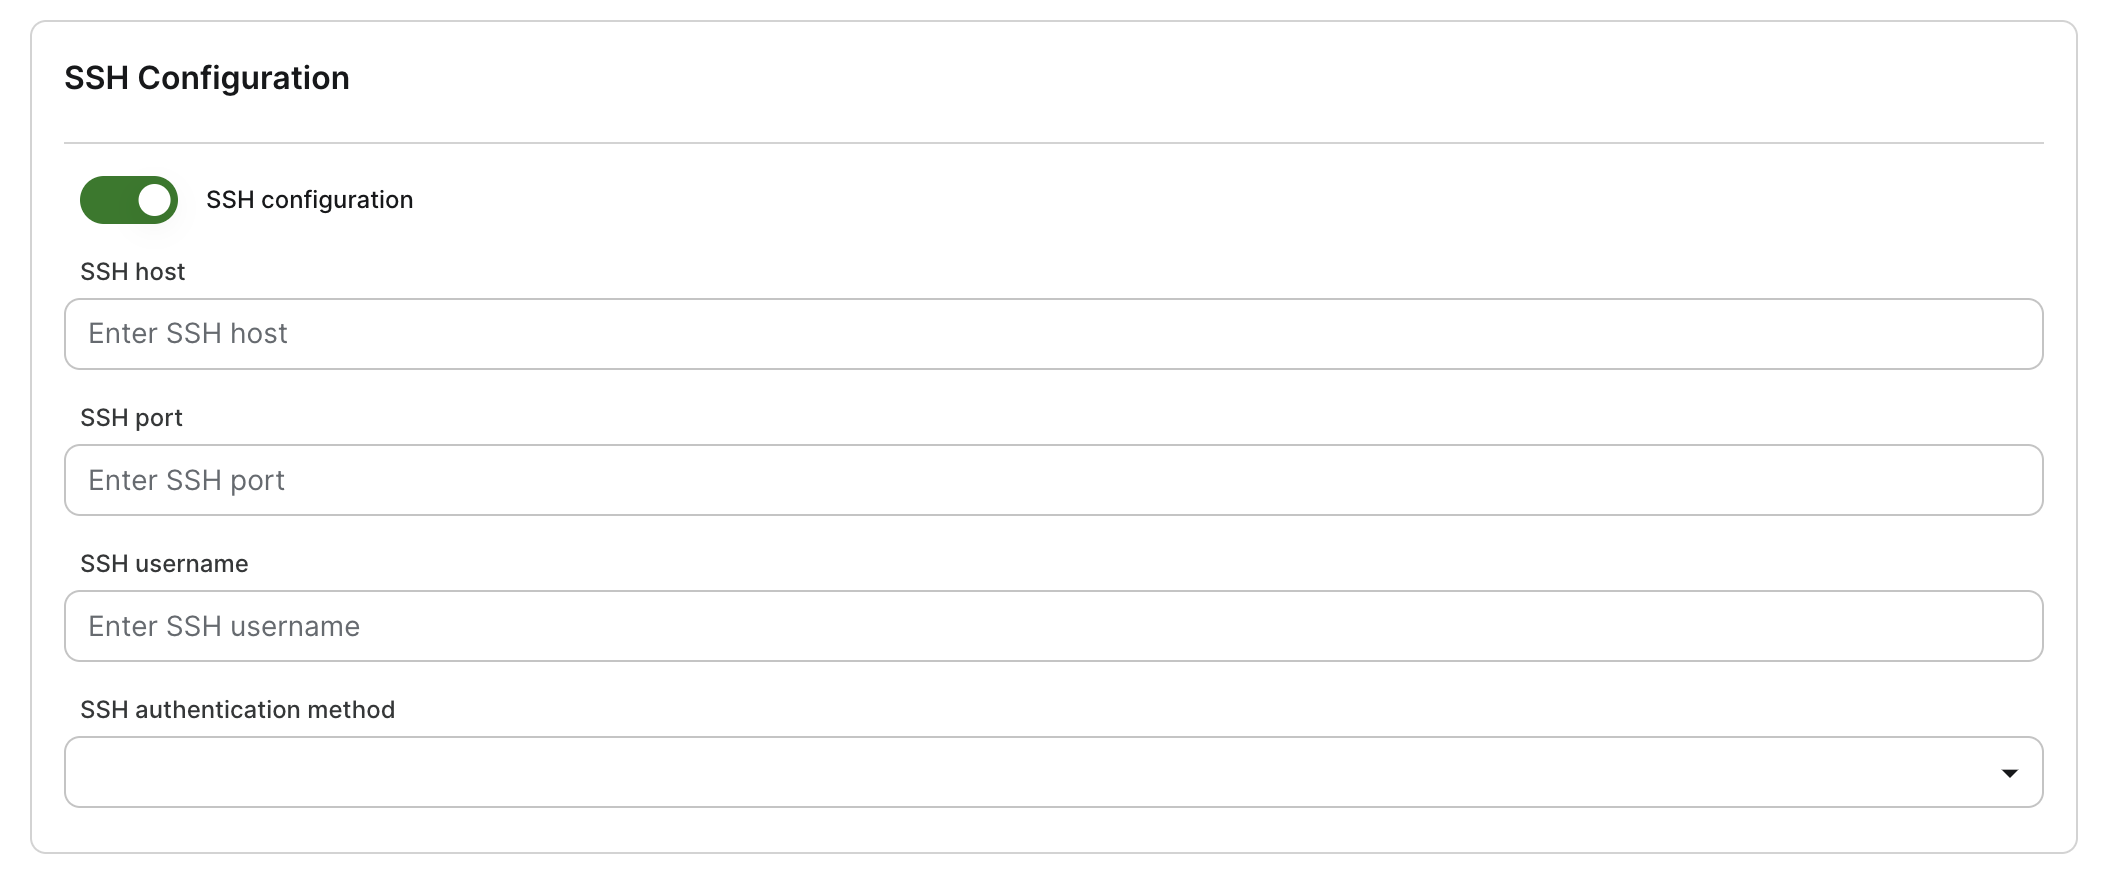
Required Fields:
| Field | Description |
|---|---|
| SSH Host | Public IP Address (e.g., 65.0.172.223) |
| SSH Port | Port number of your SSH host (e.g., 22) |
| SSH Username | The username used to log into your database (e.g., pexuser) |
| SSH Password | Your MongoDB password (e.g., pexPass) |
| SSH Authentication Method | Choose between Private Key or Password authentication |
Example Configuration:
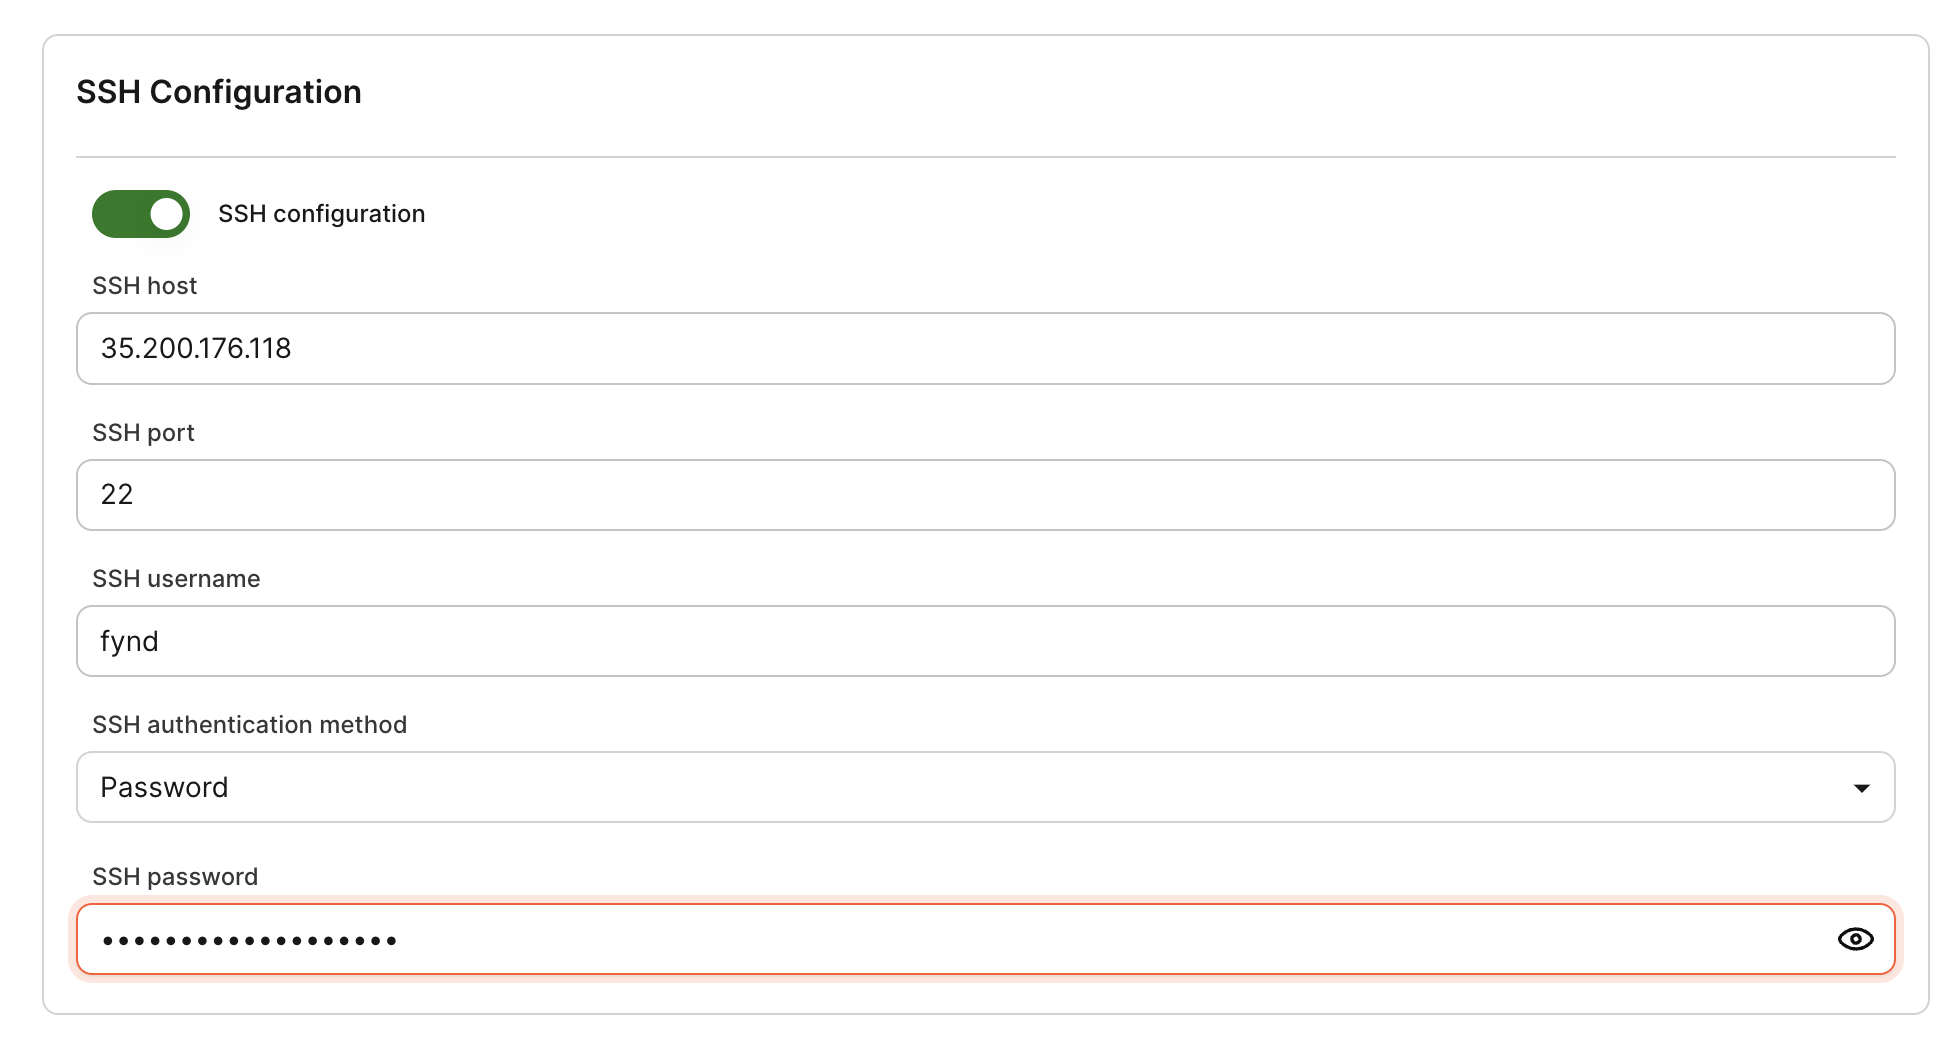
Using SSH with Password:
Fill in the SSH password as shown below:
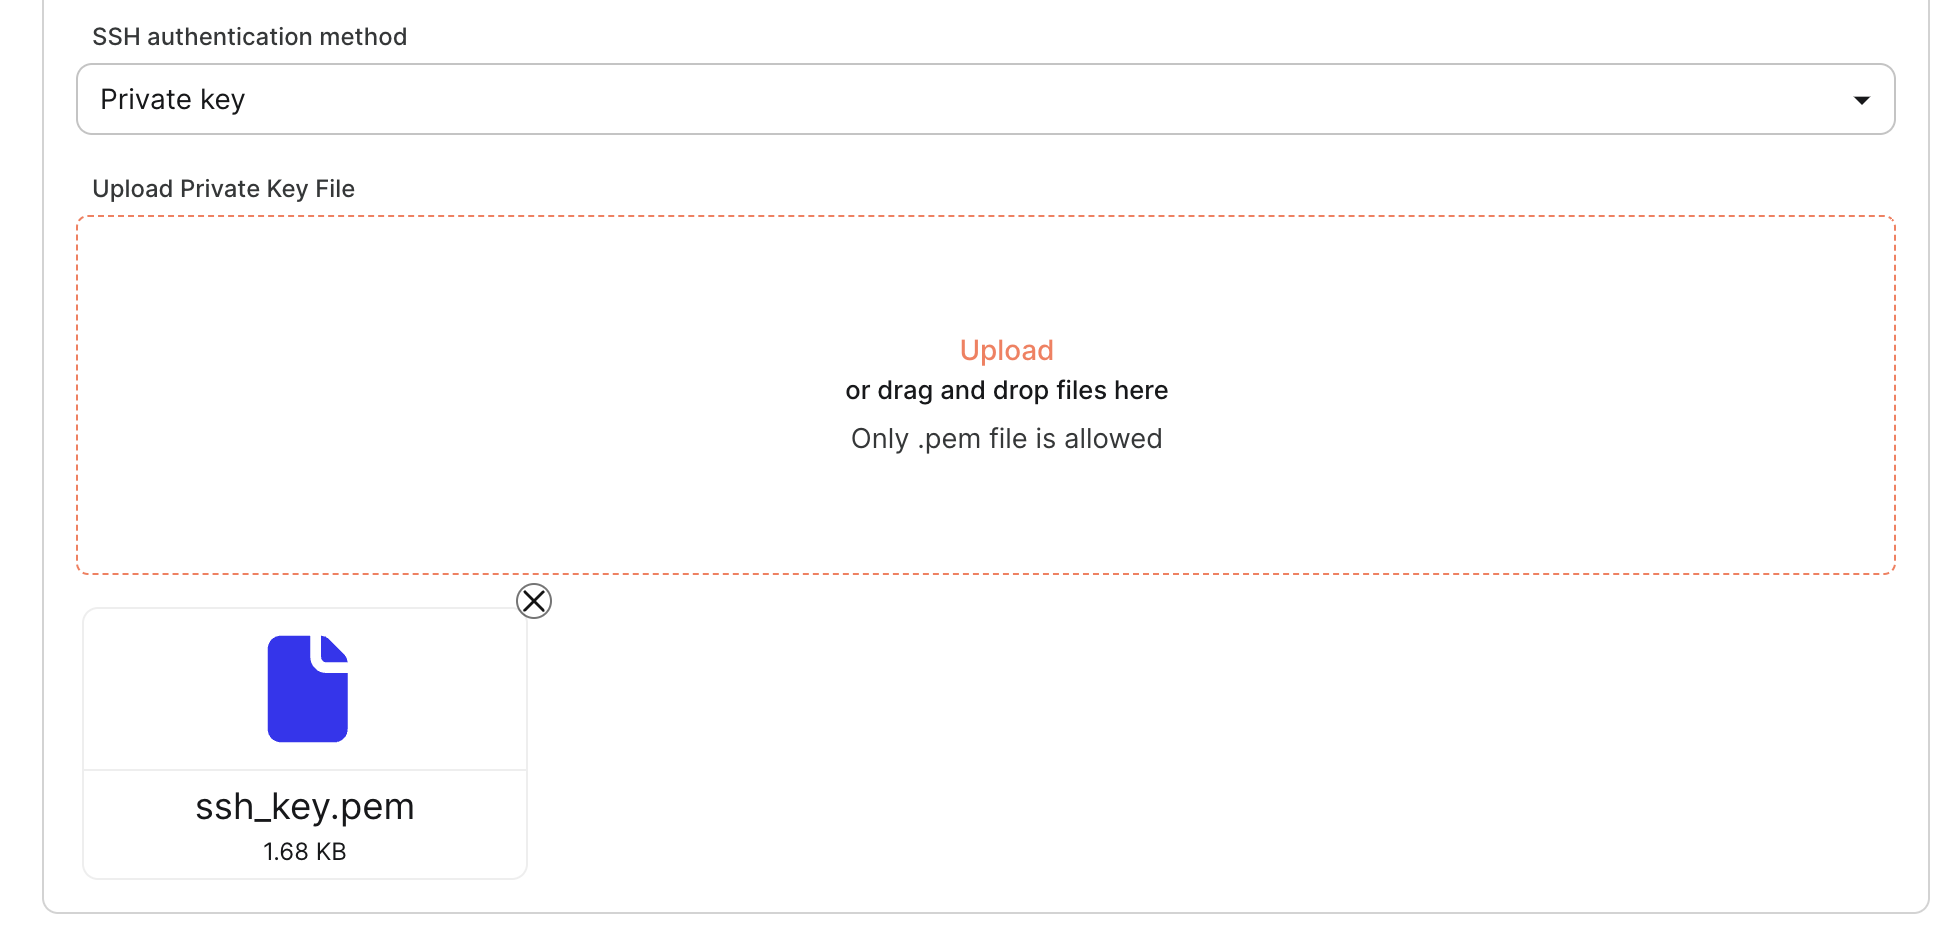
Using SSH with Private Key:
Upload the private key file if you're using private key authentication:
Step 3: Test & Save 🔄
Once you've filled in all the required details, simply click the Test & Save button to validate your connection.

💡 Important Notes:
- SSH Authentication Method: You can choose either Private Key or Password from the drop-down menu. If you choose Private Key, you'll need to upload the key file; if you select Password, just enter your password.
🤓 Have Questions?
We're always here to help! Feel free to reach out to us at 📧 Fynd Boltic Support.