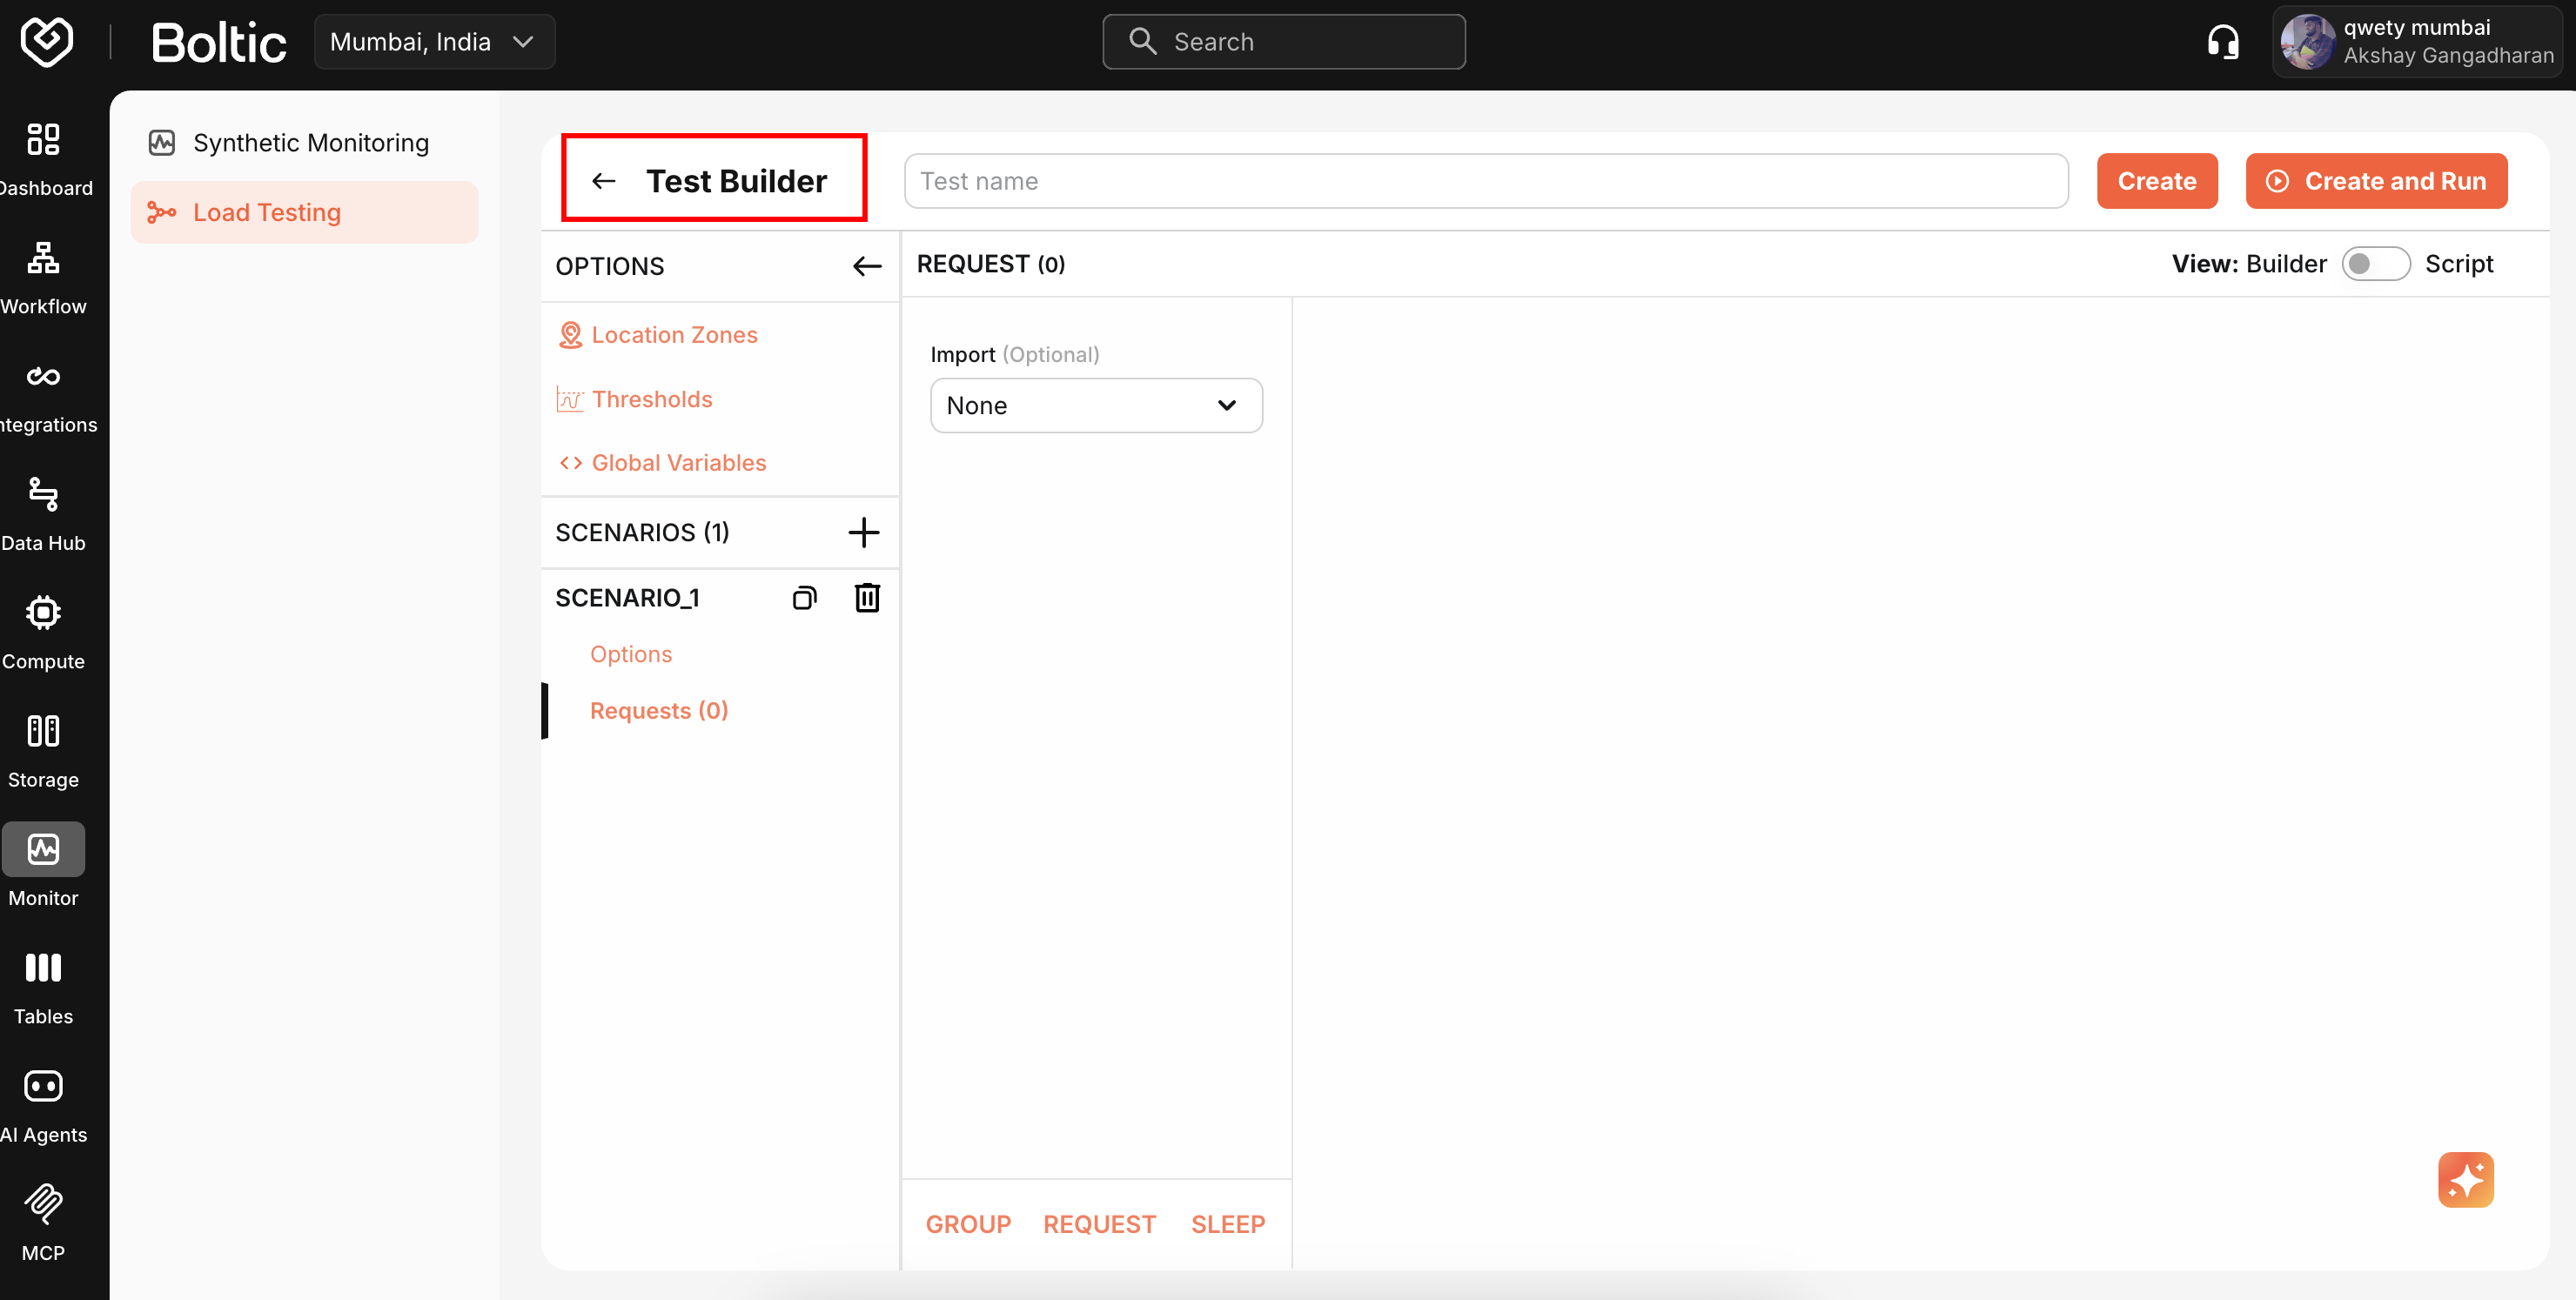
Test Builder
Visual, no-code interface for creating HTTP-based load tests. Compose requests using forms and dropdowns—the UI automatically generates executable k6 scripts.
 |
|---|
Building Tests
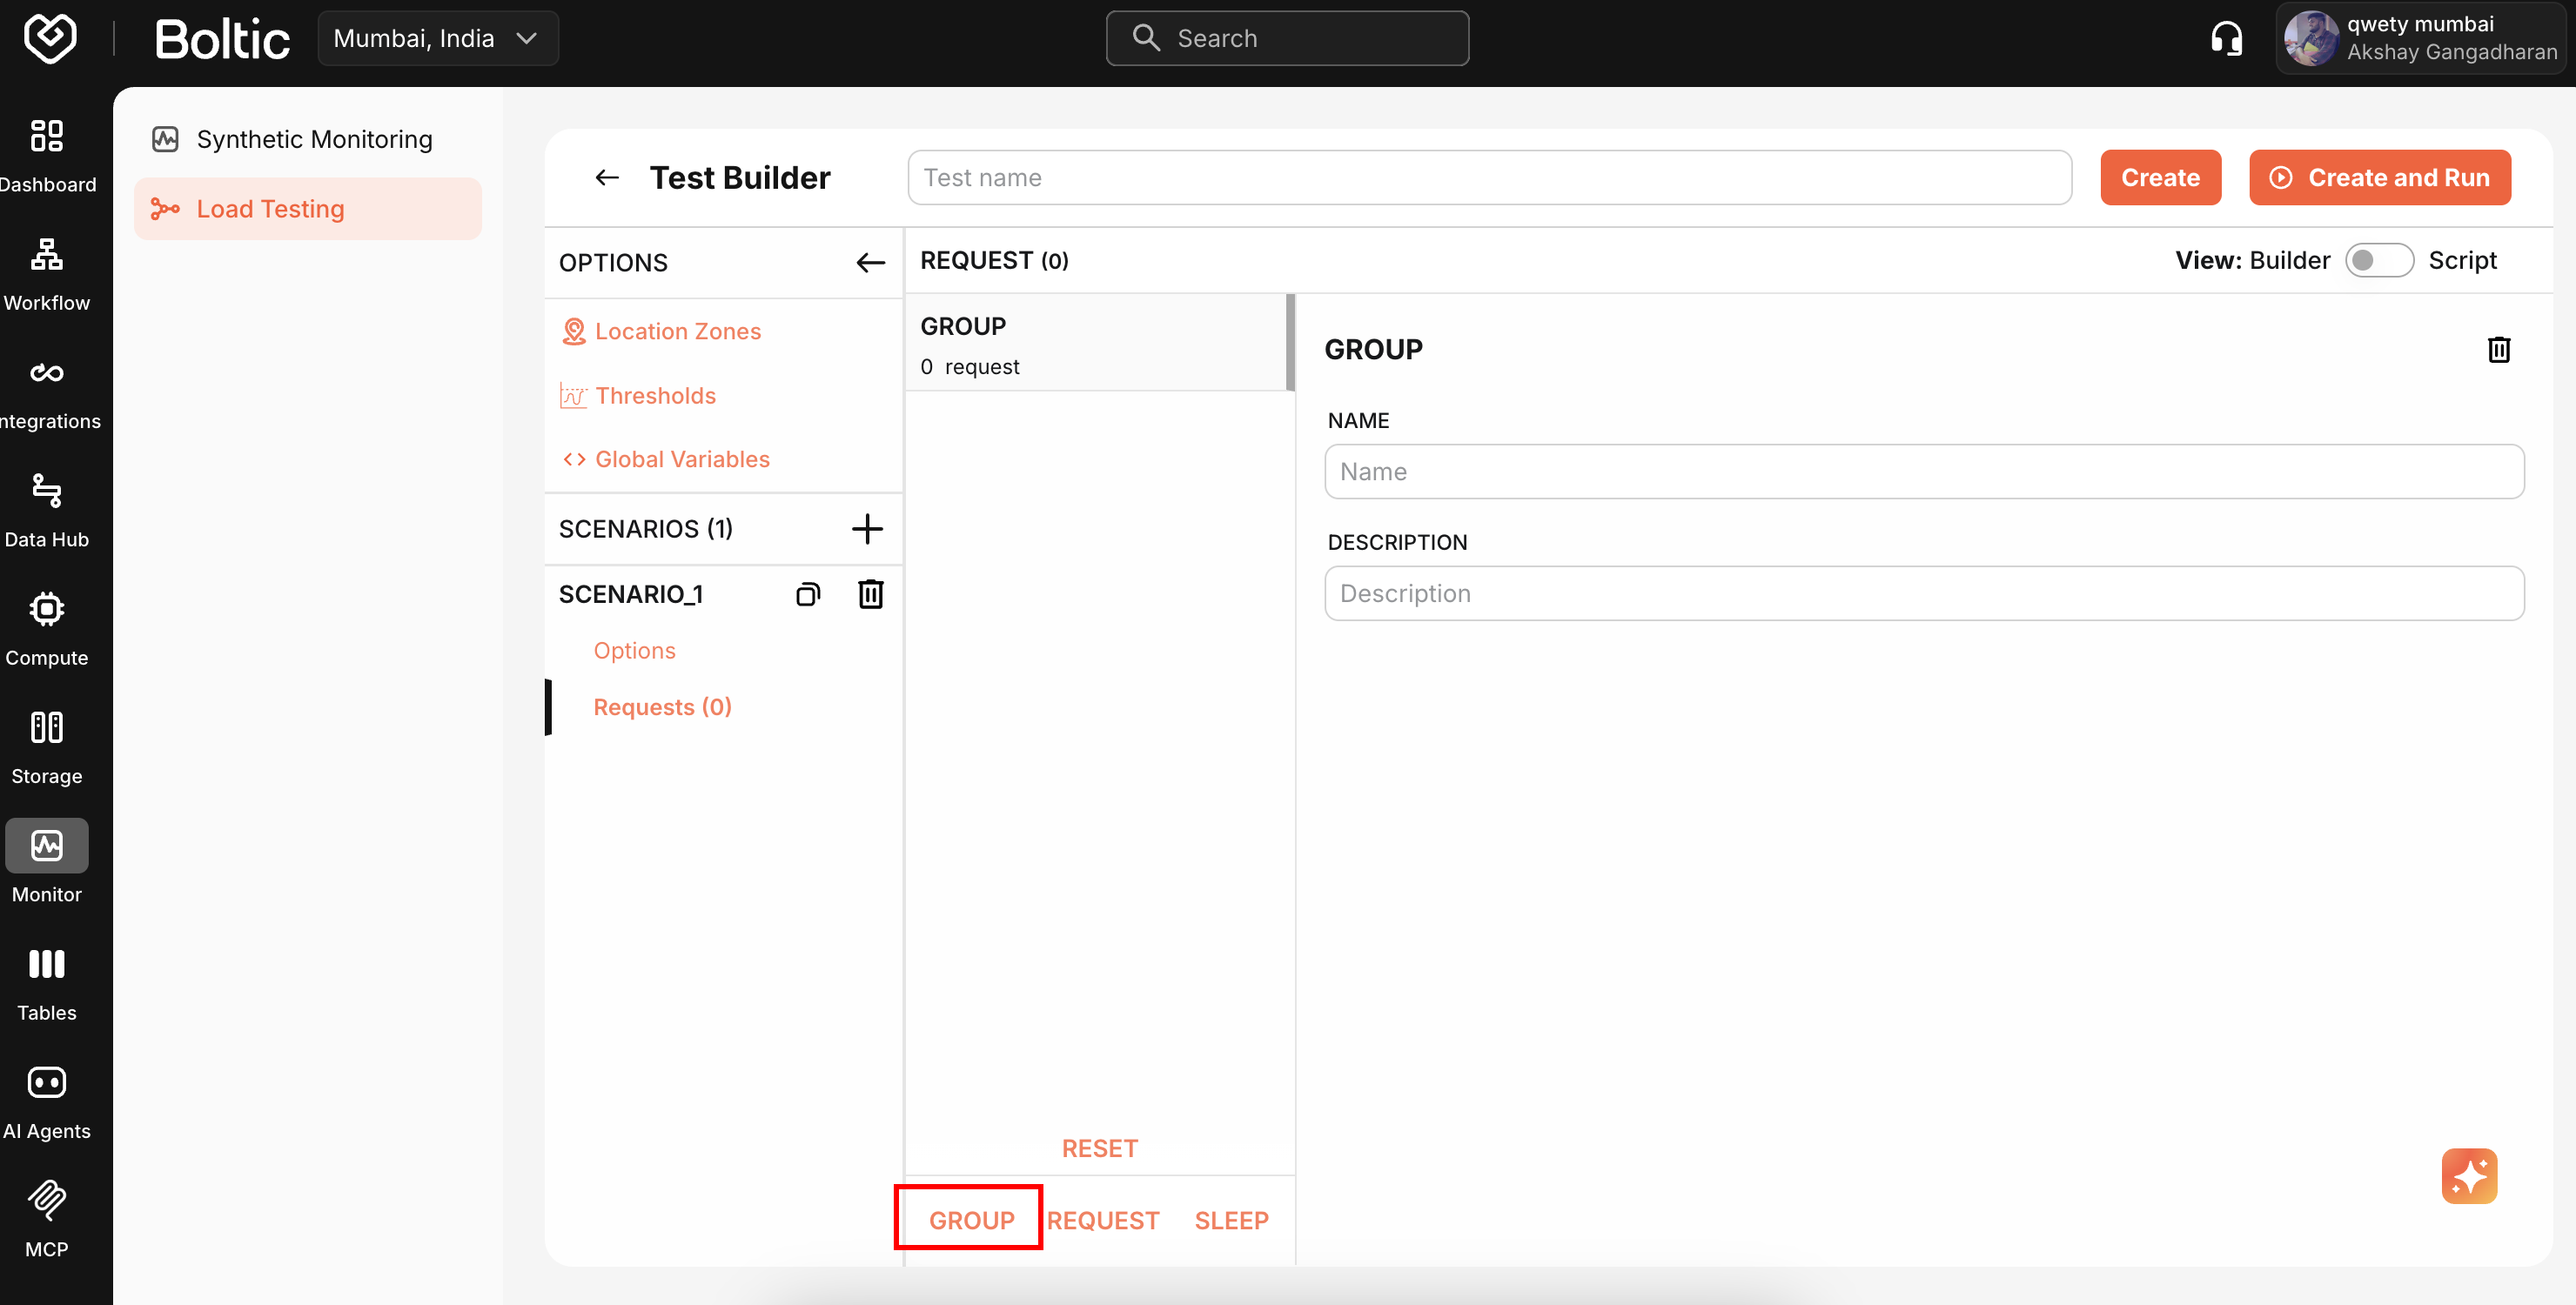
Request Groups
Organize related requests into logical groups (e.g., "User Authentication", "Product Search").
 |
|---|
- Click Add Group
- Enter group name
- Add requests within the group
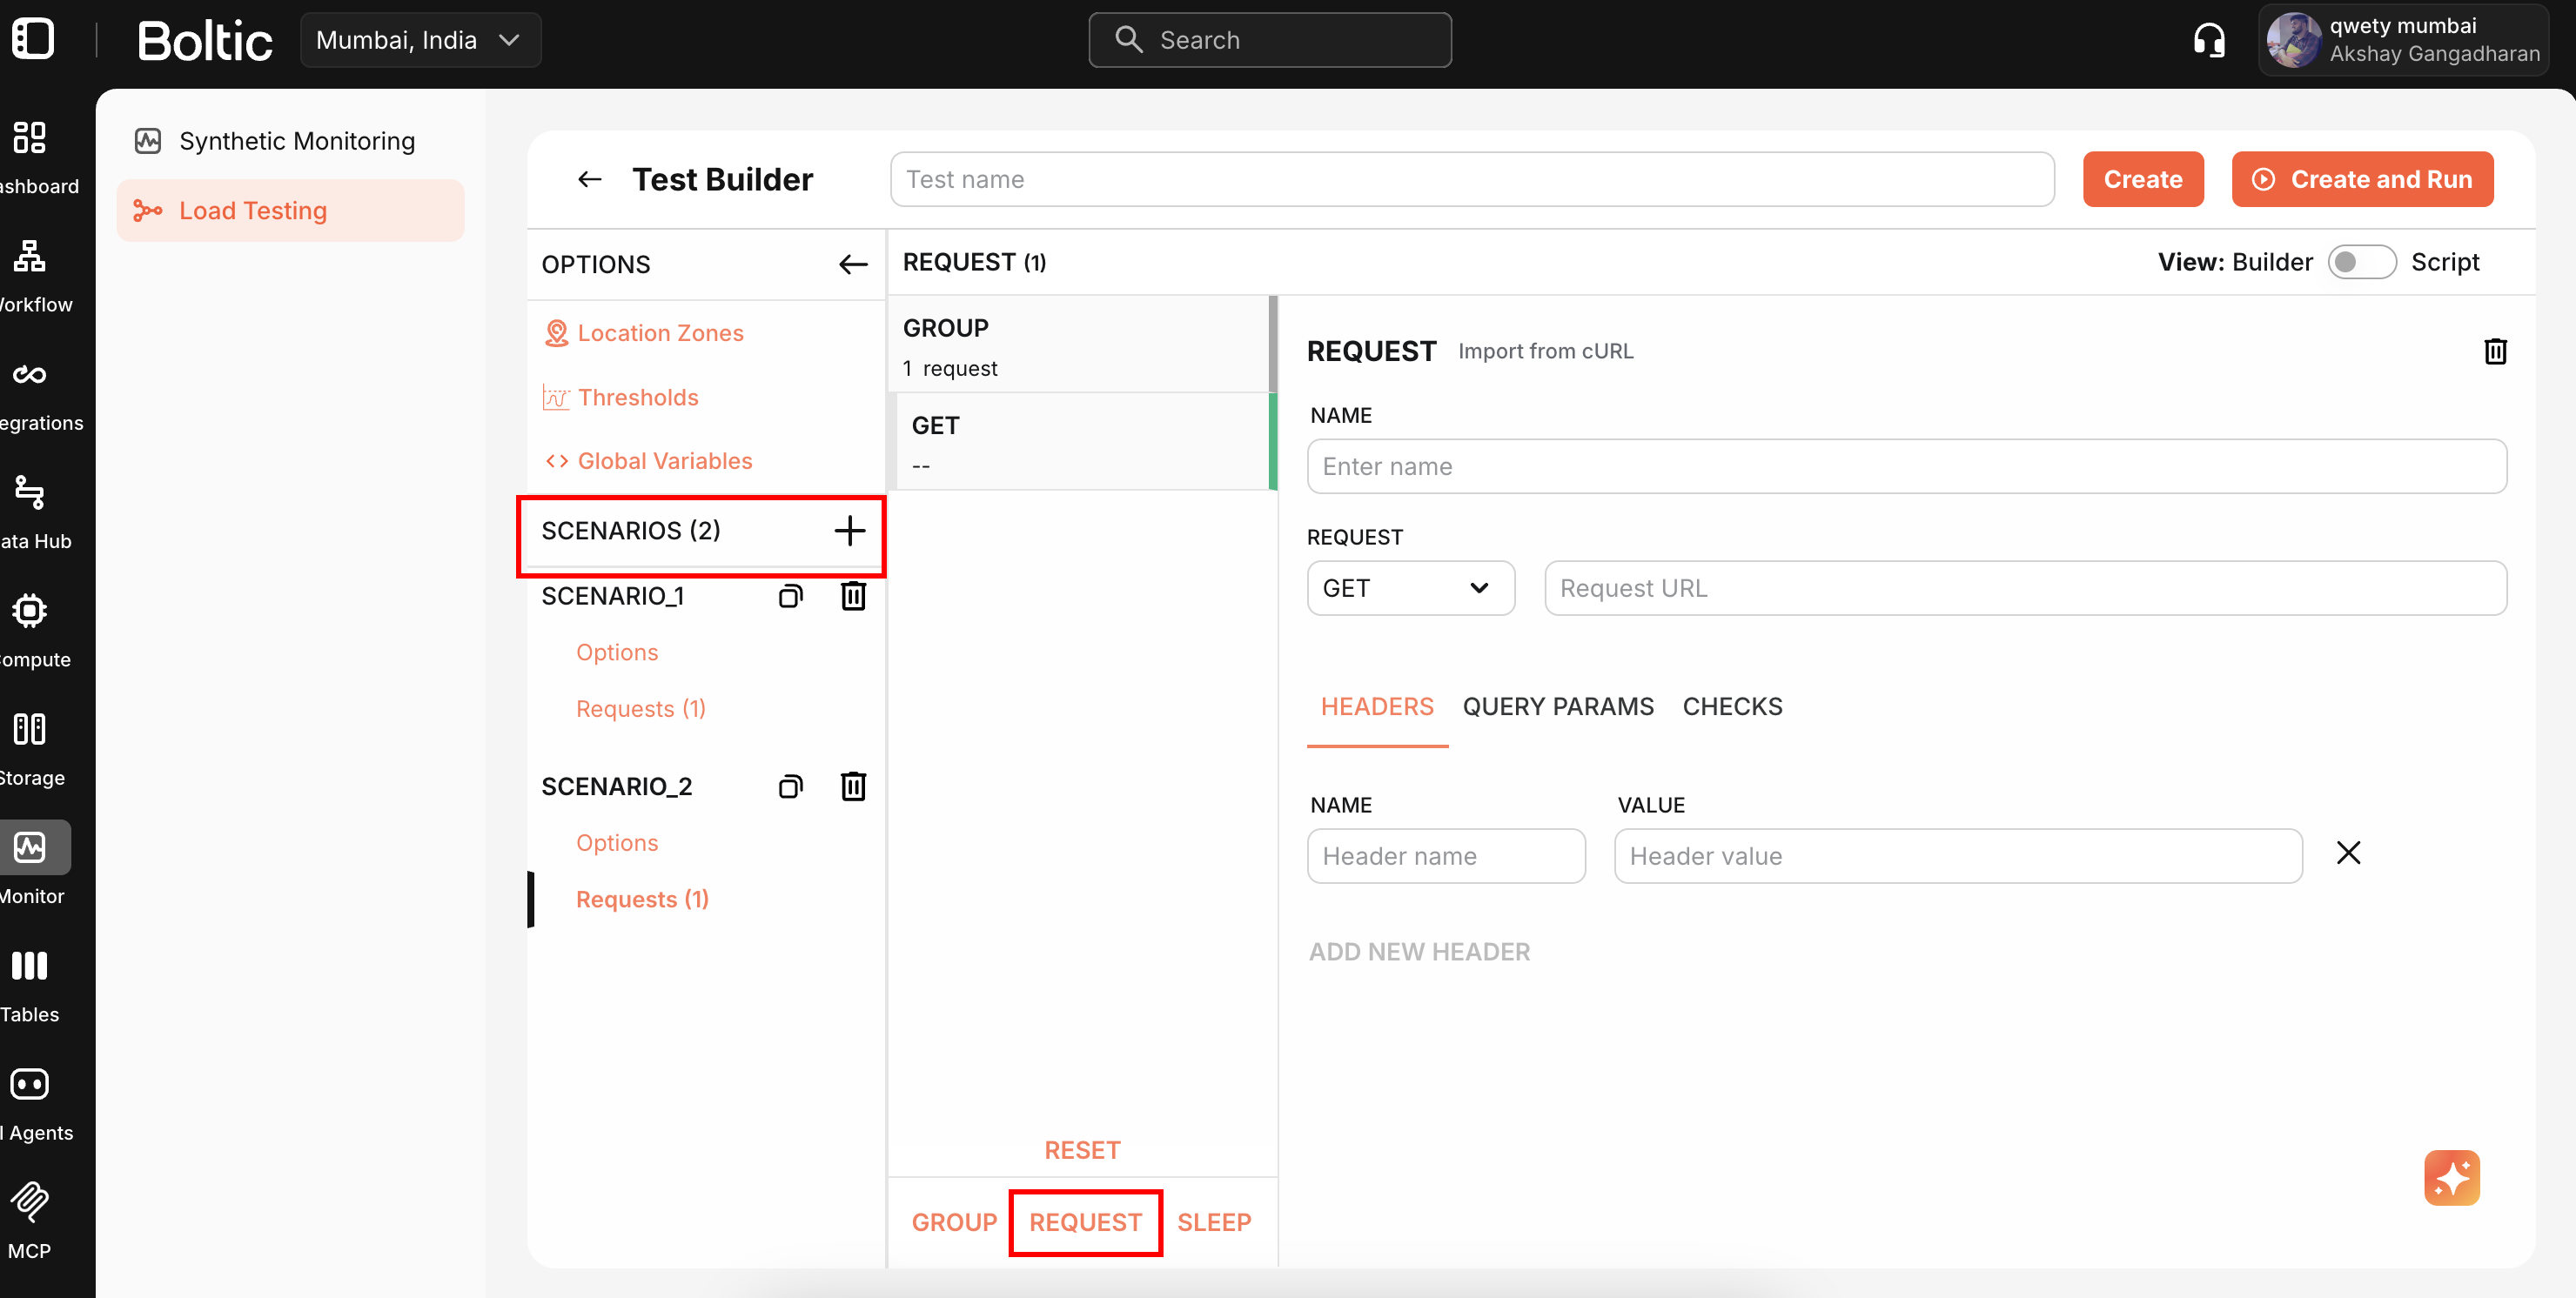
HTTP Requests
Configure requests using the visual interface.
 |
|---|
Configuration options:
- Method (GET, POST, PUT, PATCH, DELETE, HEAD, OPTIONS)
- URL (supports variable substitution)
- Headers and query parameters
- Request body (JSON, form-data, raw text)
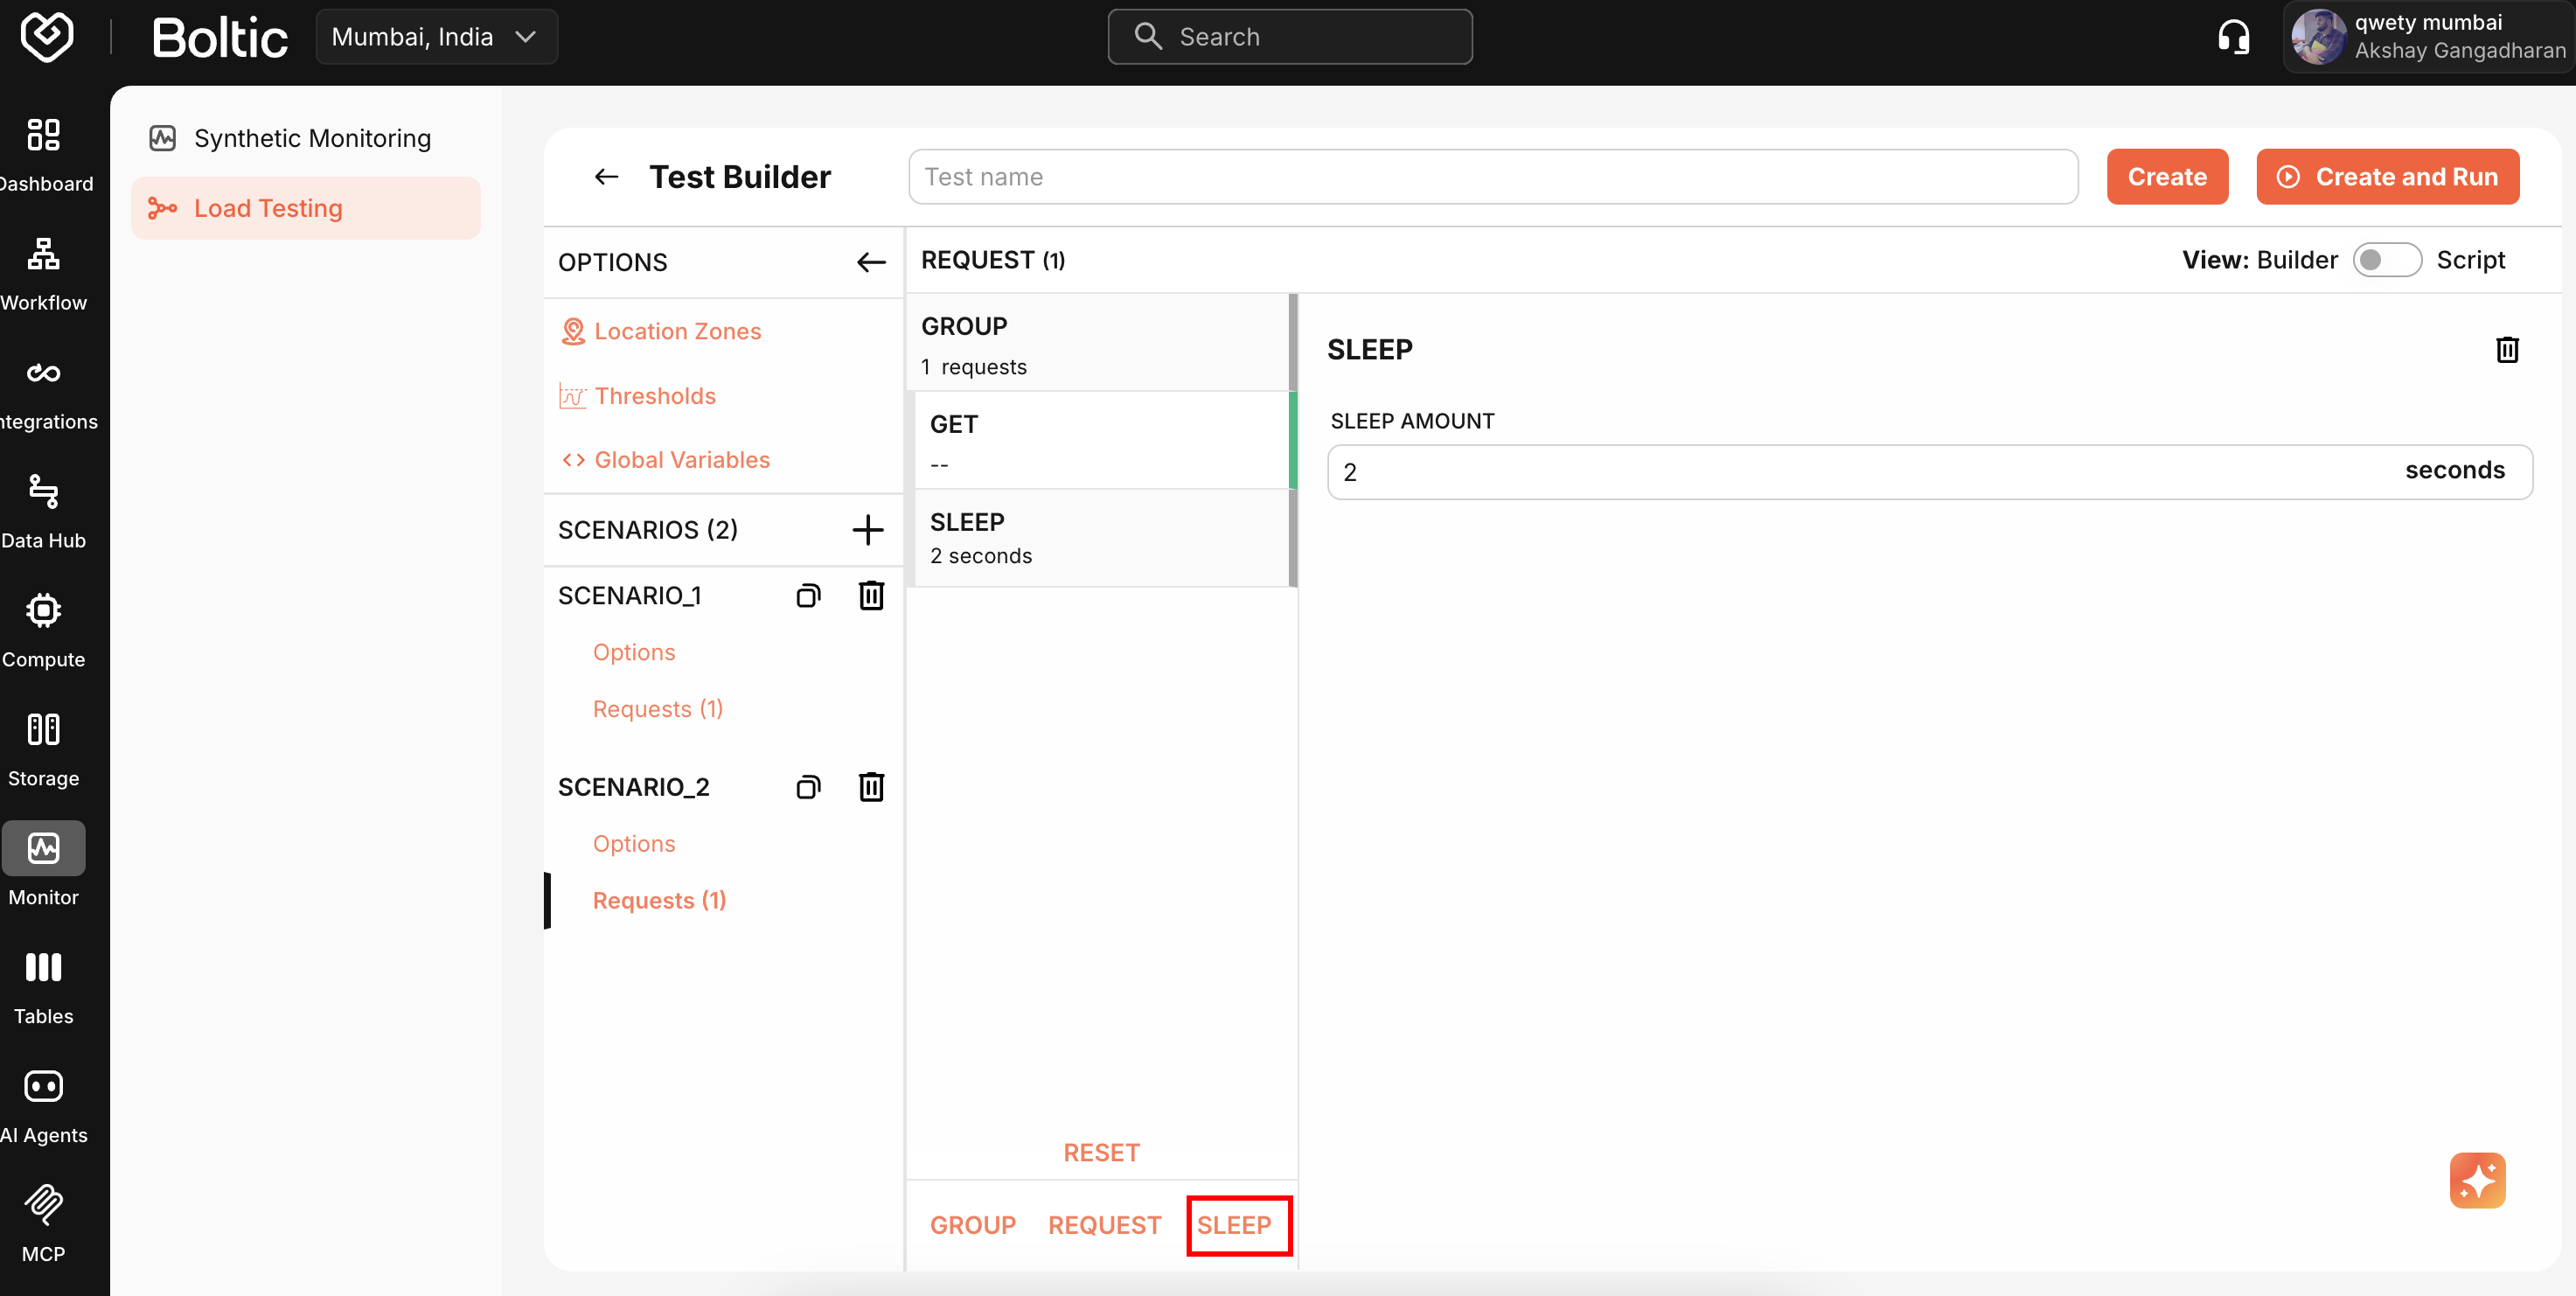
Sleep Statements
Add delays between requests to simulate realistic user behavior.
 |
|---|
Click Add Sleep and specify duration in seconds.
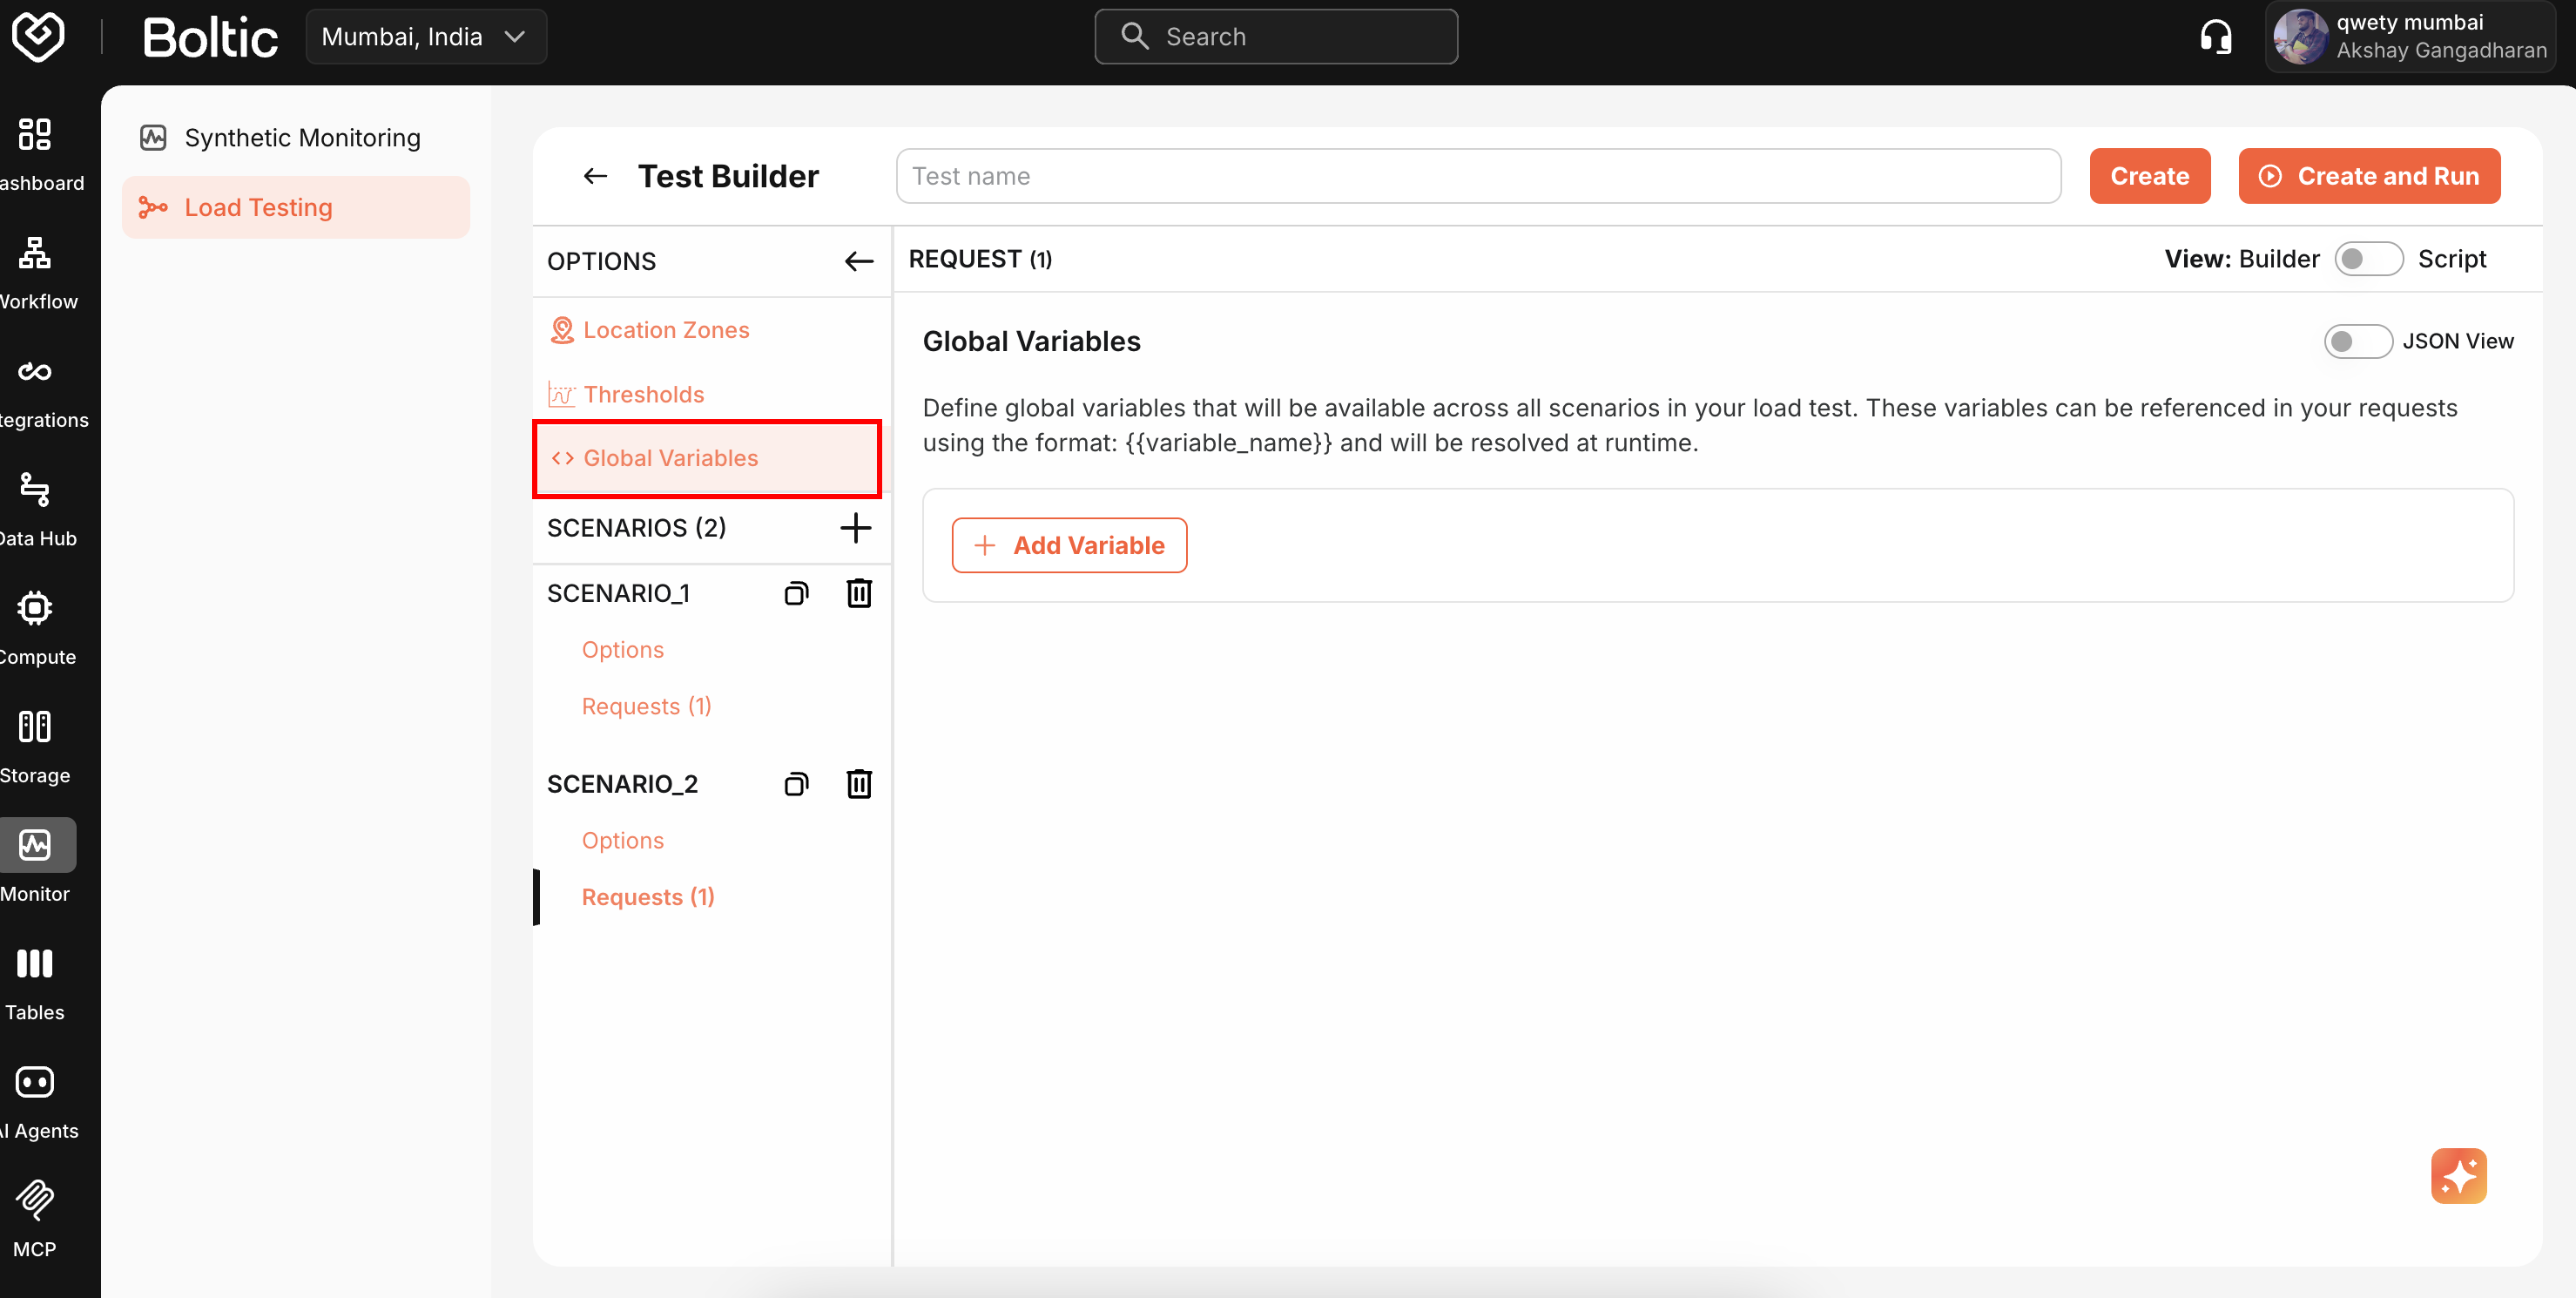
Global Variables
Define reusable variables for URLs, authentication tokens, and test data.
 |
|---|
Reference variables using ${VARIABLE_NAME} syntax:
URL: ${BASE_URL}/api/users/${USER_ID}
Header: Authorization: Bearer ${AUTH_TOKEN}
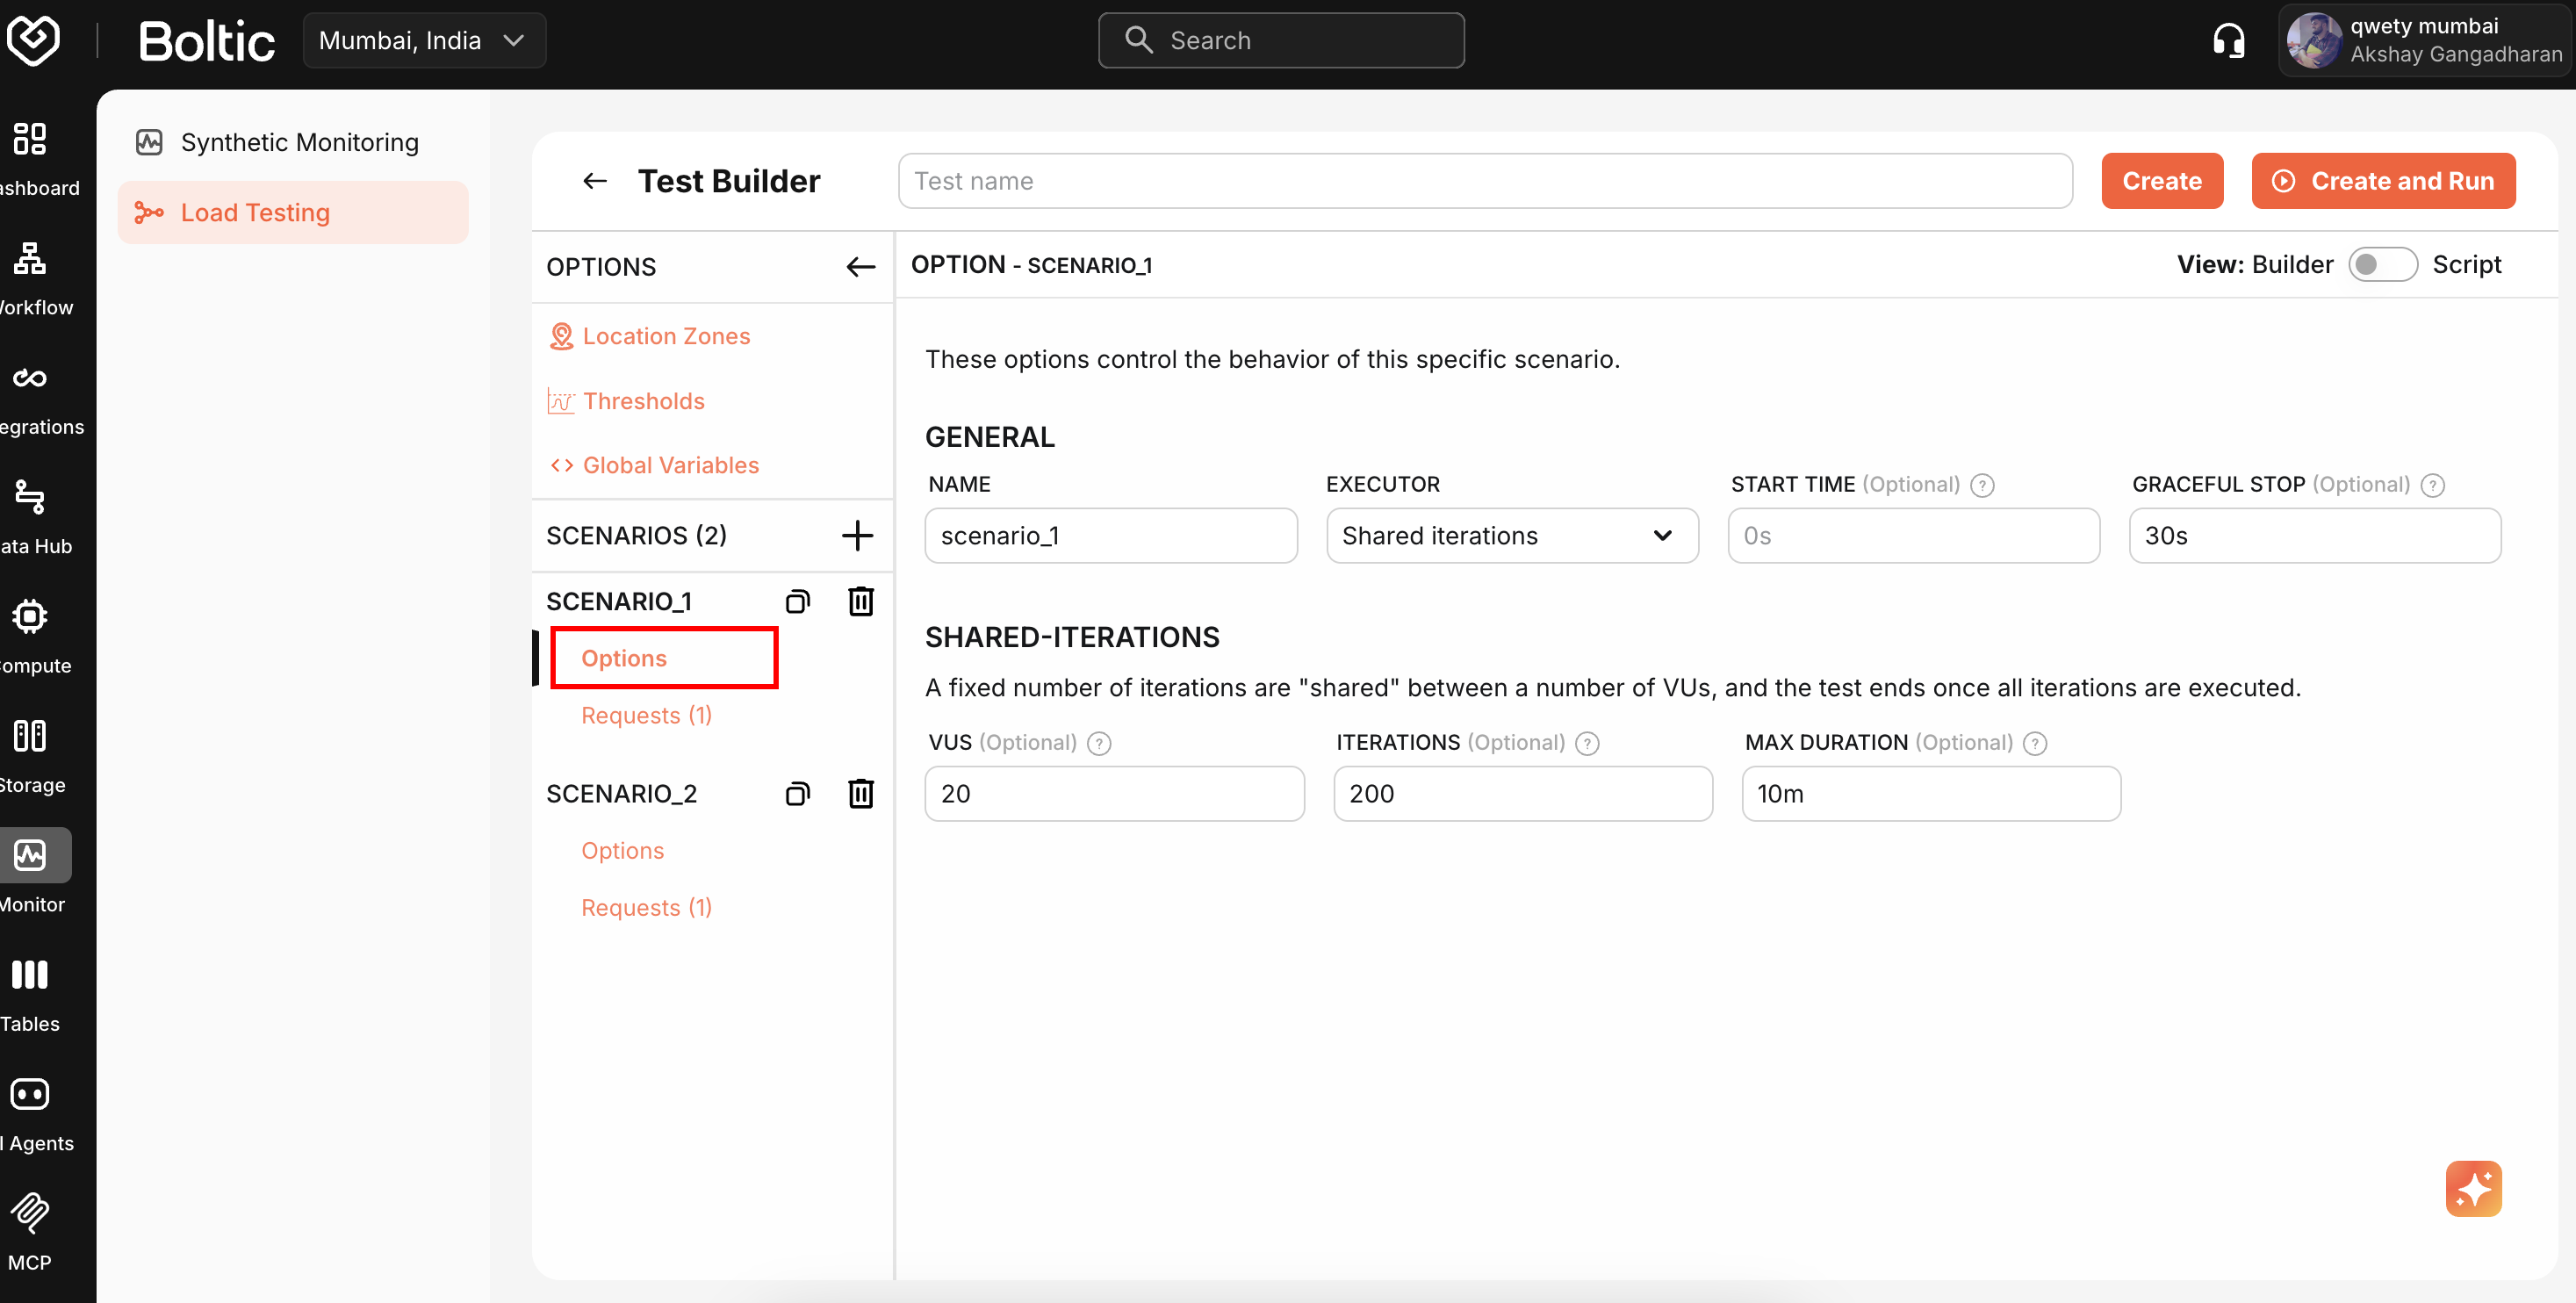
Test Configuration
 |
|---|
Load settings:
- Virtual Users (VUs) - Concurrent simulated users
- Duration - Test runtime (e.g., "30s", "5m")
- Ramp-up time - Gradual increase to target VUs
Thresholds:
http_req_duration: ['p(95)<500']  // 95% of requests under 500ms
http_req_failed: ['rate<0.01']    // Less than 1% error rate
Execution zones:
- Single zone - All VUs from one location
- Multi-zone - Distribute load across regions
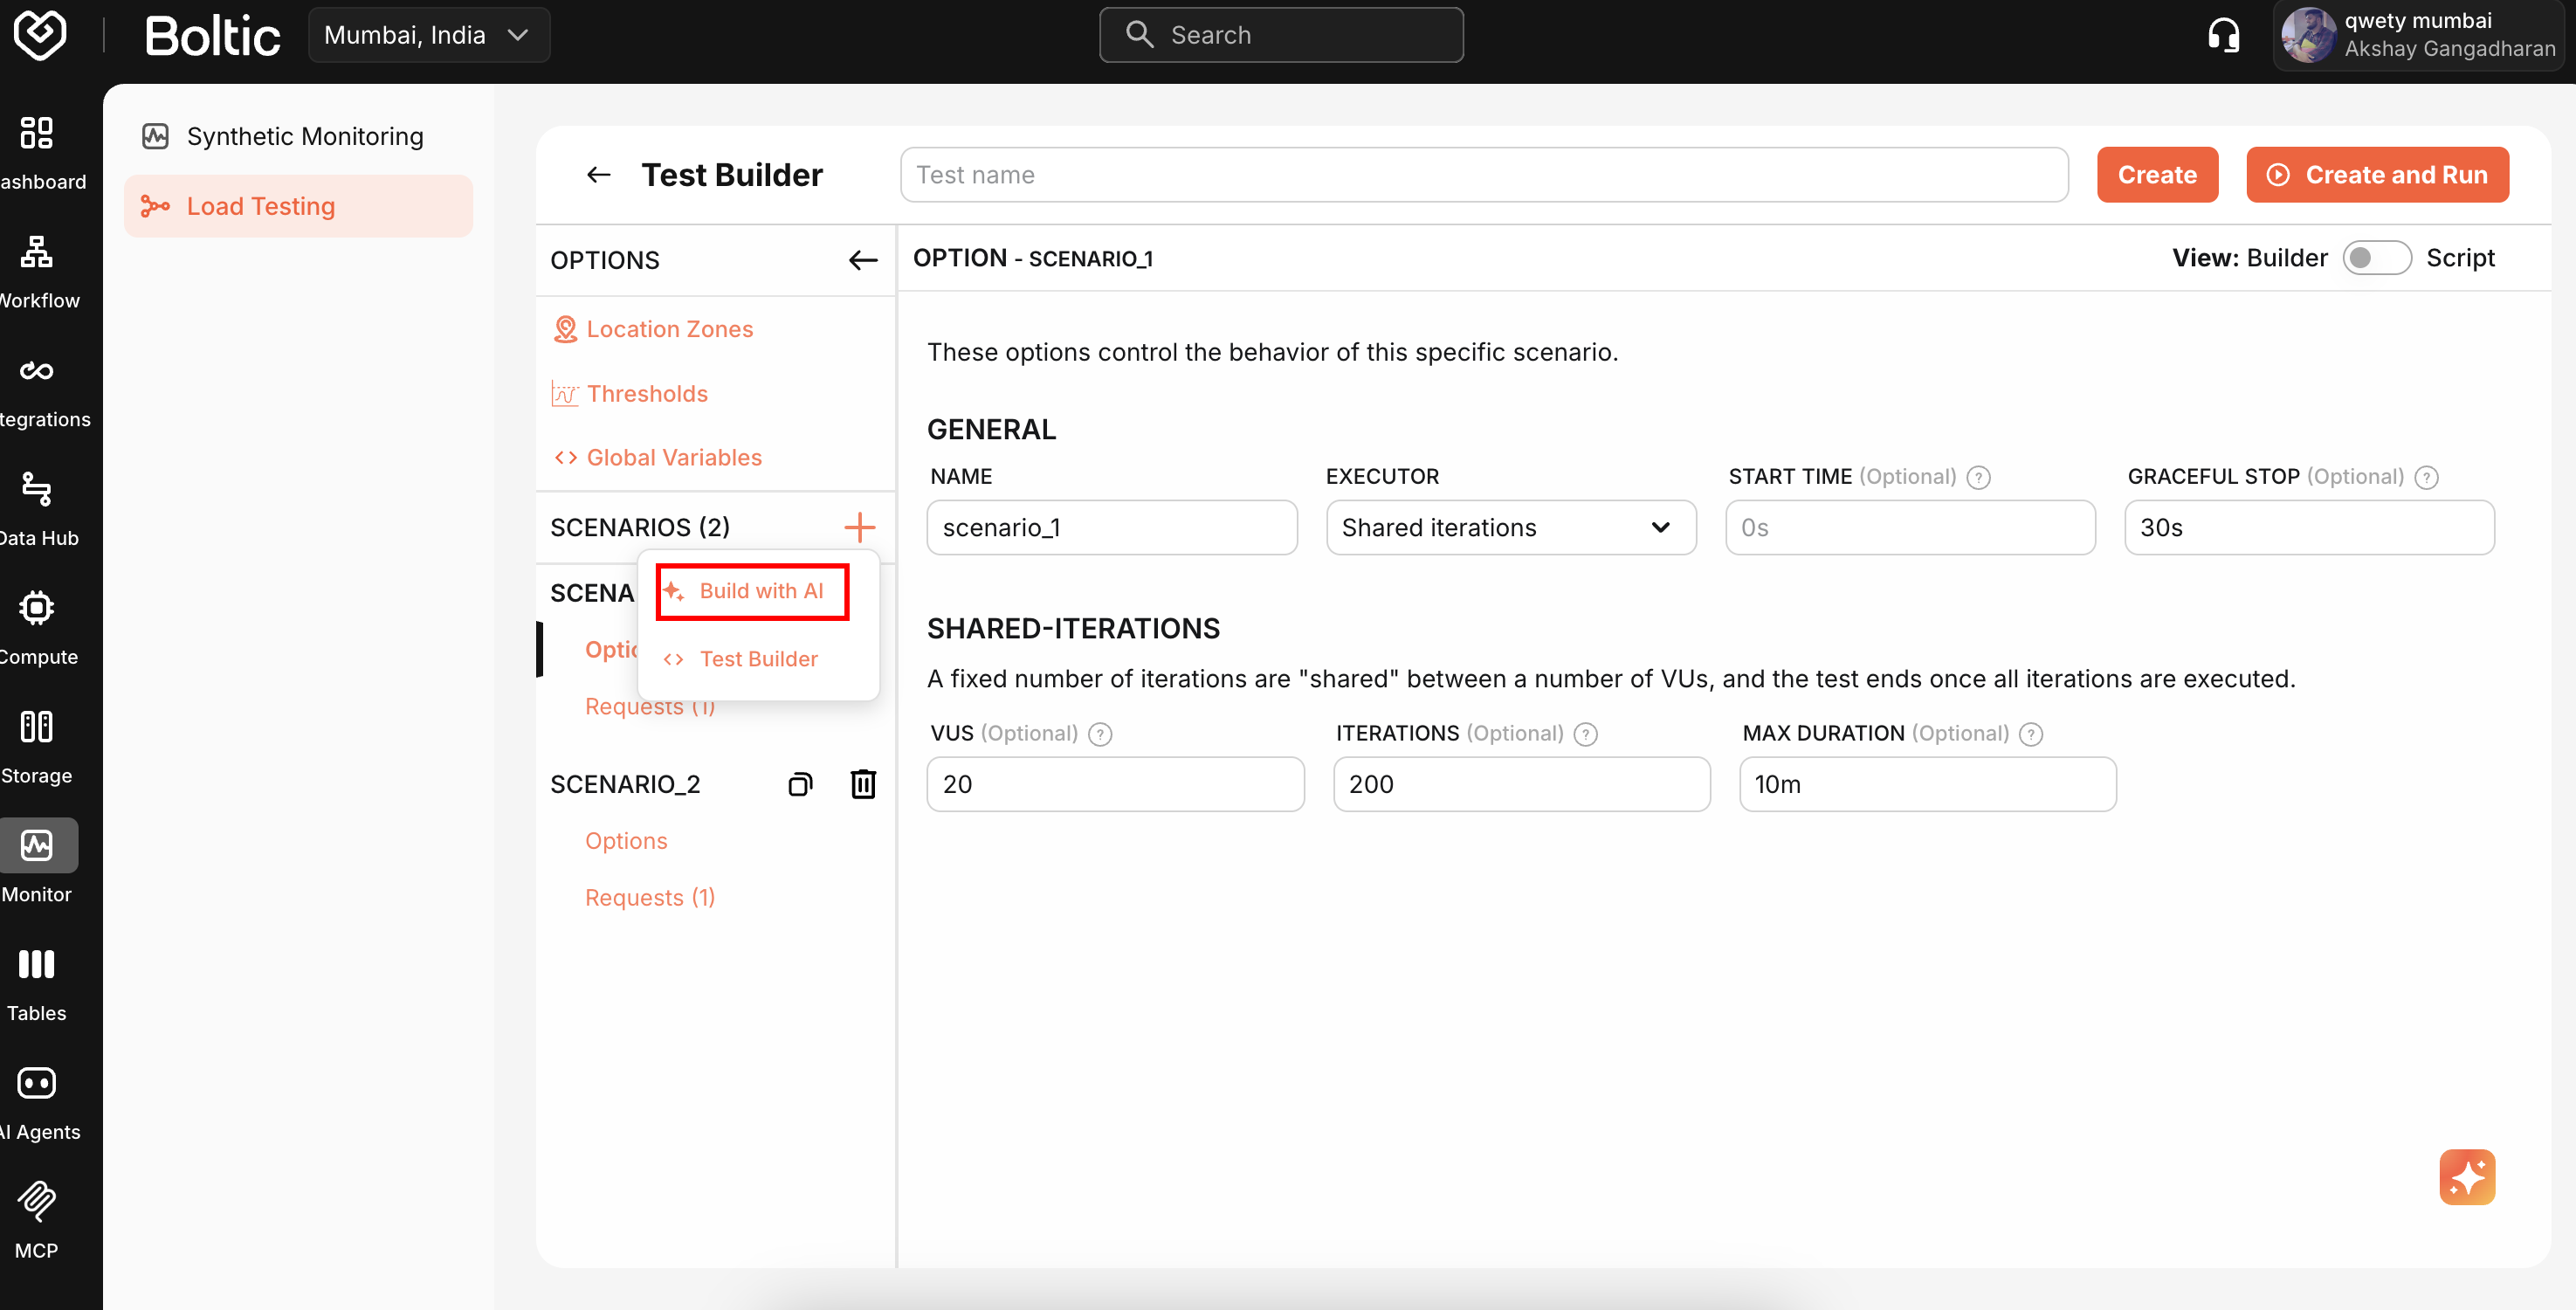
AI-Powered Generation
Generate requests using natural language.
 |
|---|
Click the AI icon, describe the request (e.g., "Create a POST request to login with email and password"), and review the generated configuration.
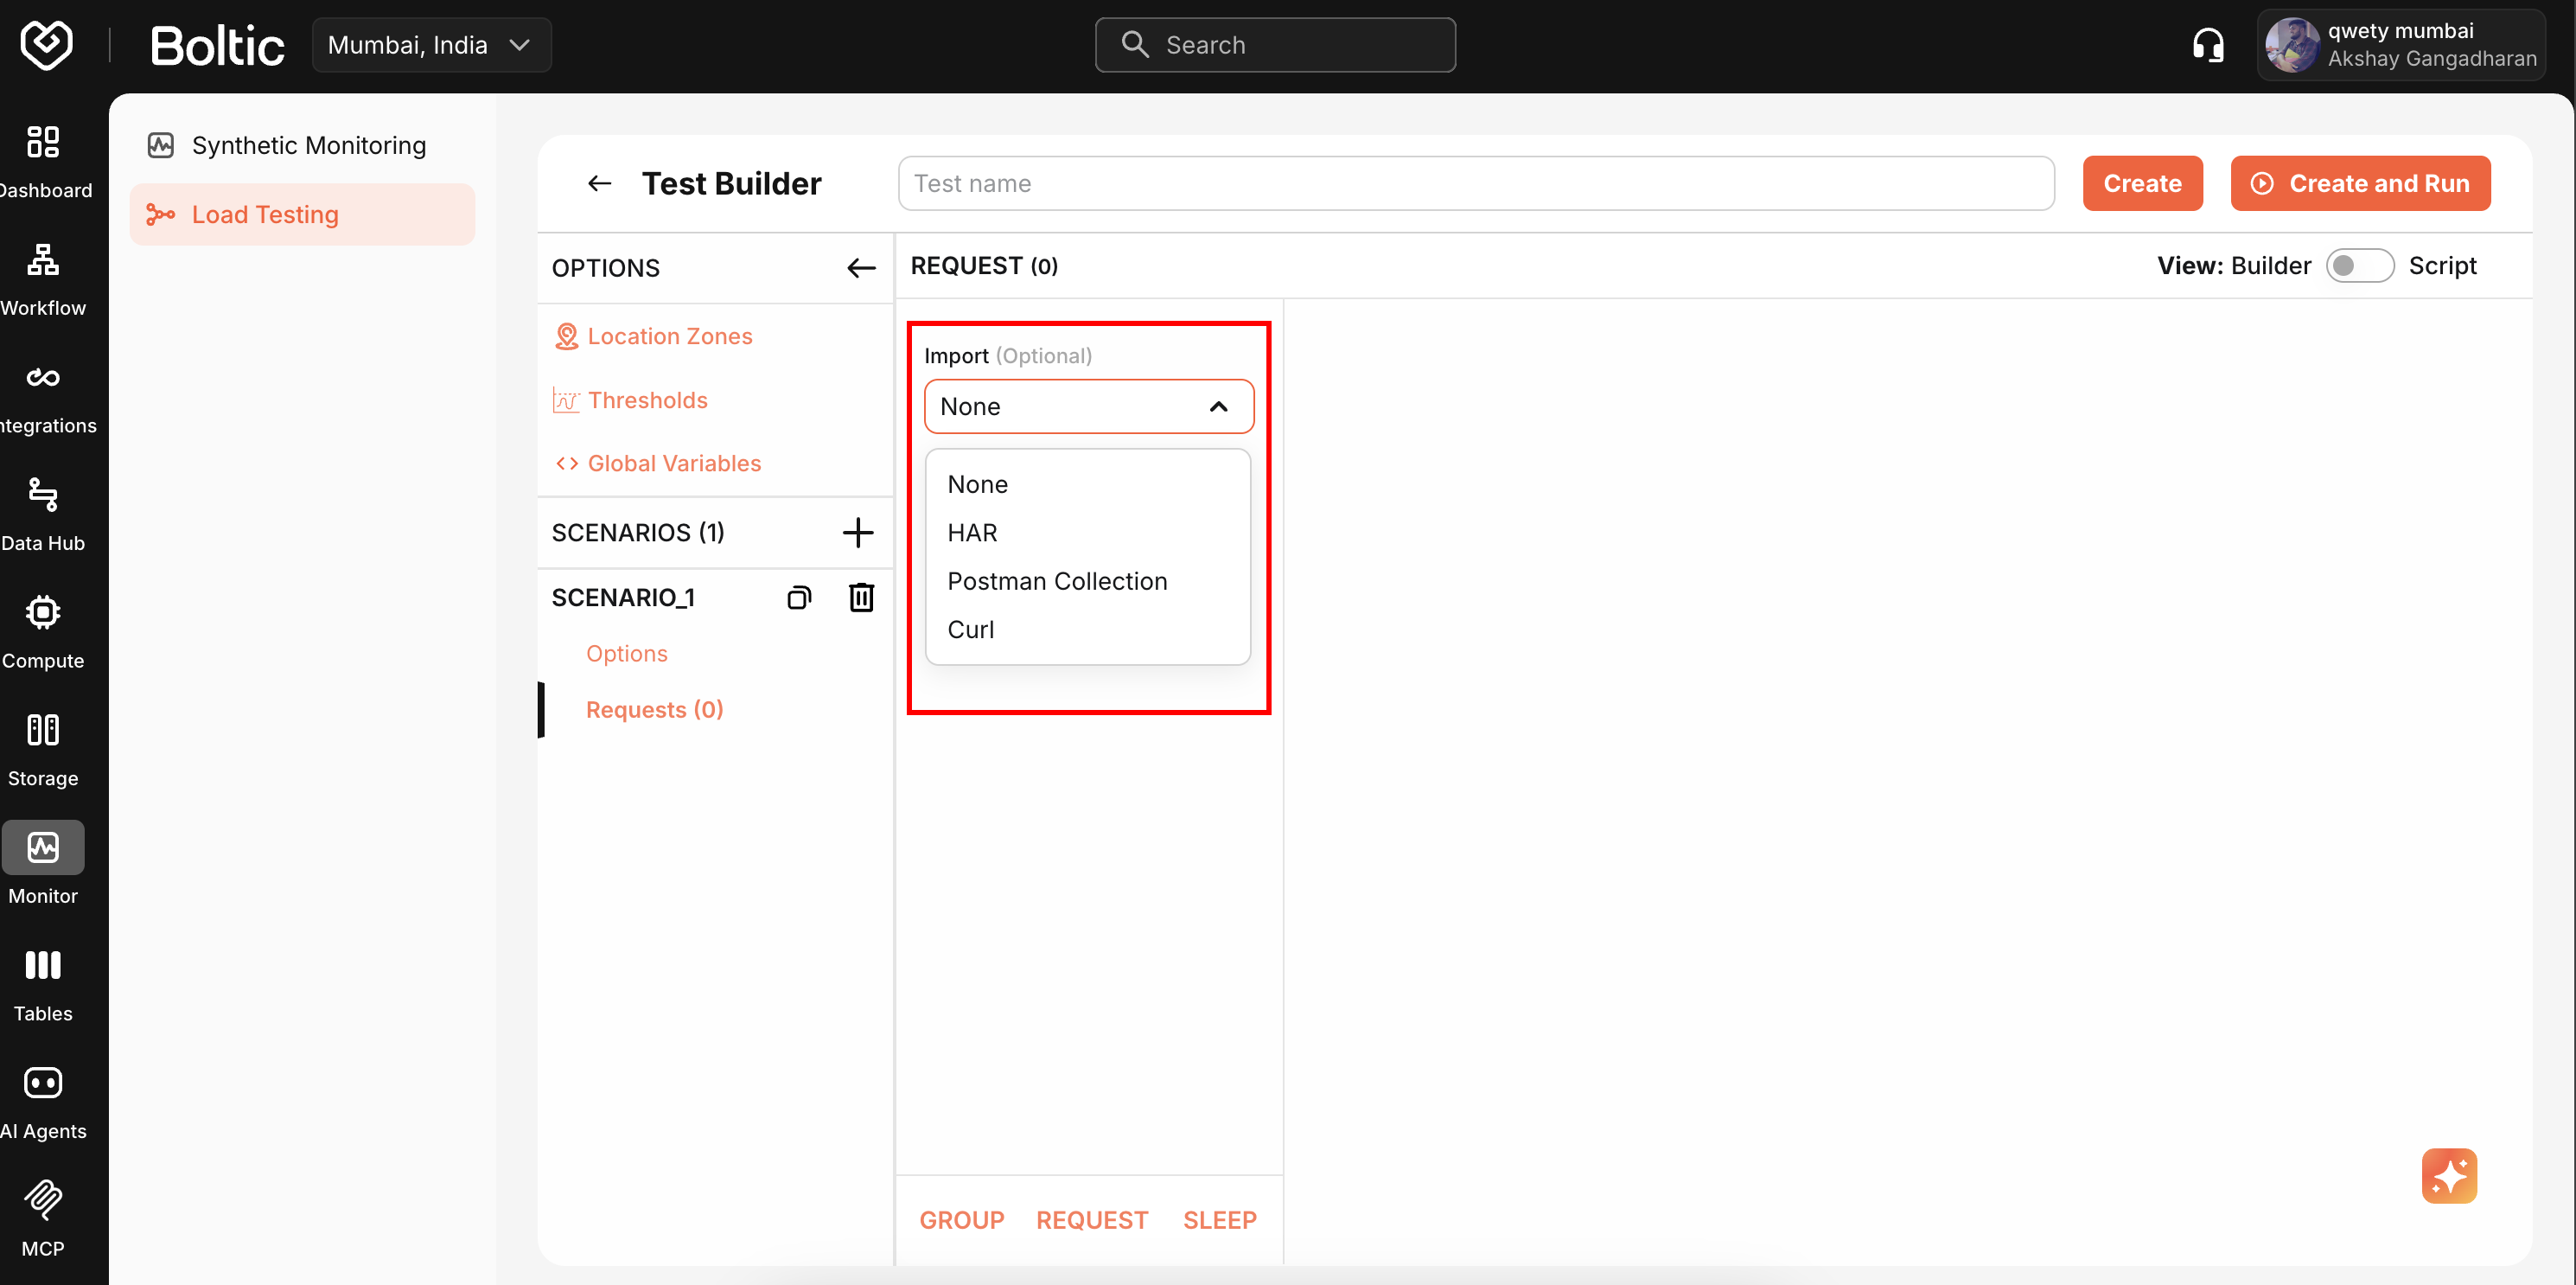
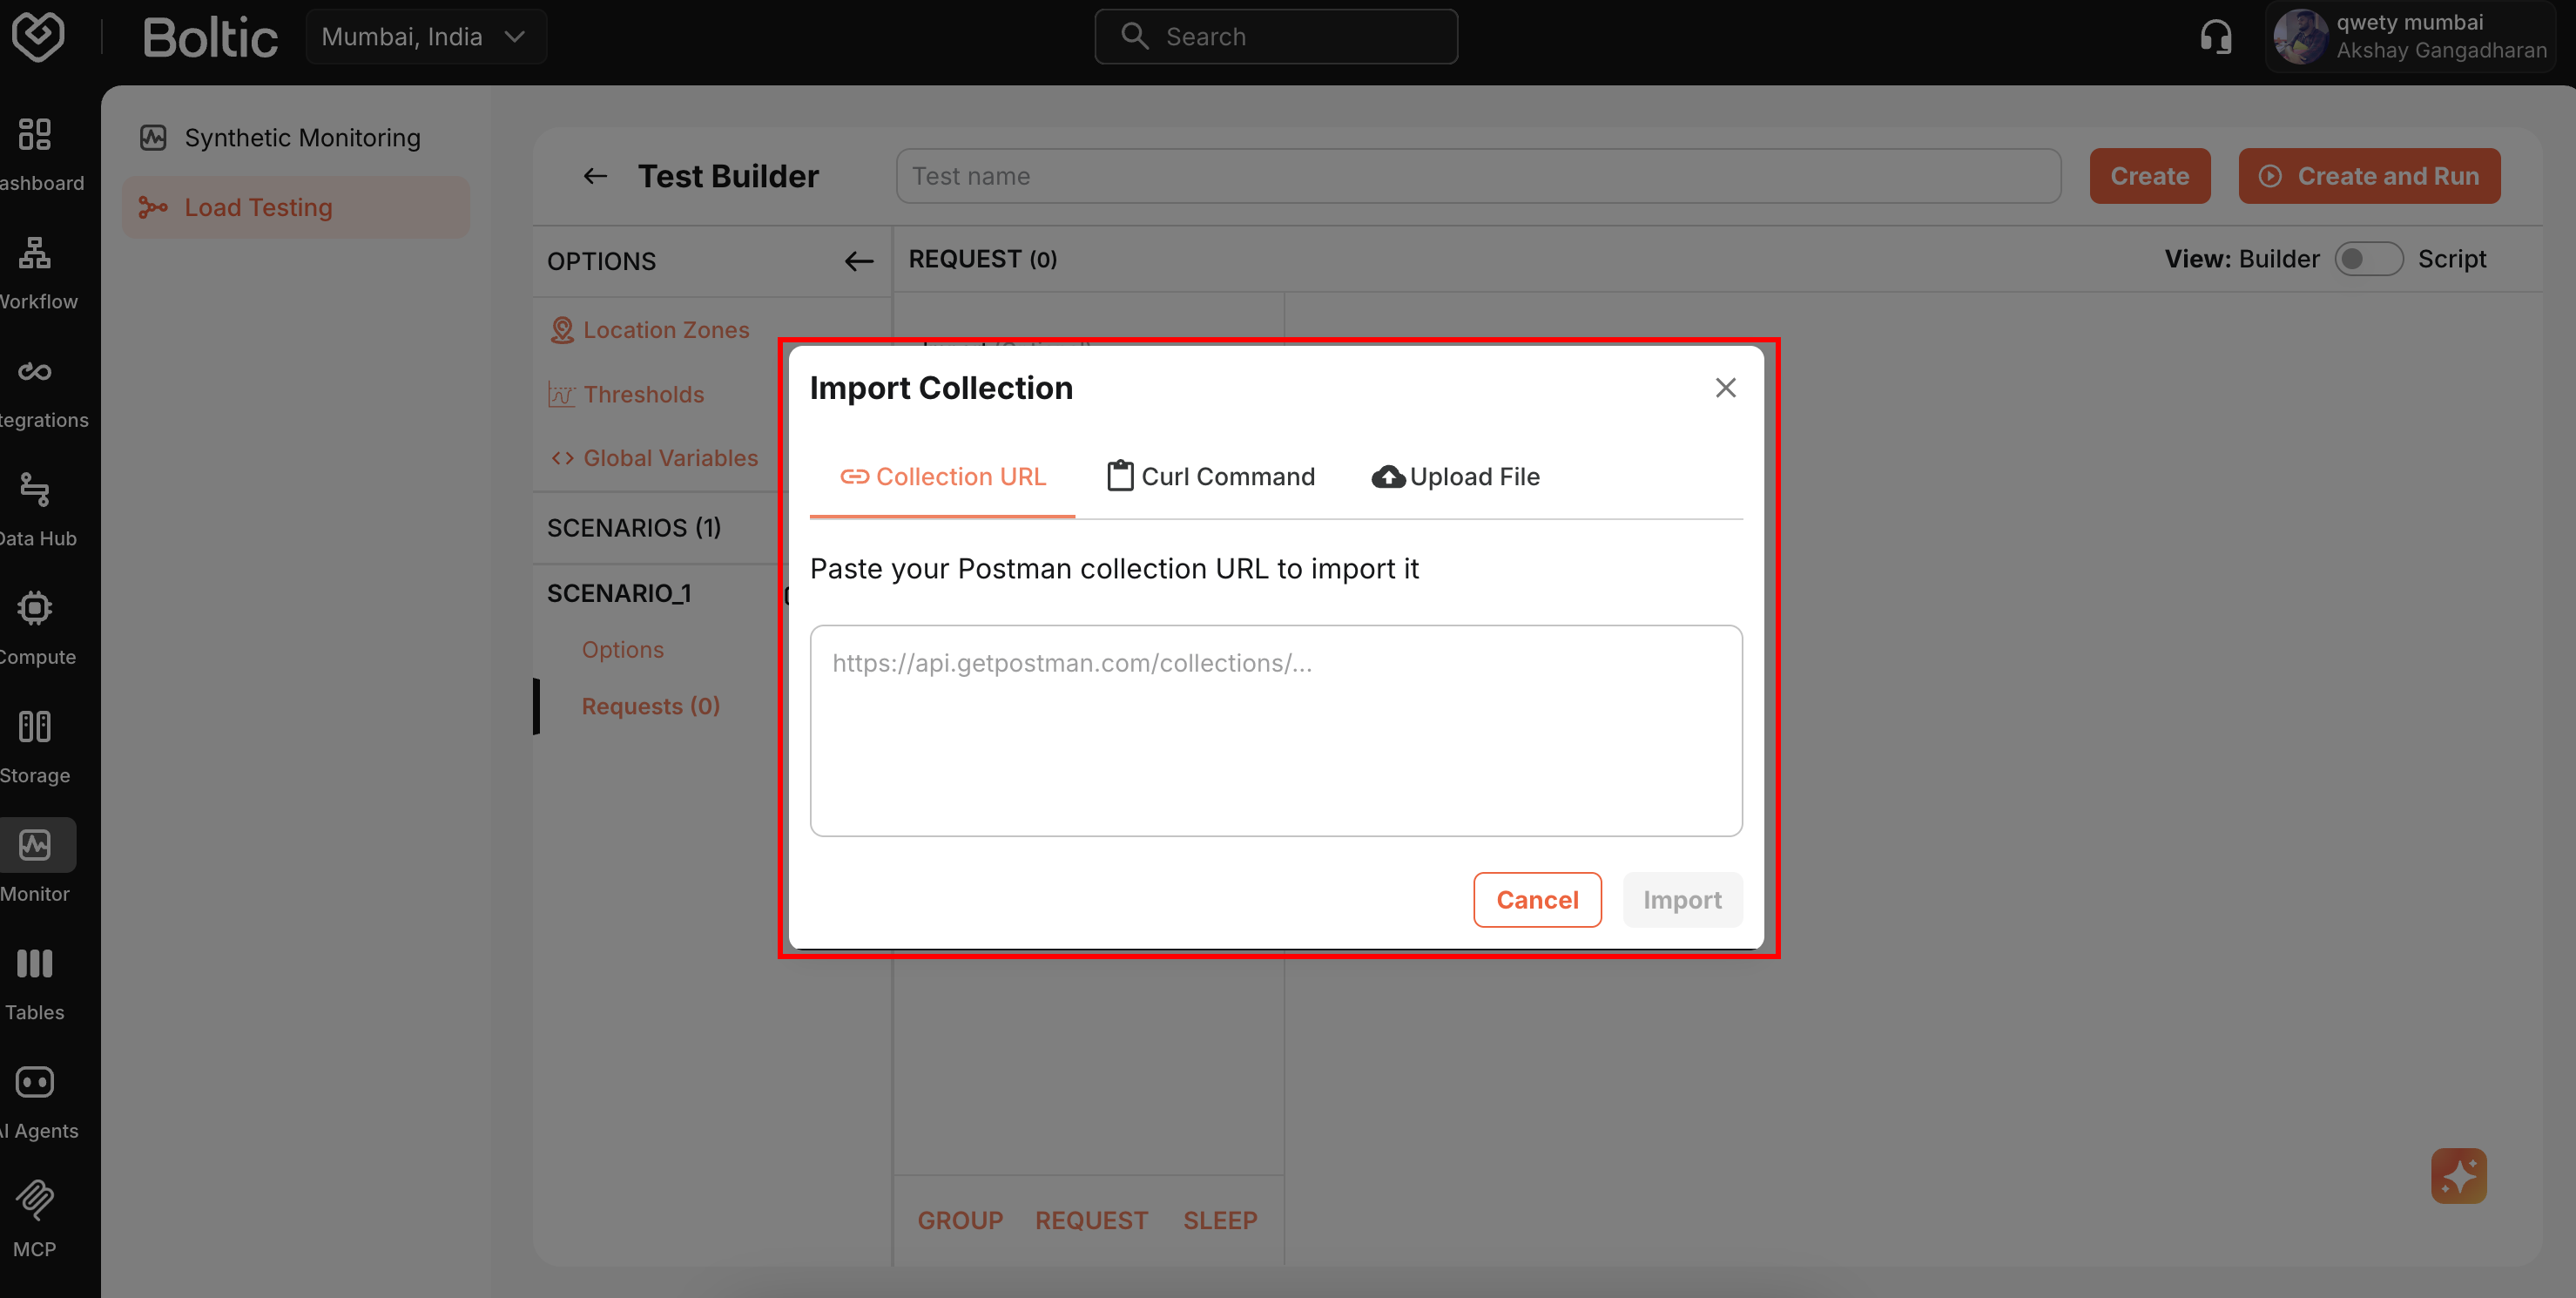
Importing Tests
Load existing configurations from files or URLs.
 |
|---|
 |
|---|
Click Import and select source (file or URL).
Code View
View the generated k6 script in the Code tab.
 |
|---|
Copy code or switch to Script Editor for manual editing.
Complex script logic (loops, conditionals, custom functions) may not fully display in the visual interface.
Next Steps
- Script Editor - Code-based test development
- Running Tests - Execute and monitor tests
- Analyzing Results - Review performance metrics