Add Activity on Admin Panel
To create a new activity in the admin panel, you'll need to provide several pieces of metadata for your custom activity:
Steps for adding new Activity
-
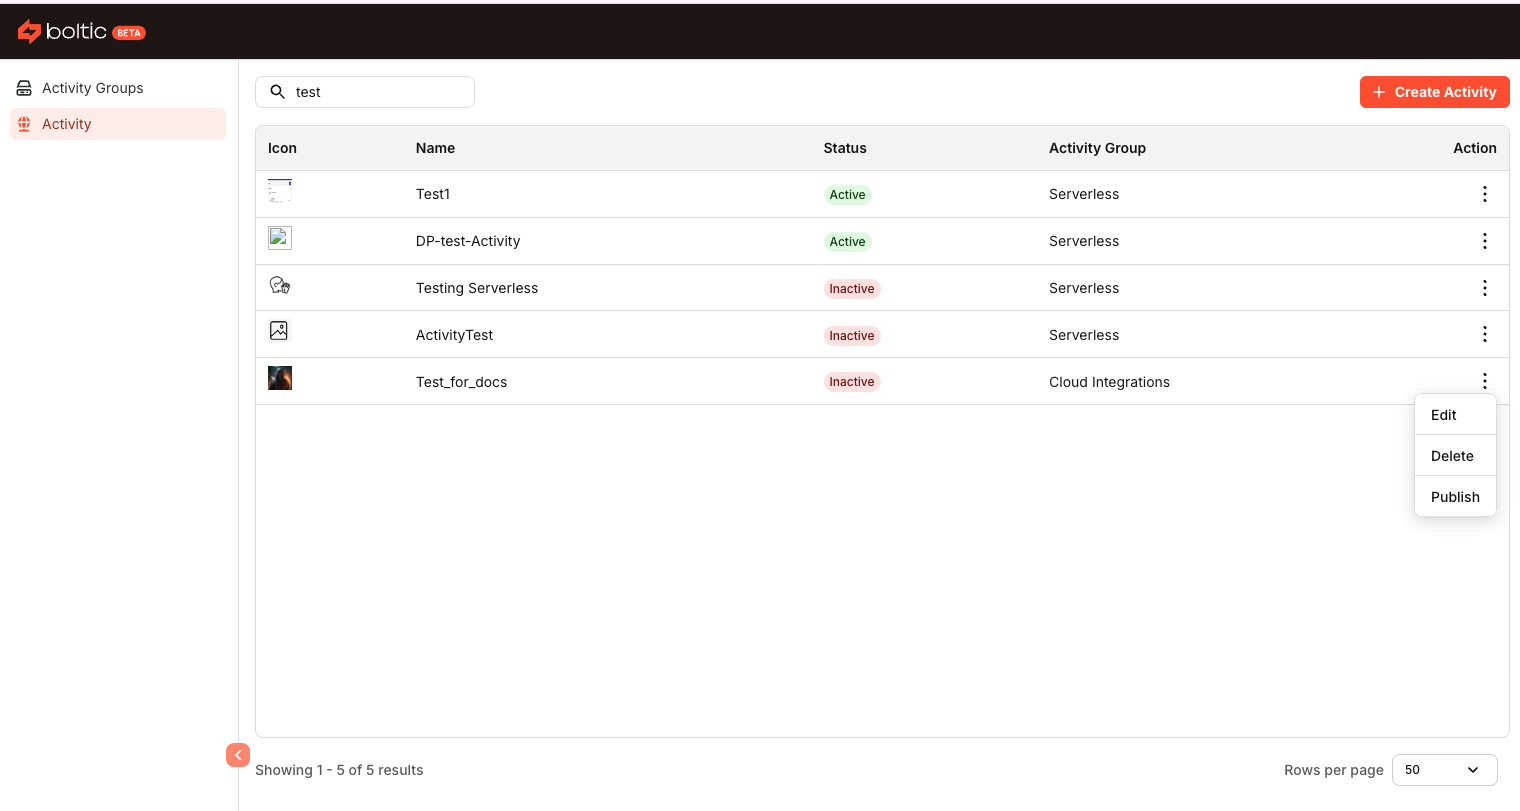
Log in to the Admin Panel: Access the admin panel by visiting Admin Panel. Click on the 'Activity' tab.
-
Create a New Activity: Click the
Create Activitybutton. This will open a form where you need to enter the details for the new activity.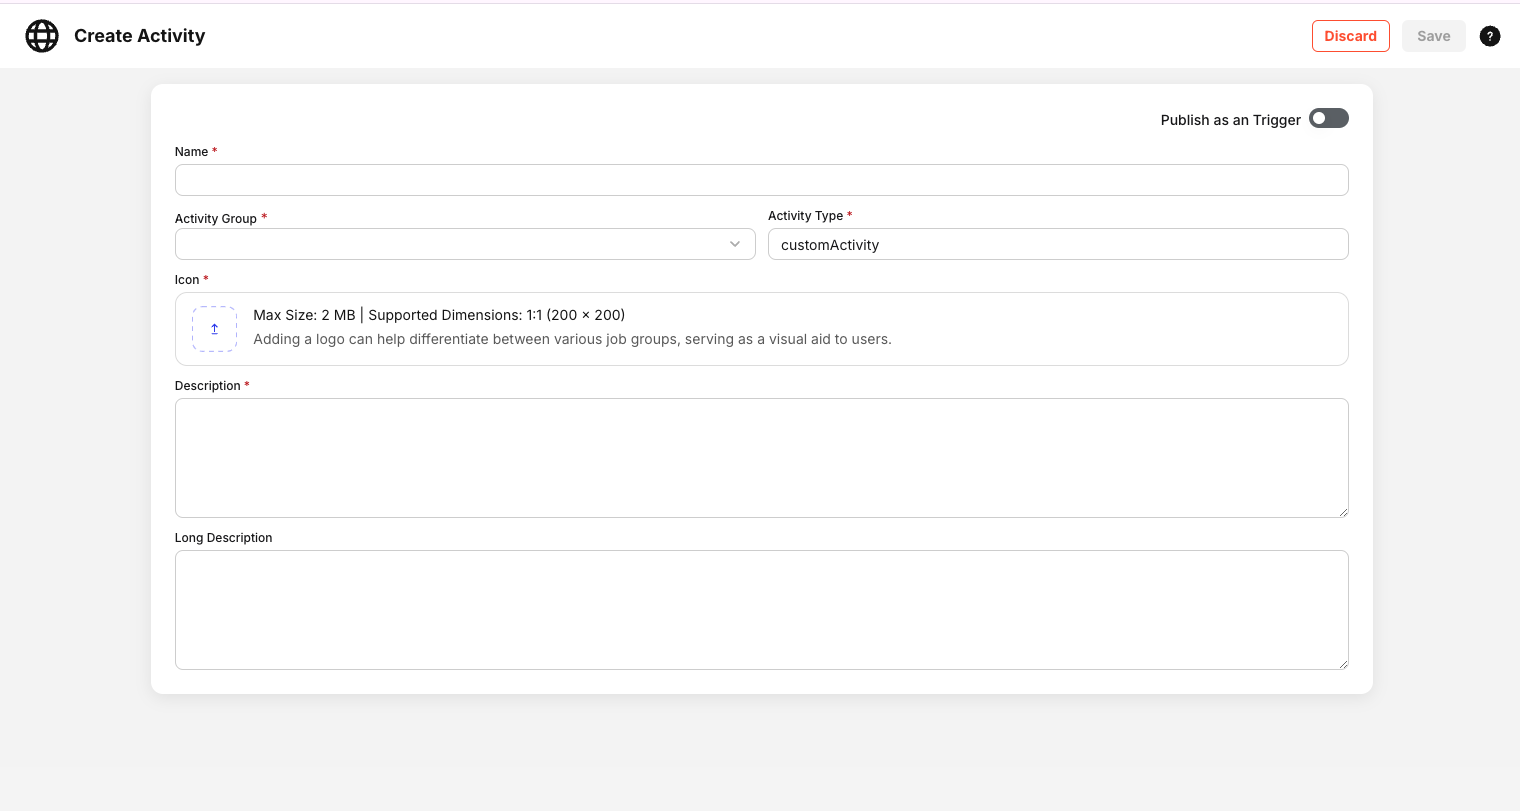
-
Fill Out Activity Details: Provide the following information in the form:
- Name: Enter a unique name for the activity, e.g.,
Google_drive. - Activity Group: Select activity group from the dropdown. e.g.,
Cloud integrations. - Activity Type: For activity it should have
cloudActivityvalue and for trigger it should haveCloudTriggervalue. - Description: Write a short description of the activity.
- Icon: Upload an image for the activity icon.
- Publish as an Trigger: Enable the toggle button if the activity should be made as a trigger.
- Click the
Savebutton to submit the form.
- Name: Enter a unique name for the activity, e.g.,
-
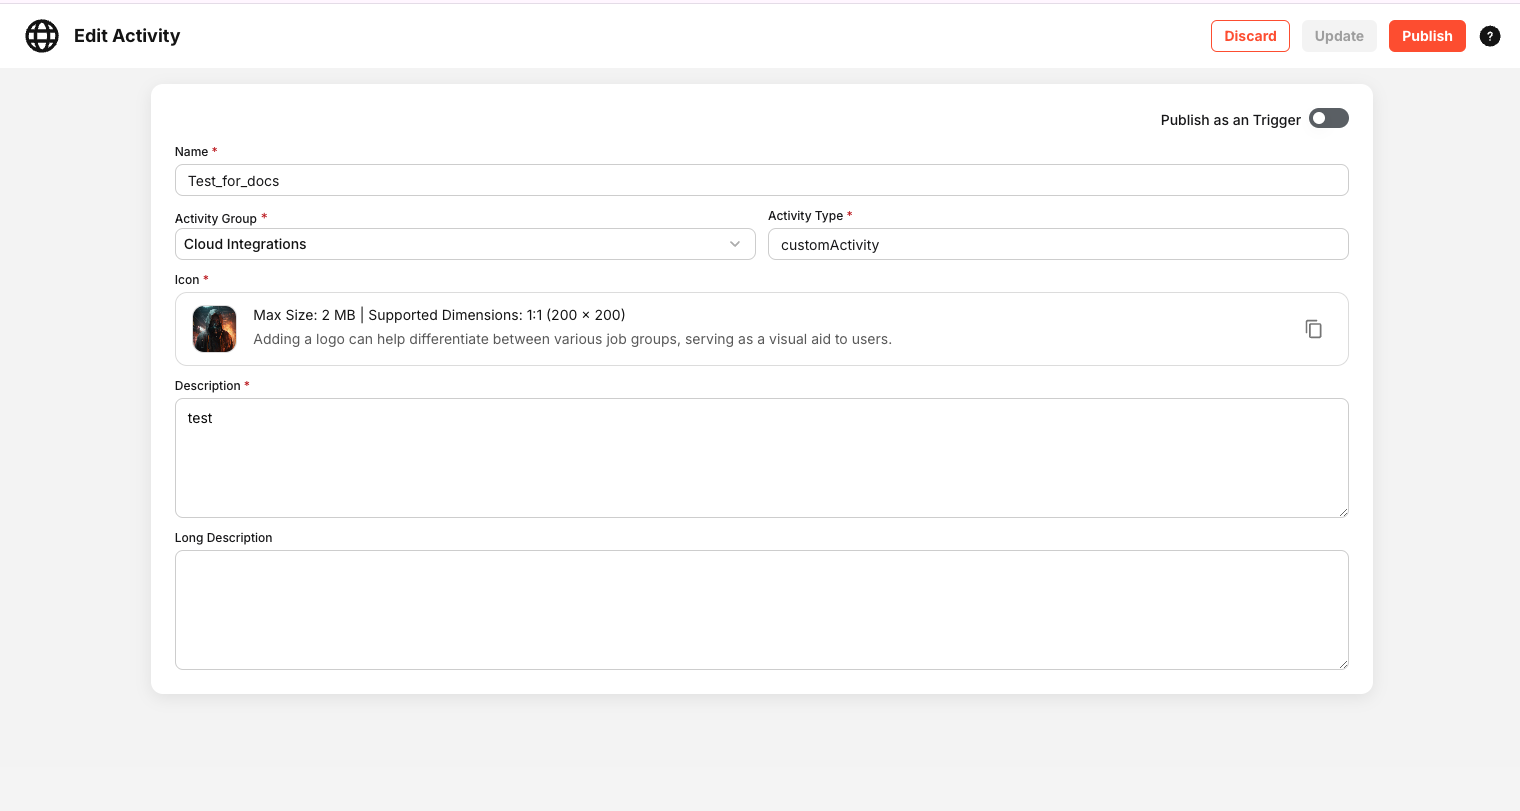
Publish the Activity: Open activity from listing page and press the Publish button to publish it. You can publish the activity from listing page by click on three dots button (Context menu) as well.
-
Verification: After publishing, the new activity will be listed on the workflow page.
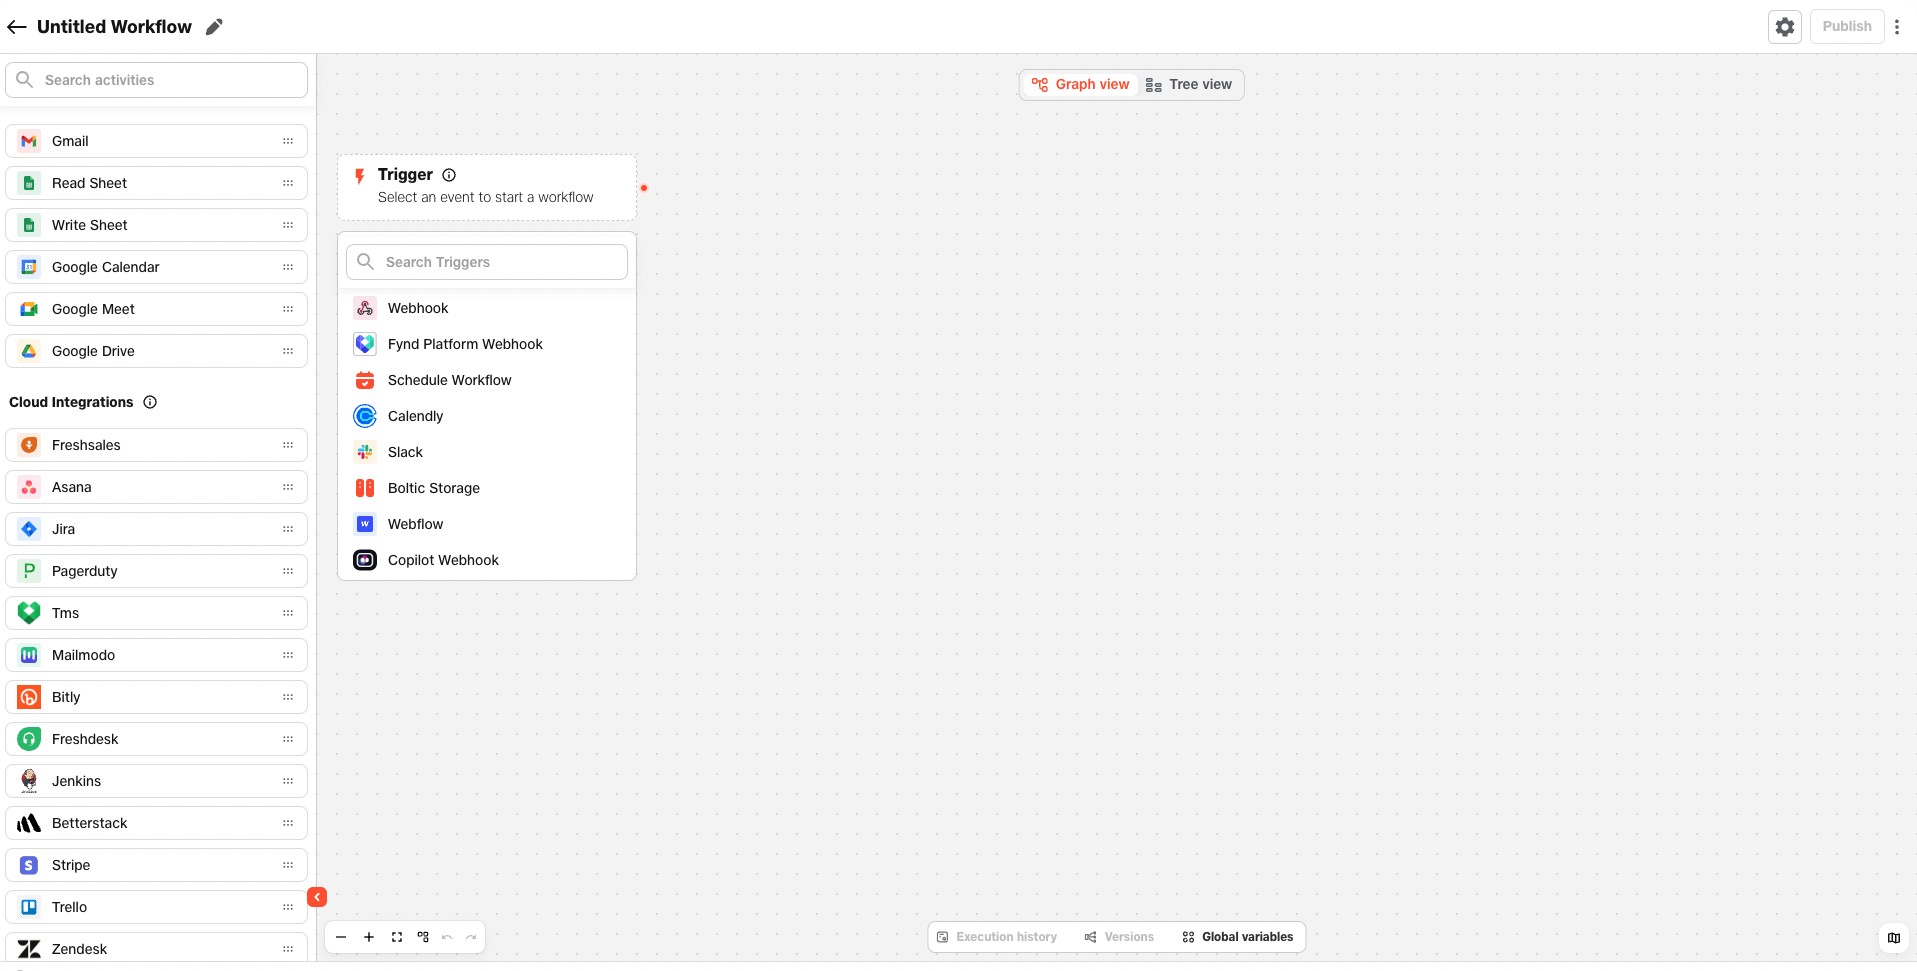
This process allows you to systematically create and manage activities via the admin panel, ensuring all required details are properly configured for effective integration and functionality within your workflows.
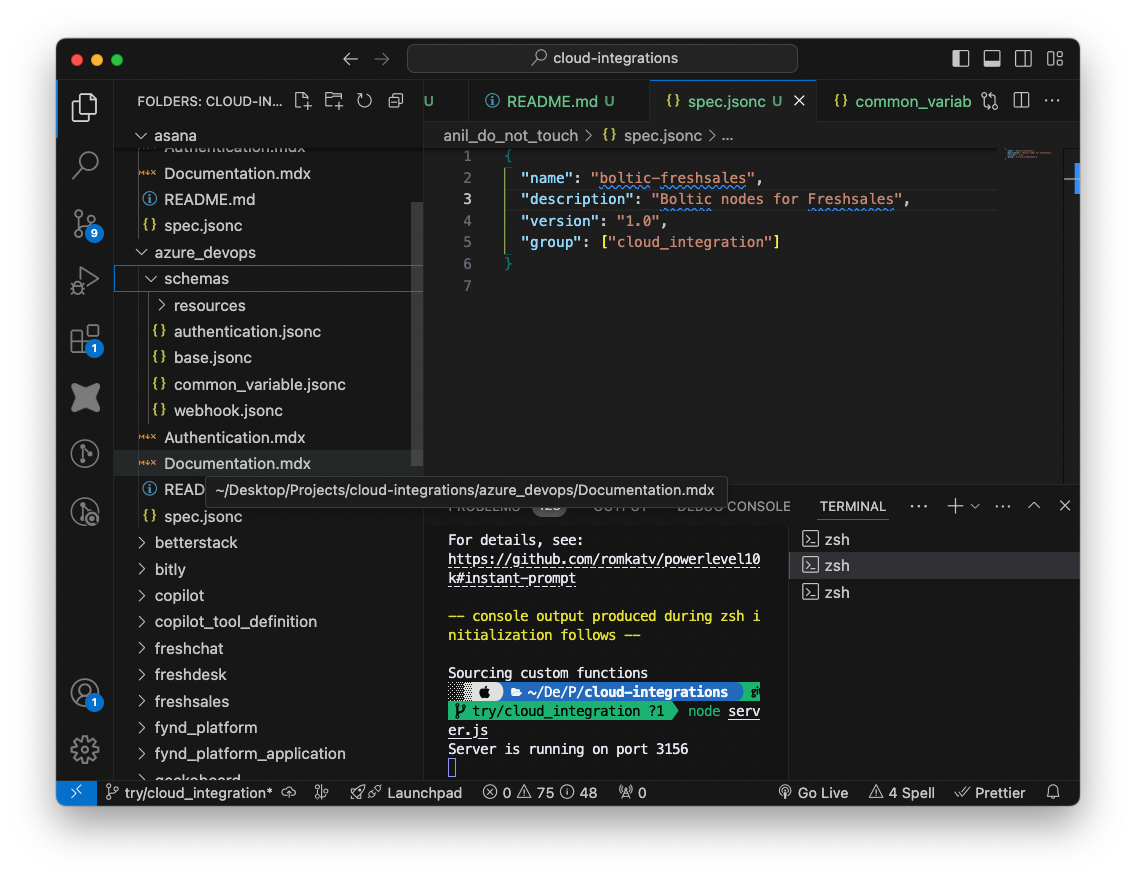
Next, You have to add json schemas folder in cloud integration repository